In this article, we will talk about the New Windows 11 23H2 Installation Process.
Windows 11 23H2 was just released, and with all the New Features, Microsoft has also changed the installation process by improving certain sections inside OOBE. In this article, I will show you everything that is New in the Windows 11 23H2 Installation Process.
If you want to Download Windows 11 23H2, make sure to check this article.
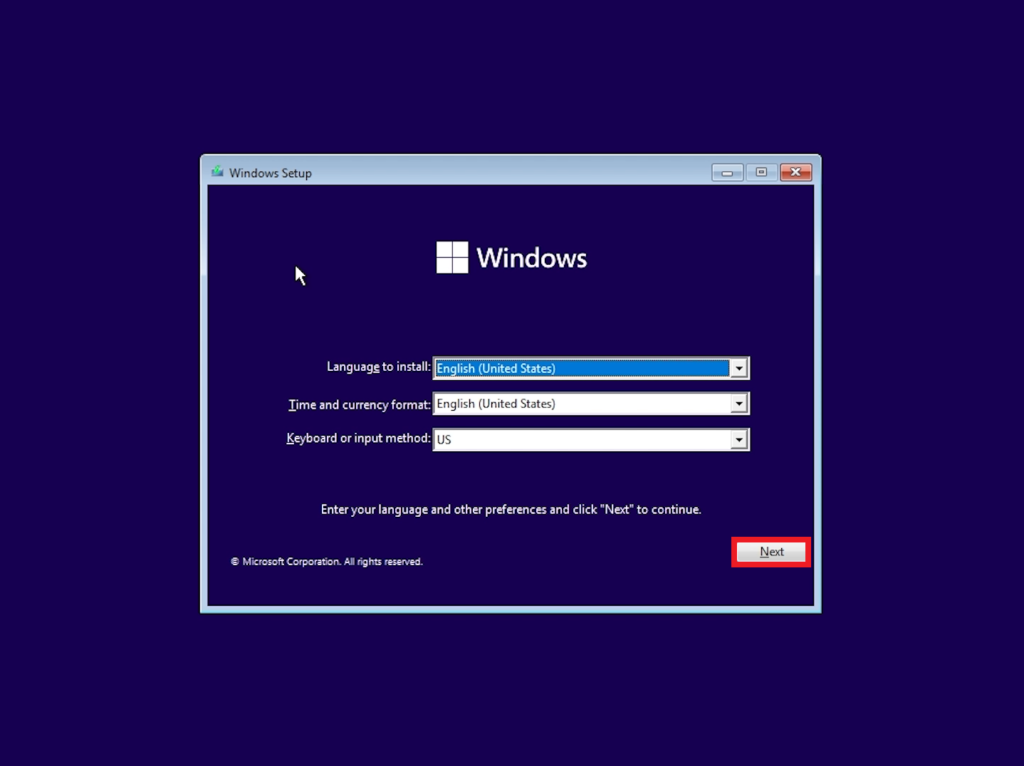
In the first section, select Language to install, Time and currency format, Keyboard or input method, and then click on Next.
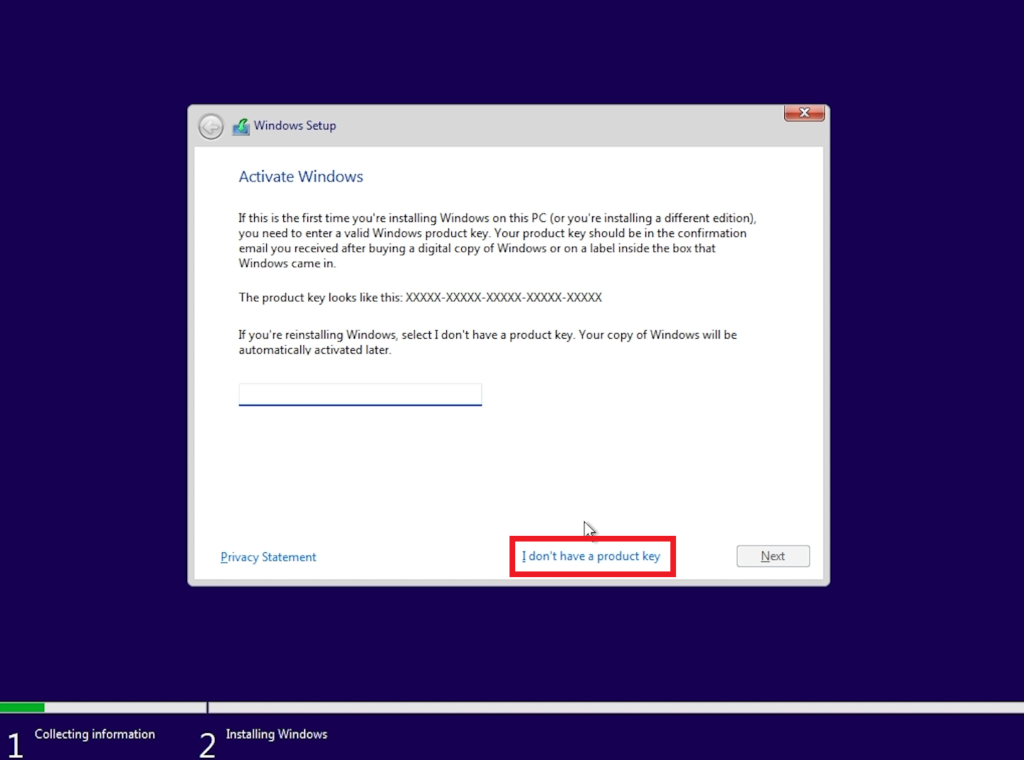
If you don’t have a Product Key, select I don’t have a product key.
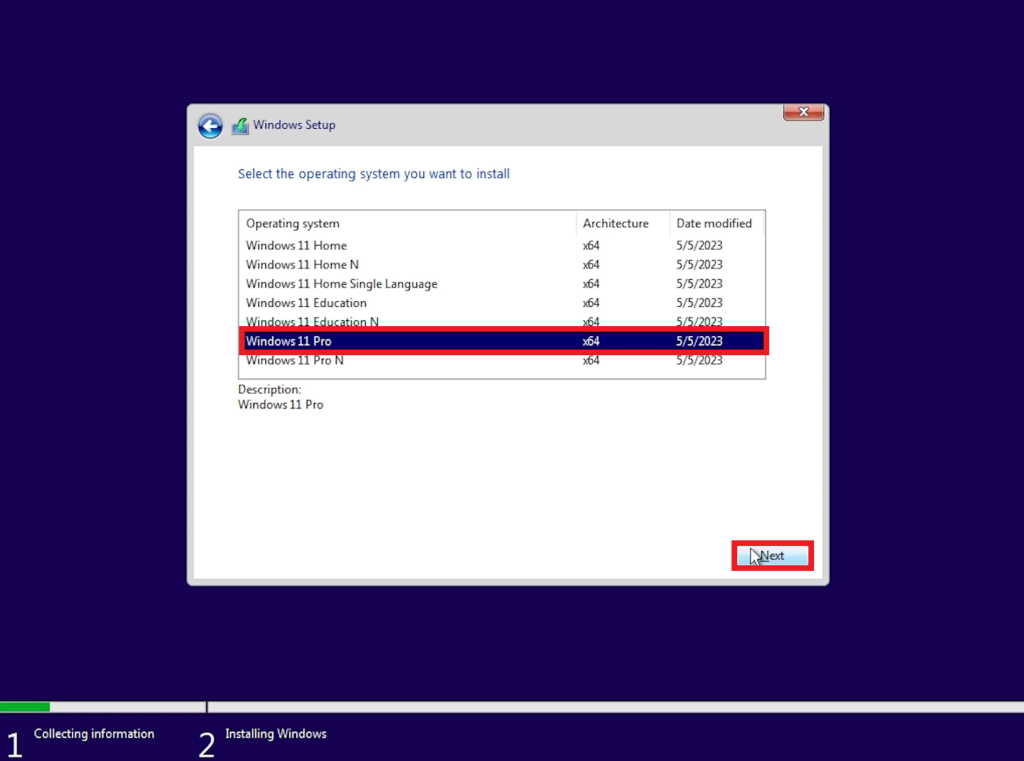
Then select Windows 11 Pro and then click on Next.
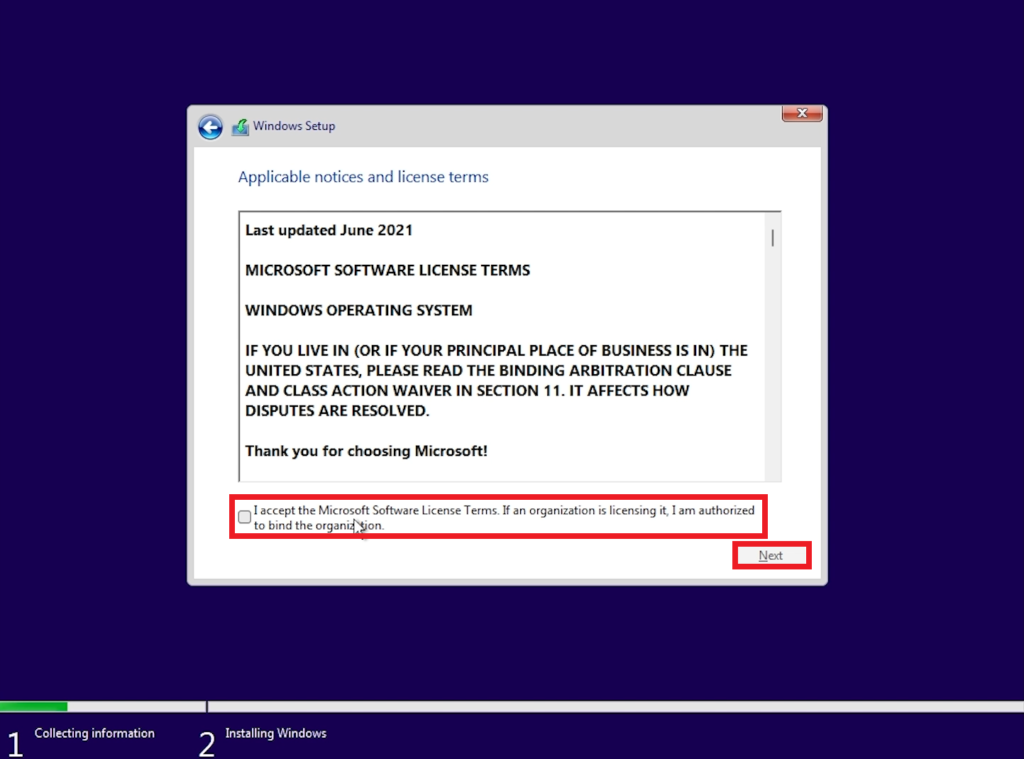
Accept the license terms and then click on Next.
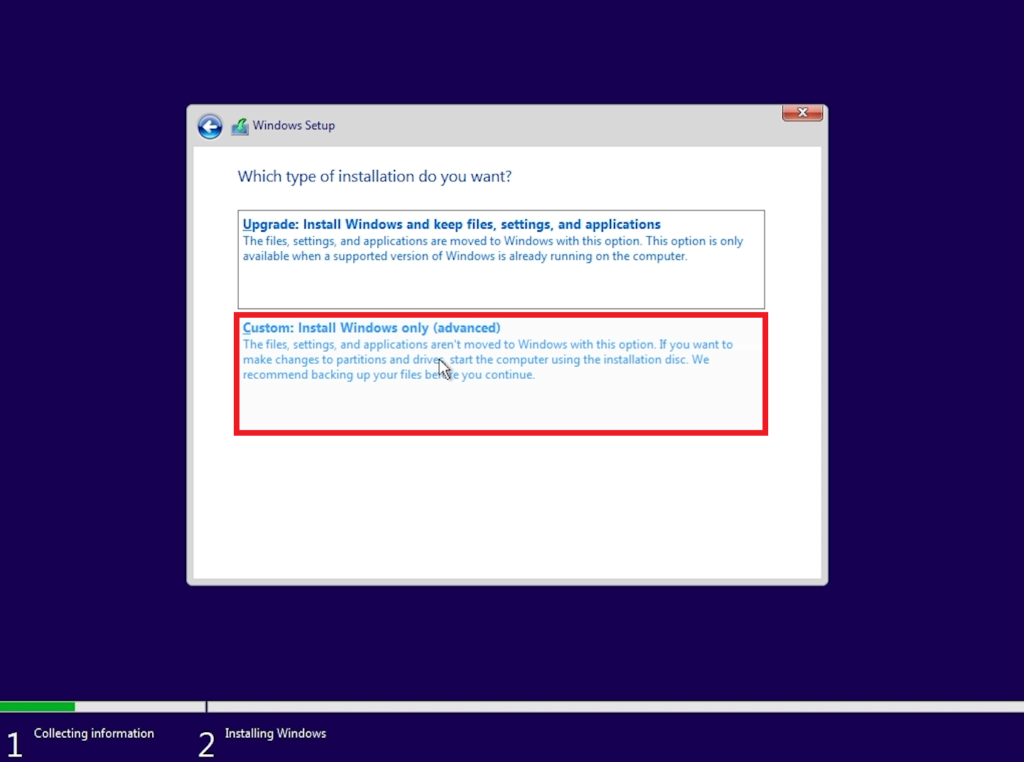
Select Custom: Install Windows only (advanced).
Create your partitions and then click on Next.
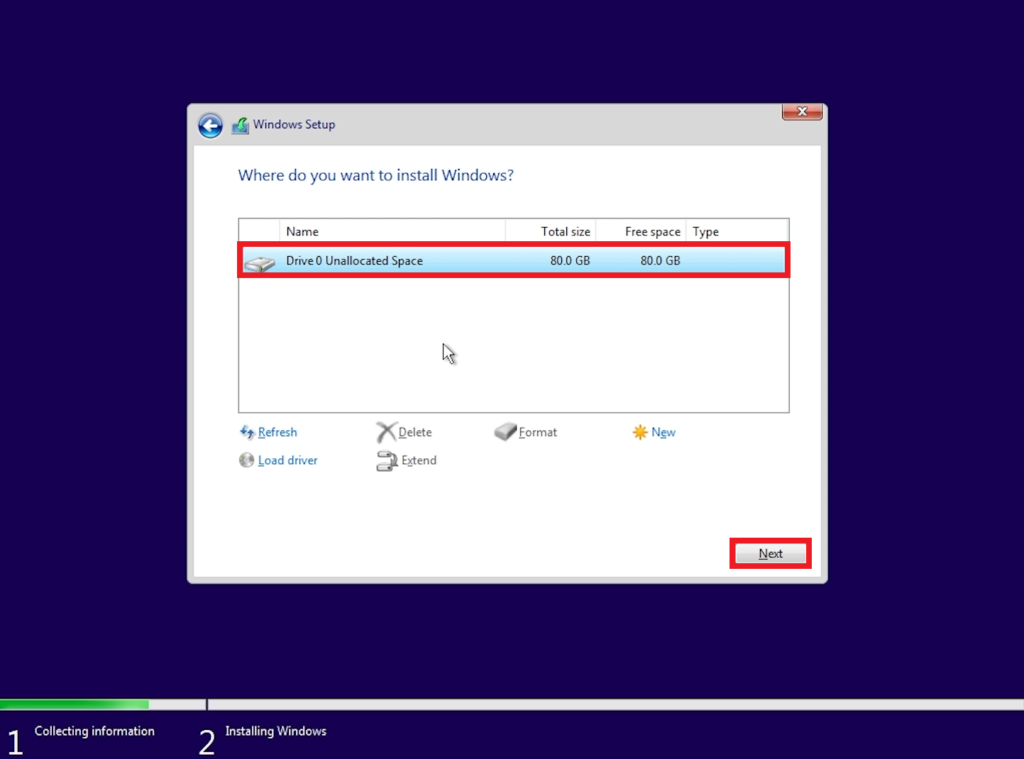
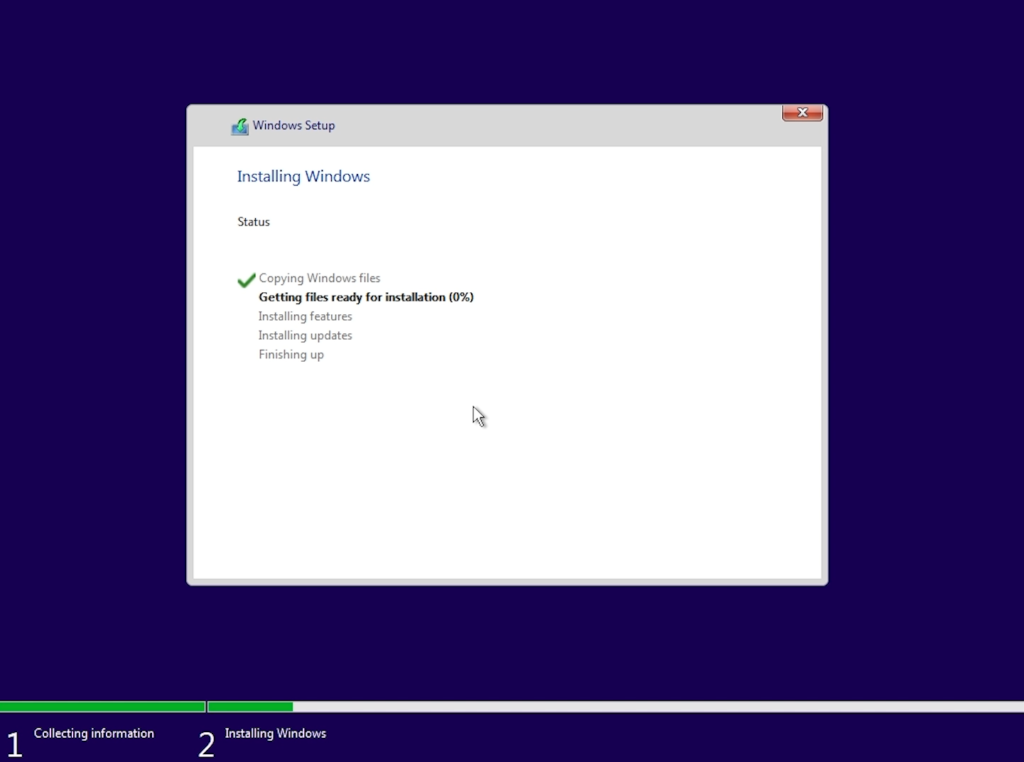
The process of Installing Windows will start and then Windows will restart.
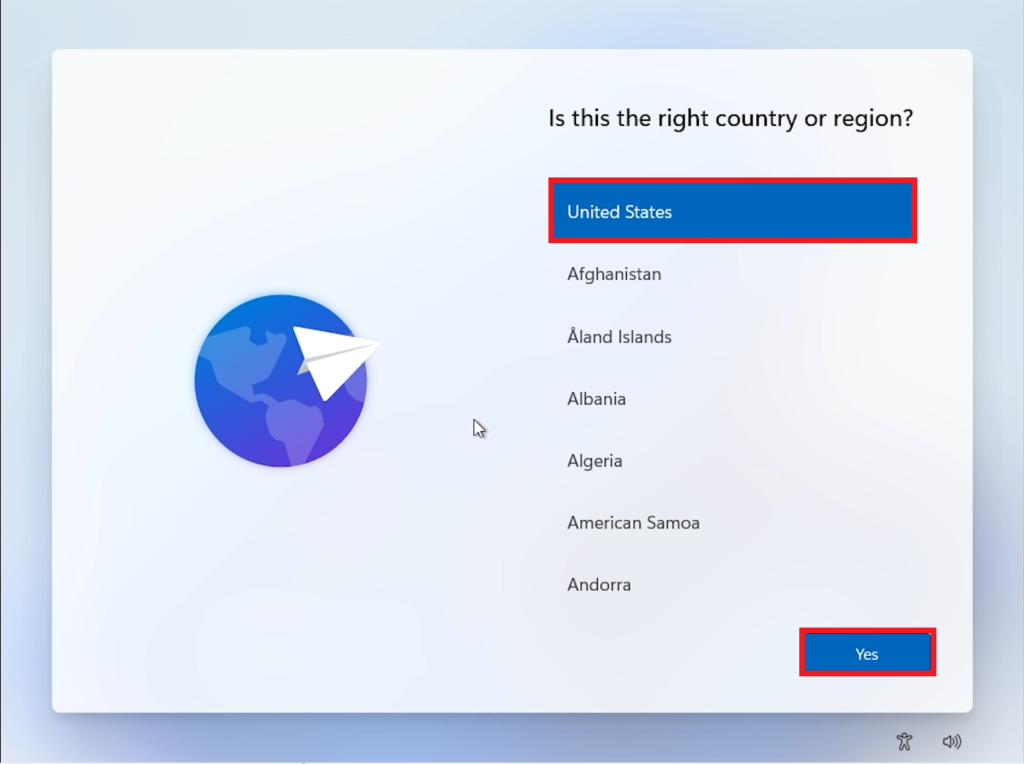
Inside OOBE, select the Country or Region and then click on Yes.
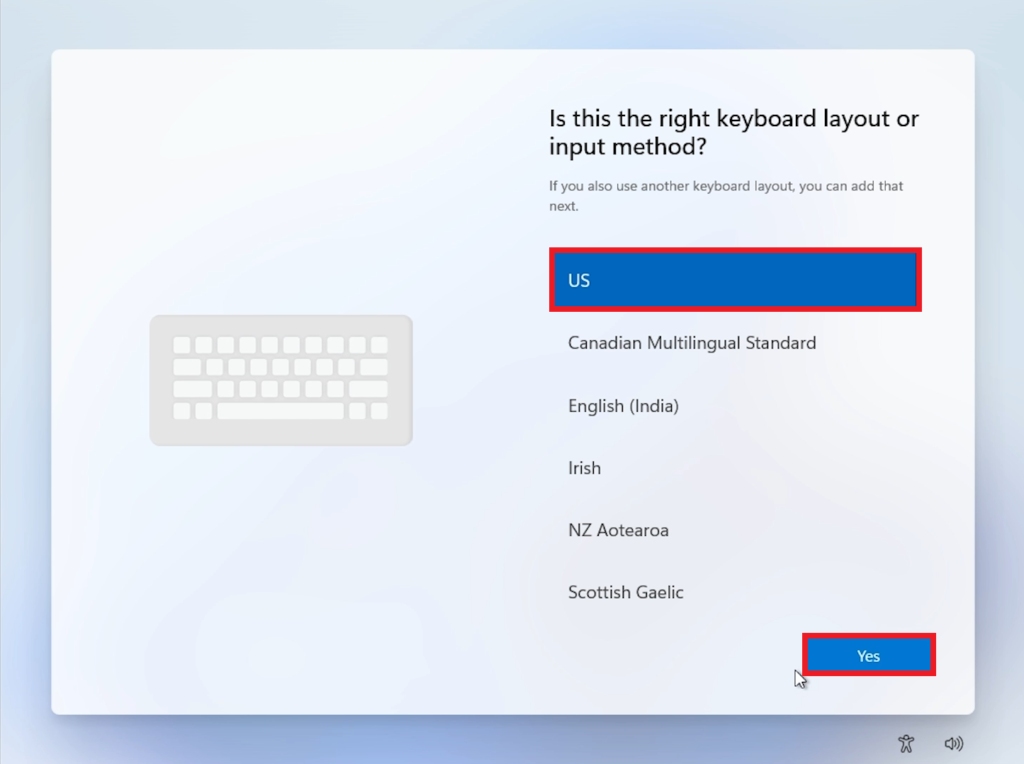
Select the Keyboard layout or input method and click on Yes.
Name your Device and then click on Next.

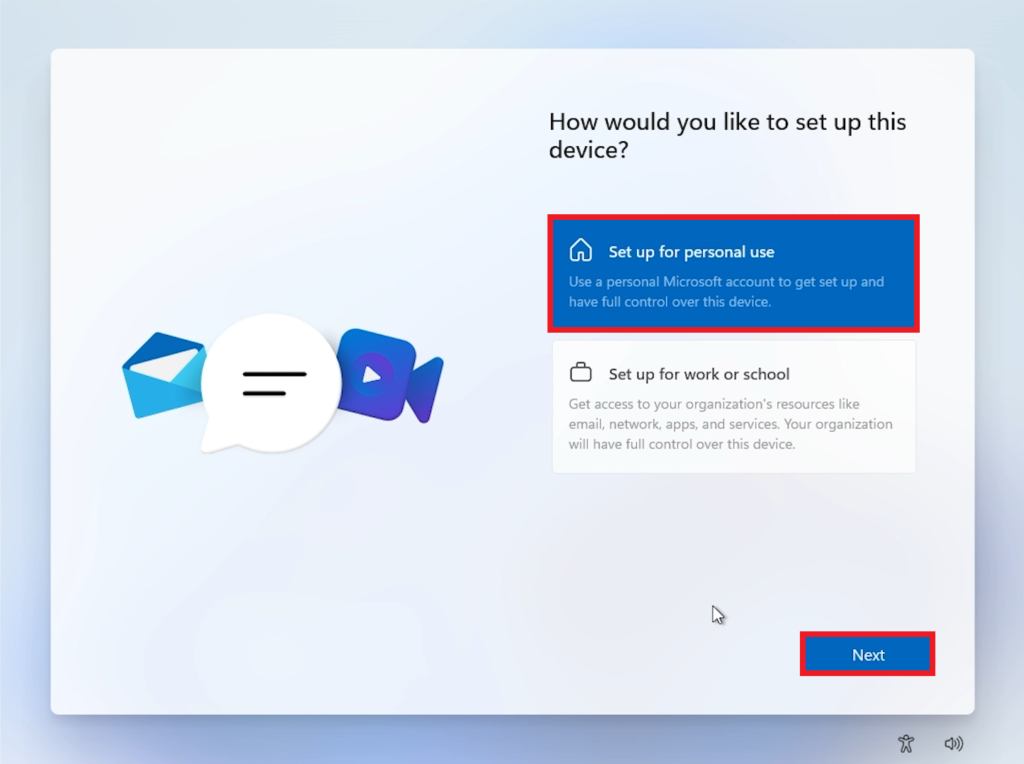
After that select Set up for personal use and then click on Next.
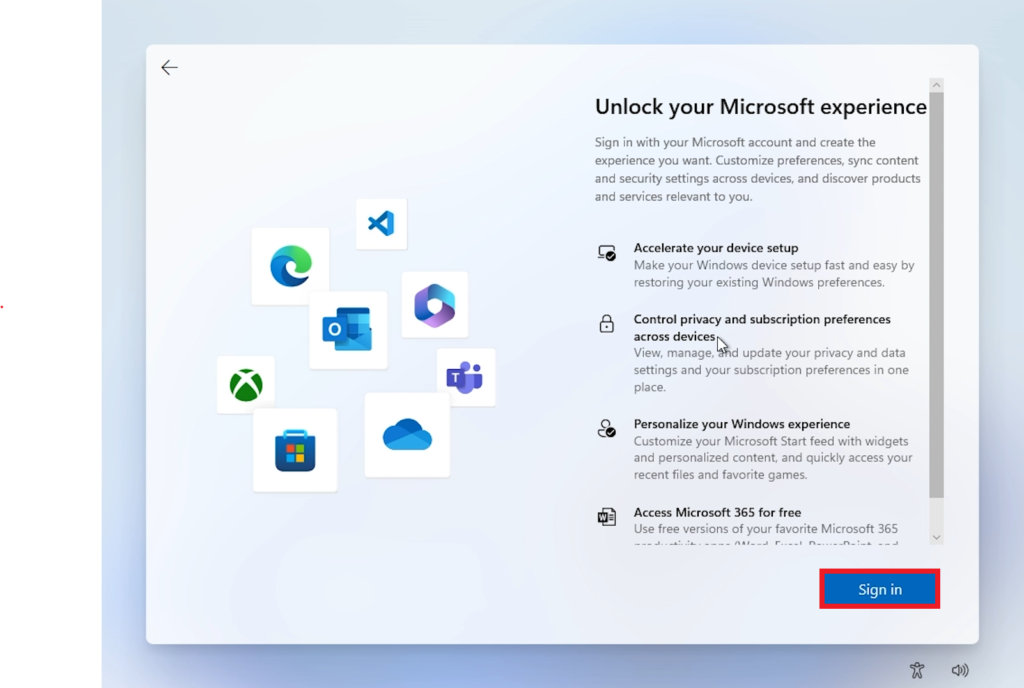
Select Sign in to Log in to your Microsoft Account.
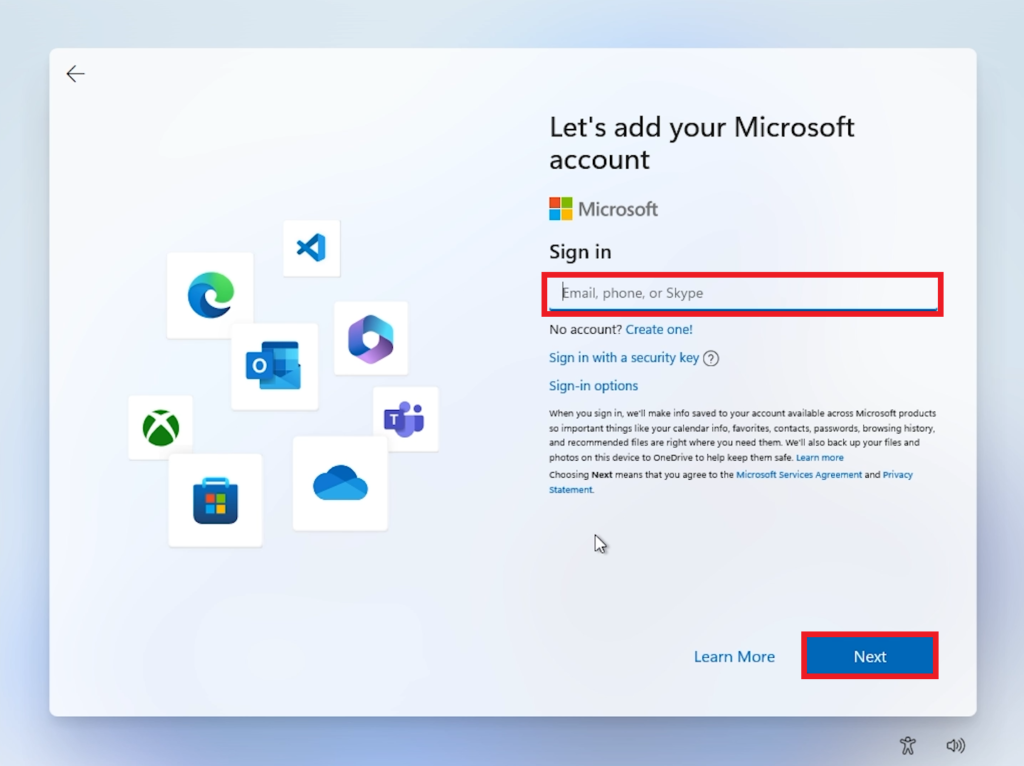
Enter your credentials and then click on Next.
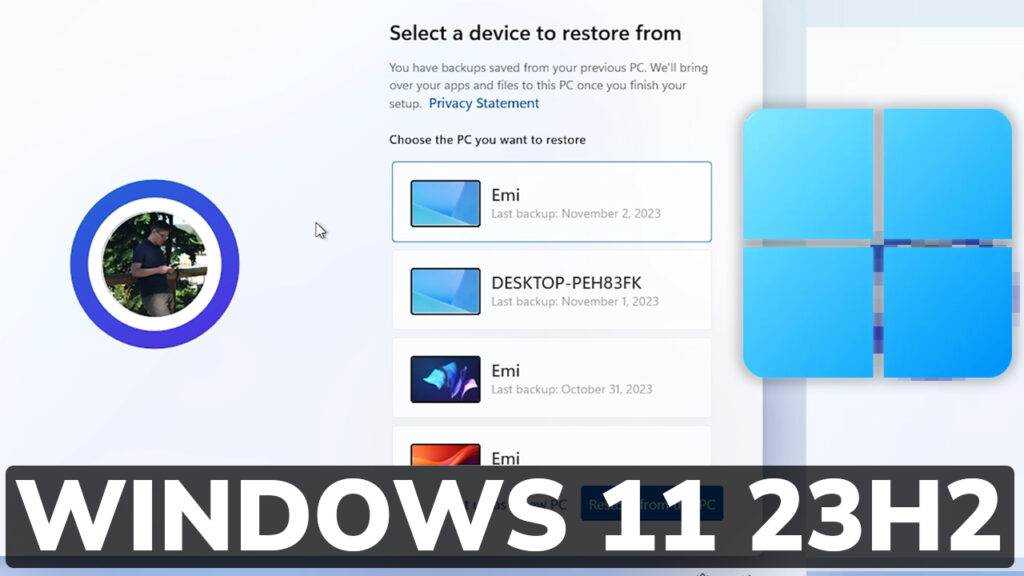
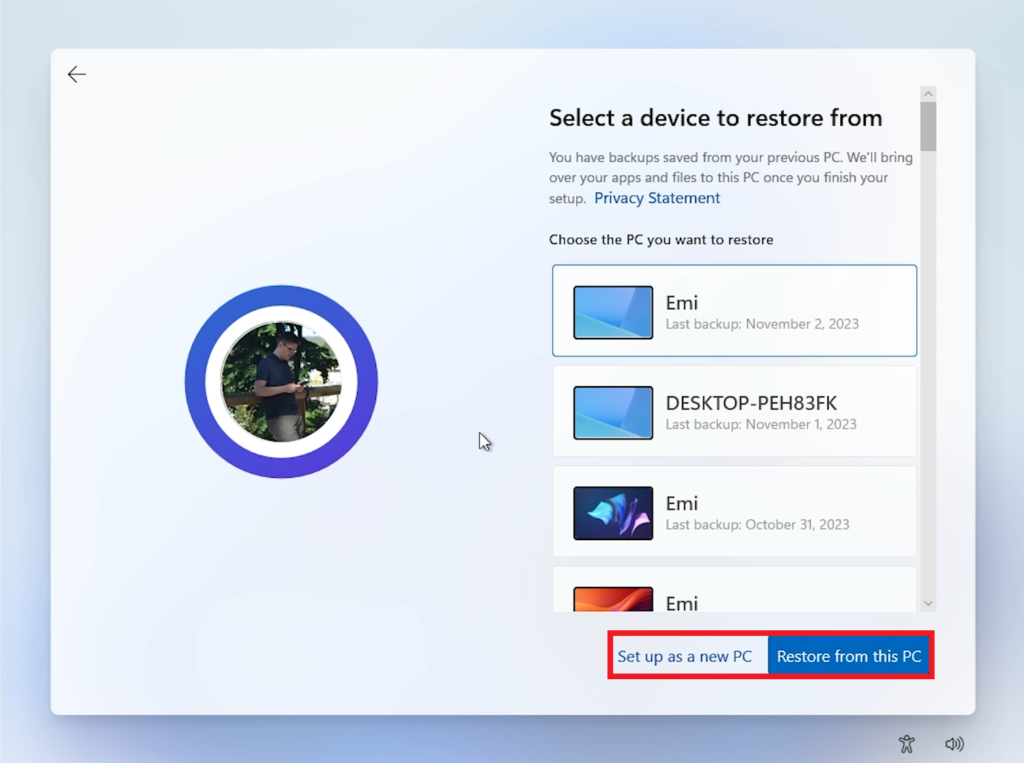
Now you will encounter the first new thing. The restore section is now tied to the Backup App from Windows 11. Now you will be able to Back up folders, apps, settings, and credentials.
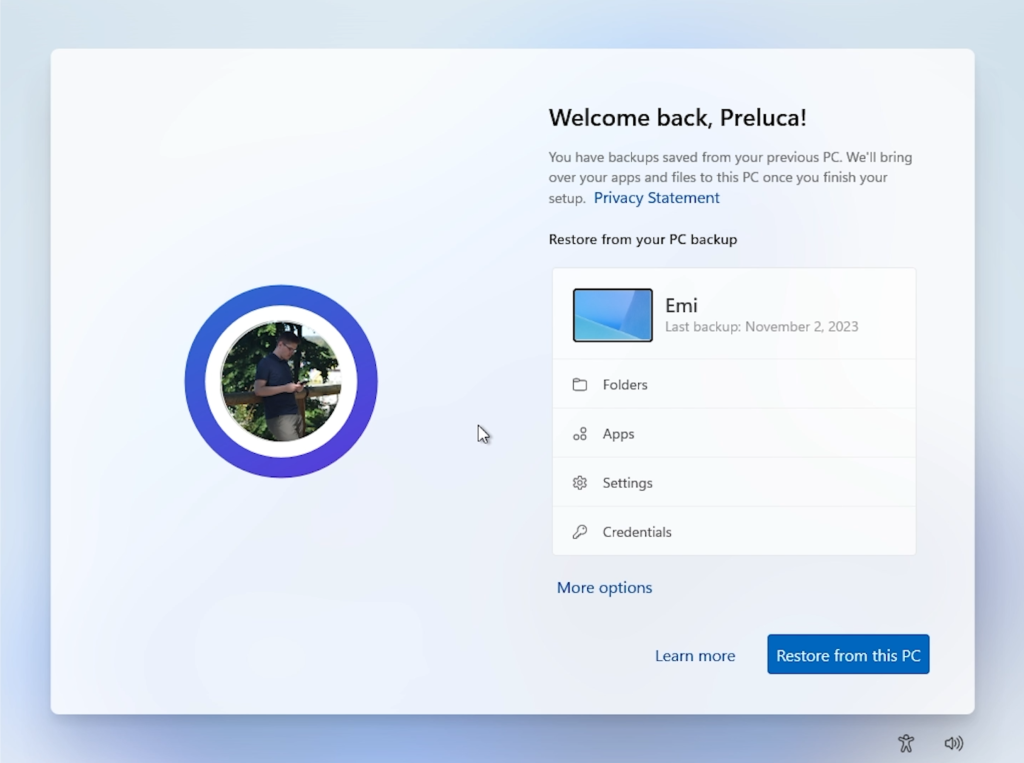
You will also have a history of all backups and the option to select which one to restore. In this case, I selected Set up as a new PC.
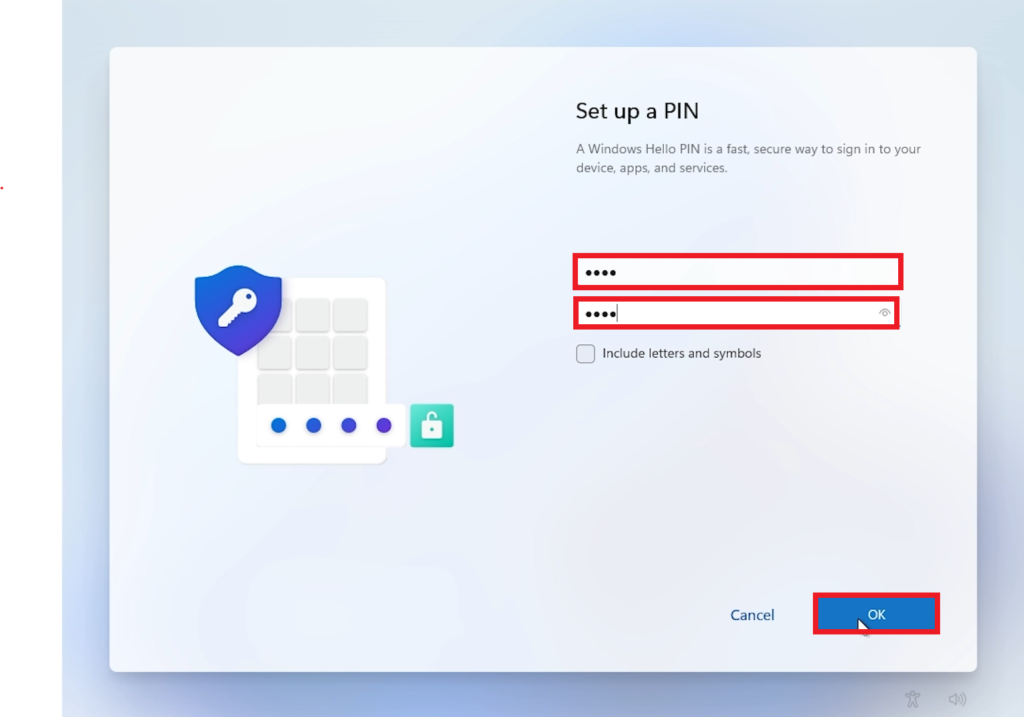
Select your PIN and then click on OK.
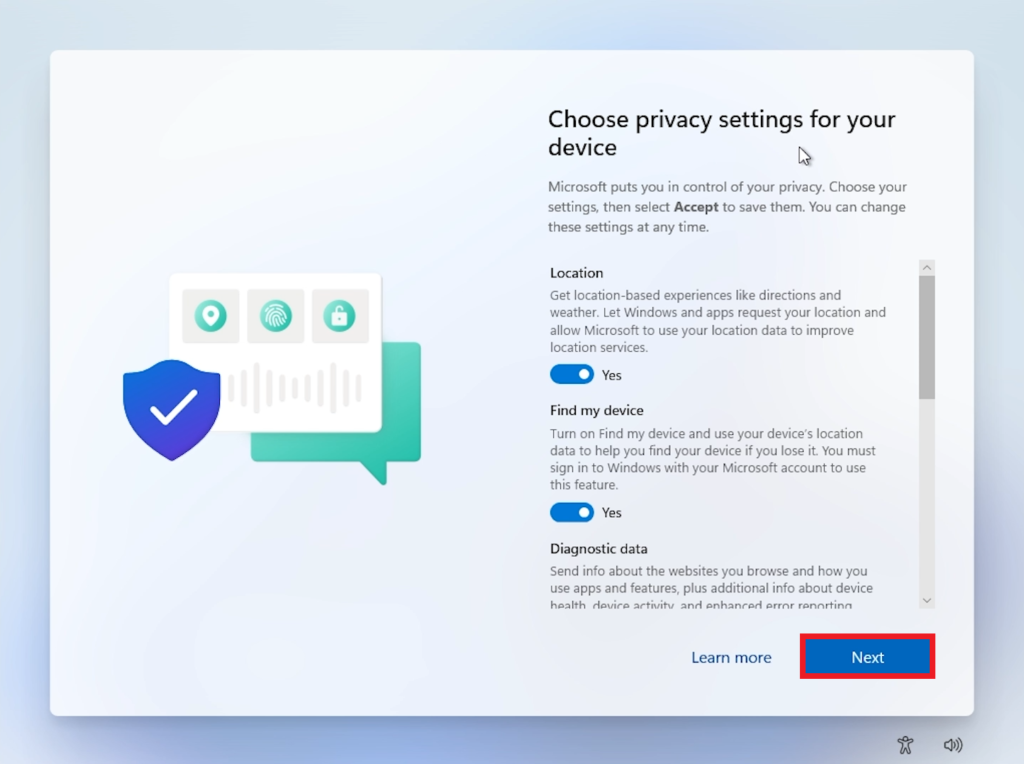
Choose privacy settings for your device and then click on Next.
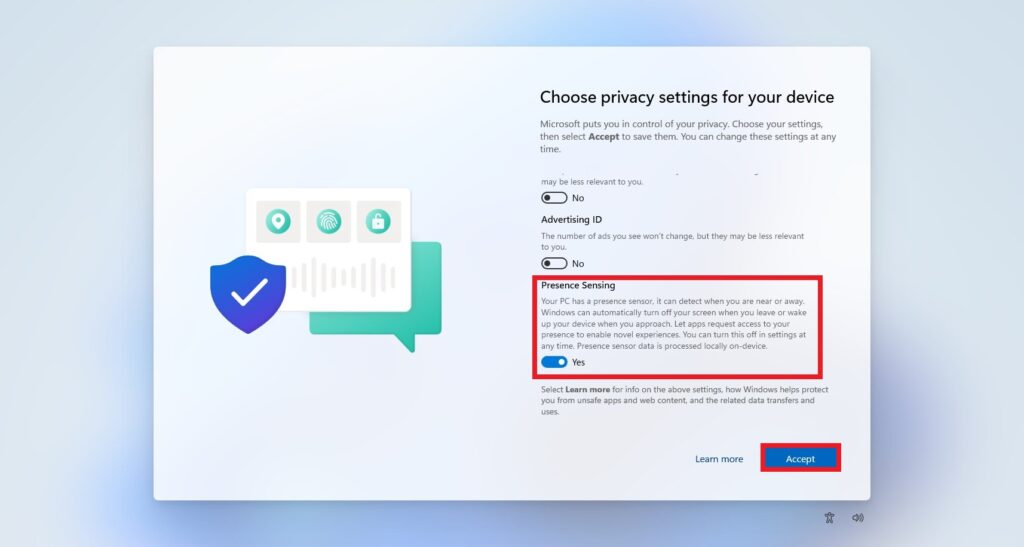
Here, if your system supports it, you will also have the New Presence Sensing option which will detect when you are near or away. Click on Accept after you’re ready.
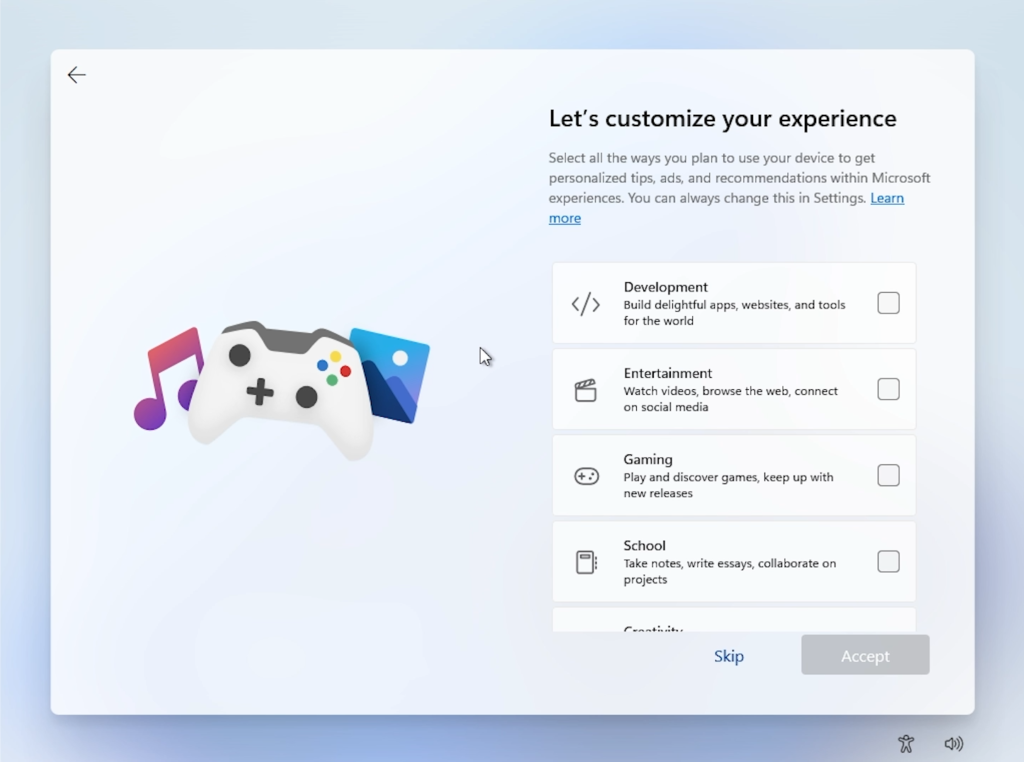
In the Let’s customize your experience section, Microsoft will now change the way Windows starts up the first time, depending on what you select here. For example, if you select Development, the Dev Home App will be automatically opened at the first boot-up.
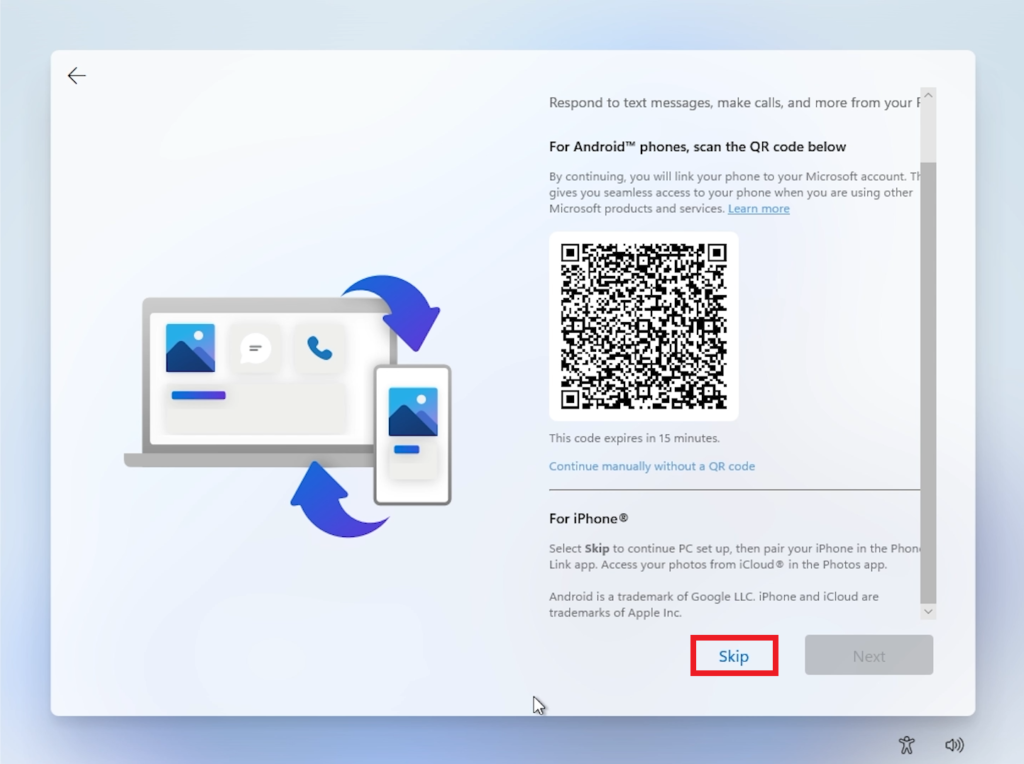
Next, you can set up Phone Link with your Android/IOS Phone.
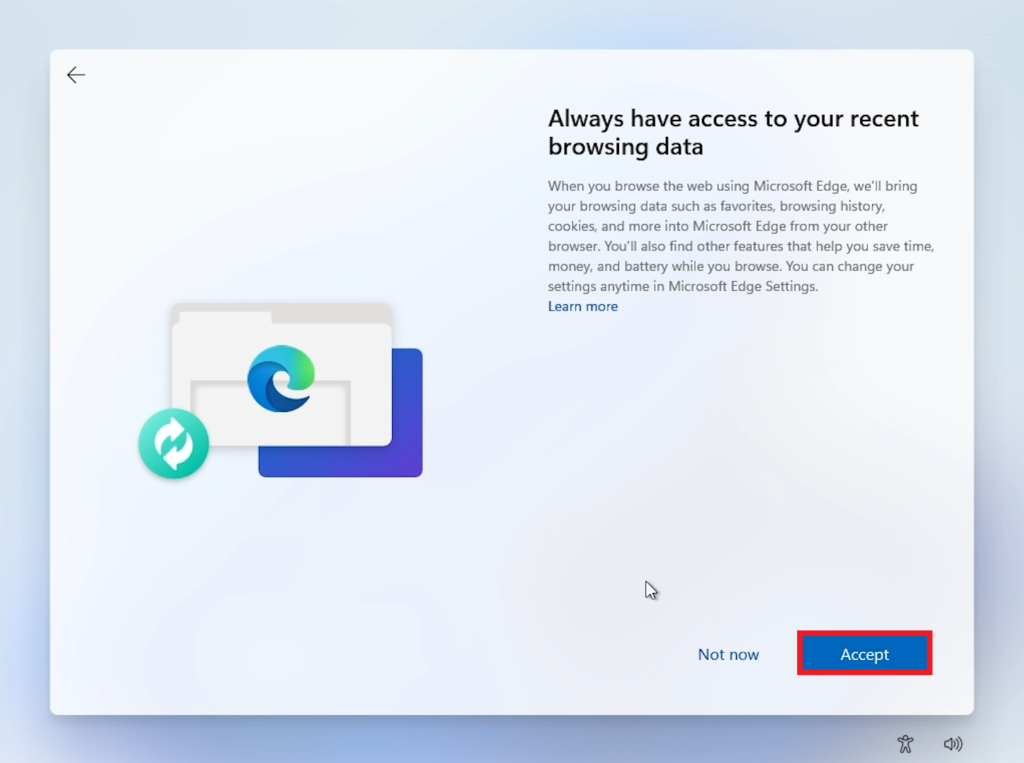
You can also have access to the restored browsing data from Microsoft Edge if you want it. You can select Not now or Accept.
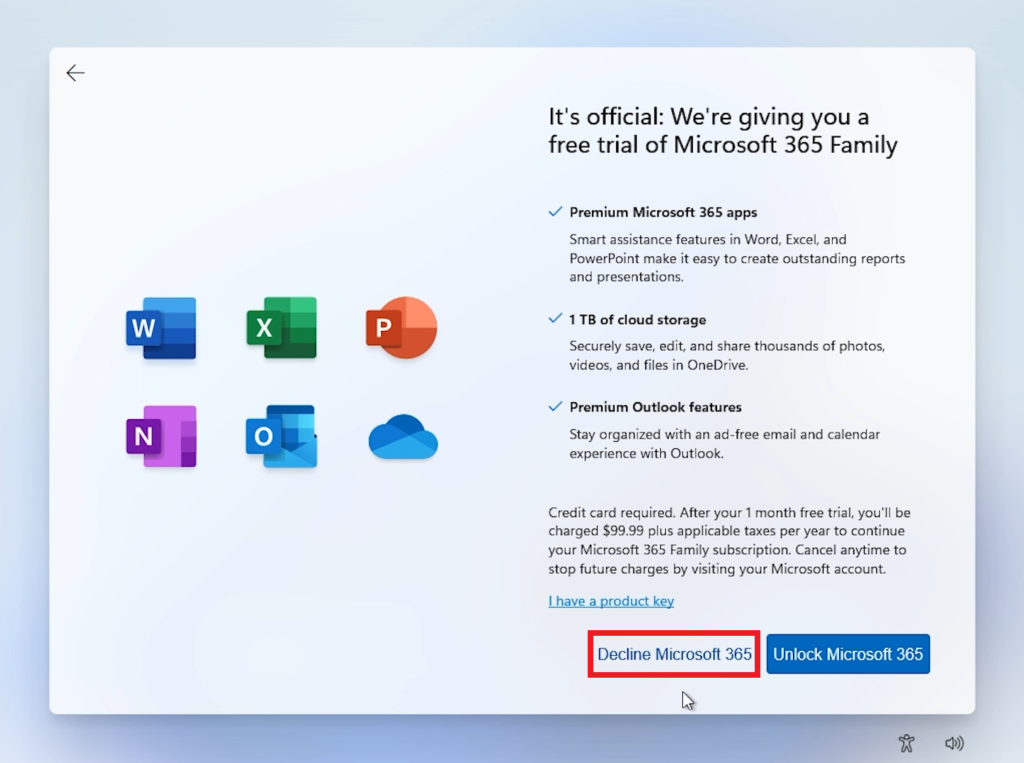
Select Decline Microsoft 365.
Select Decline in the Cloud Storage section.

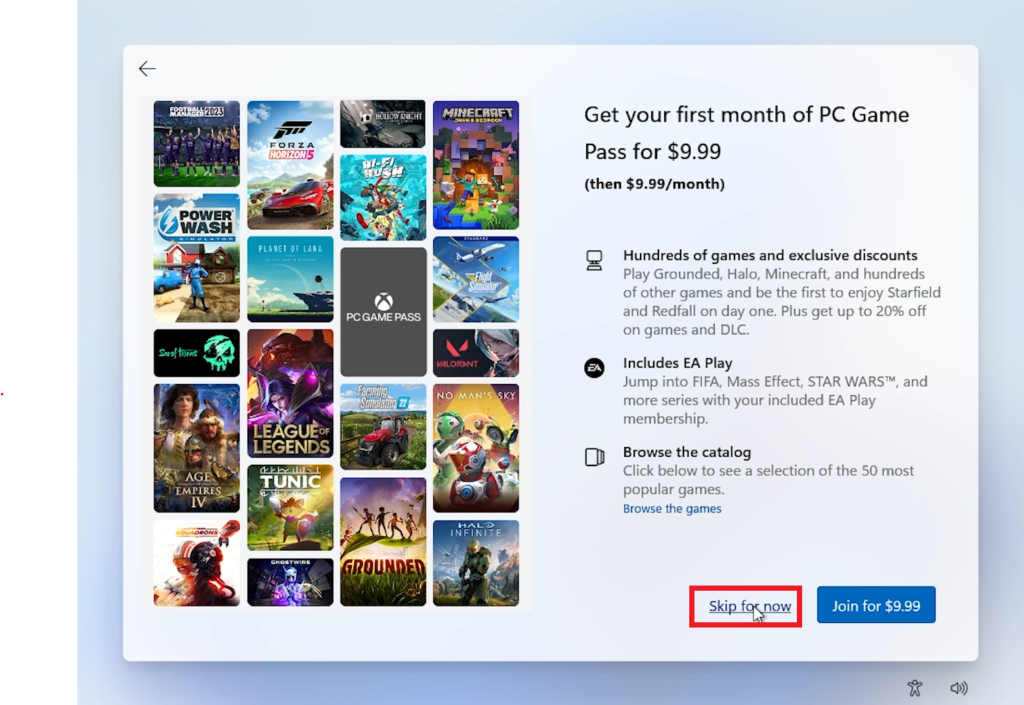
Skip for now in the Game Pass section.
And the installation process is pretty much finished. All you need to do now, is just wait.
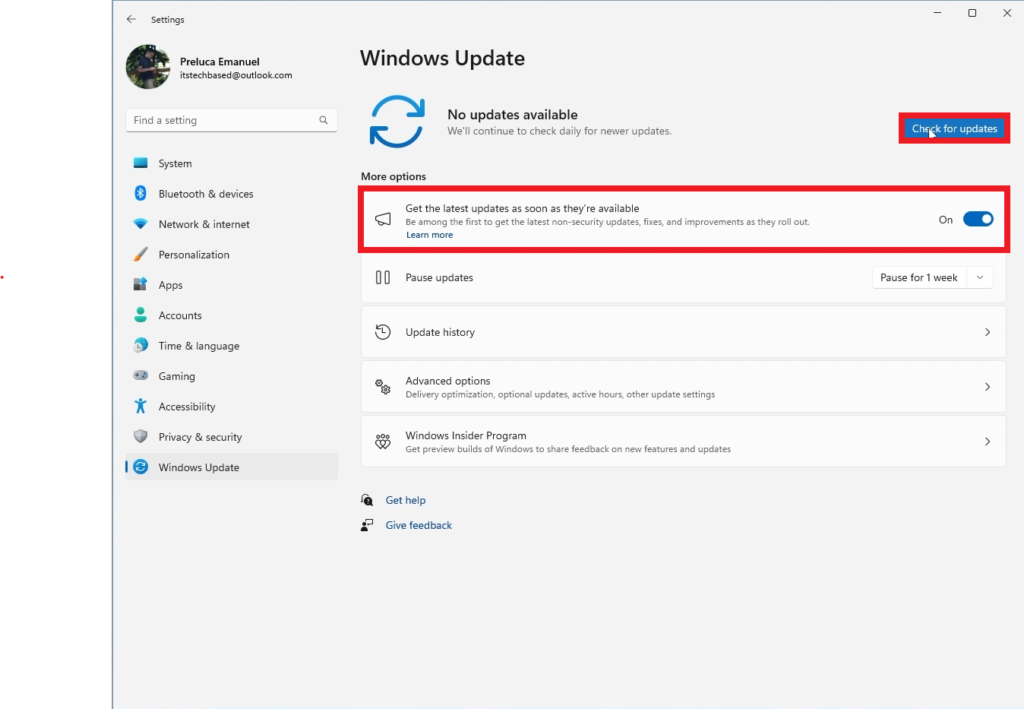
Right after installation, make sure you go to Settings > Windows Update and select Get the latest updates as soon as they’re available. Next, click on Check for updates, so that you are up to date with all the latest patches.
For a more in-depth tutorial, you can watch the video below from the YouTube channel.