In this article, we will talk about the Best Security Settings That You Need To Change in Windows 11 24H2.
Windows 11 is overall a pretty secure Operating System compared to its predecessors, but there are still a few settings that you can change in order to have an even more secure system.
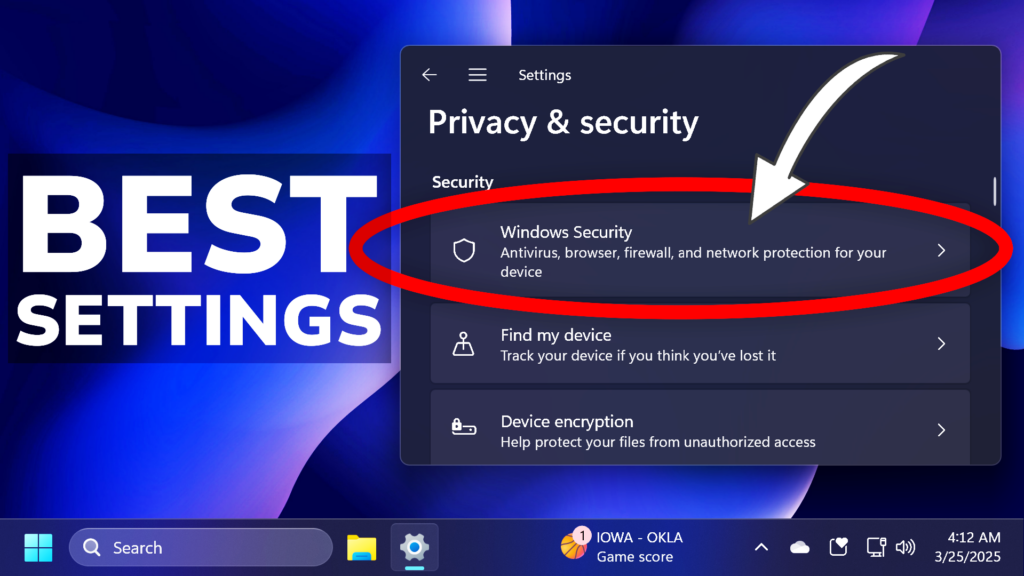
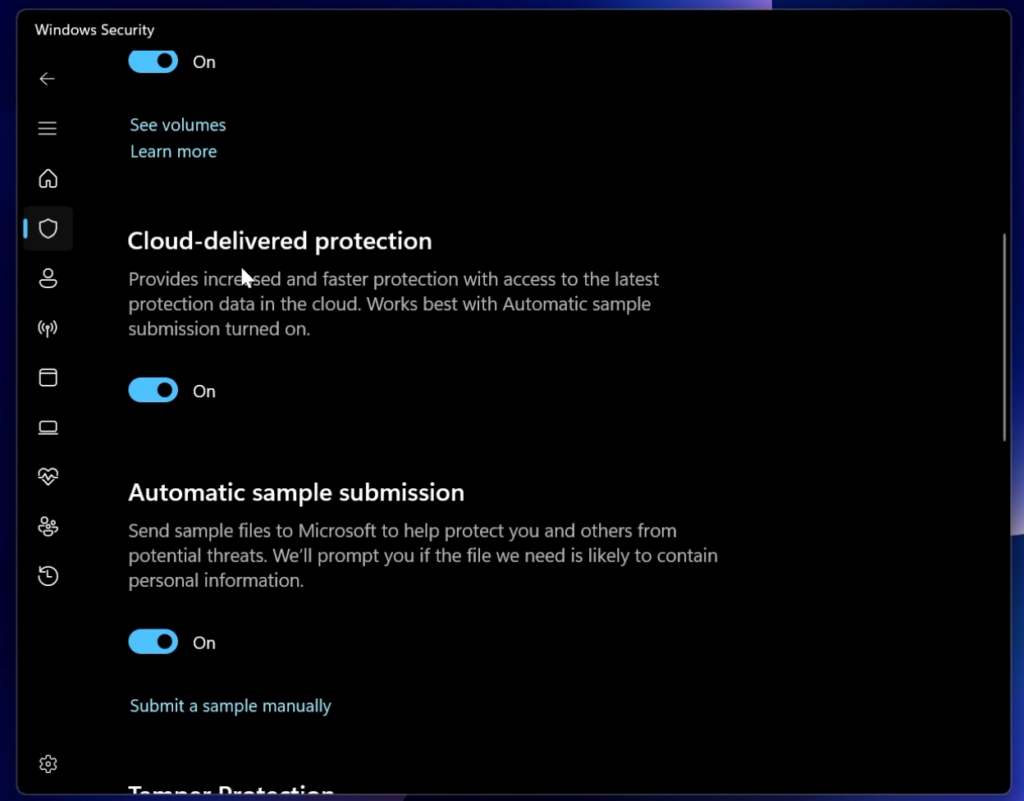
First of all, in Windows Security and then Virus & threat protection settings, make sure that all protections are turned on except Automatic sample submission.
You can also go at the bottom in Manage controlled folder access and then turn on Controlled folder access.
Inside Firewall & network protection, make sure Firewall is on for domain, public and private networks.
Lastly, inside Device Security and then Core isolation details, make sure everything is enabled.
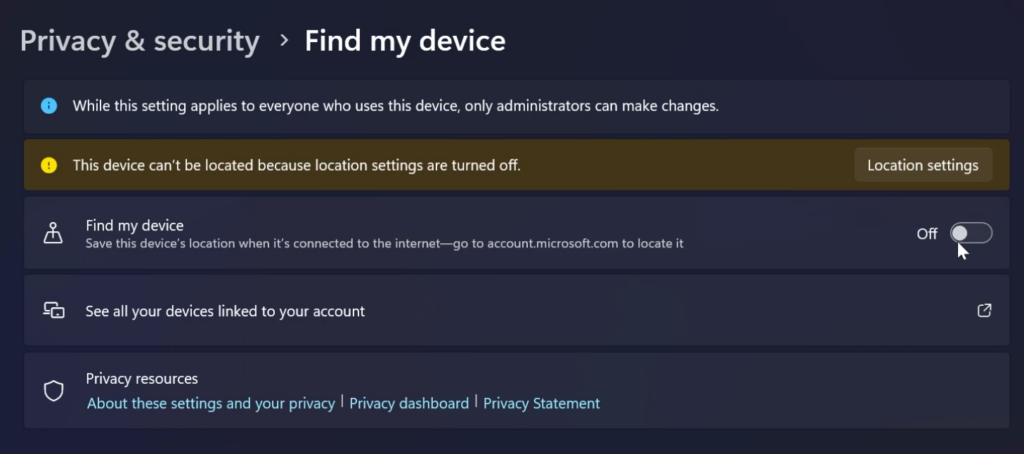
In Settings, Privacy & security and Find my device, make sure Find my device is turned off.
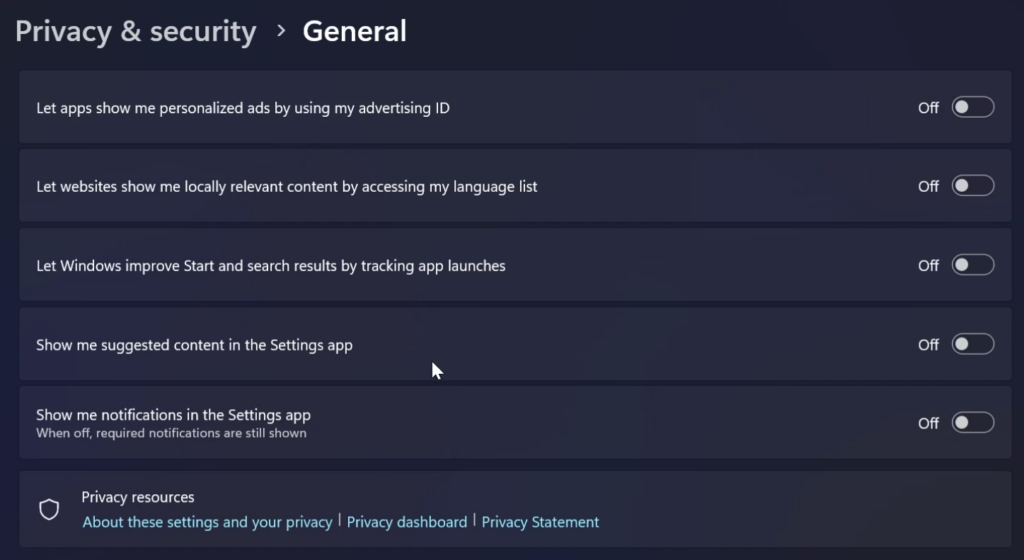
Then, in the General Section, make sure every option is turned off.
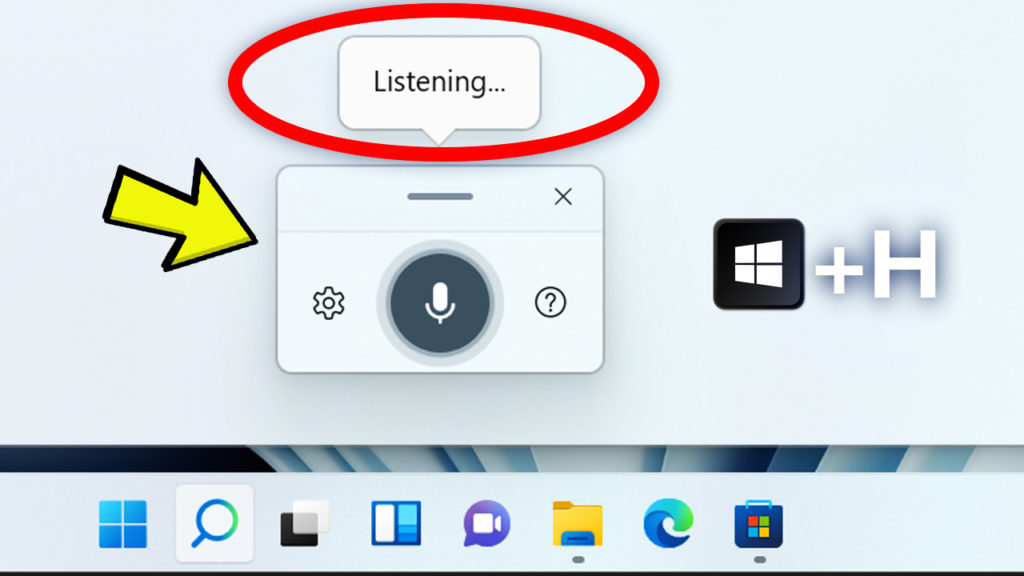
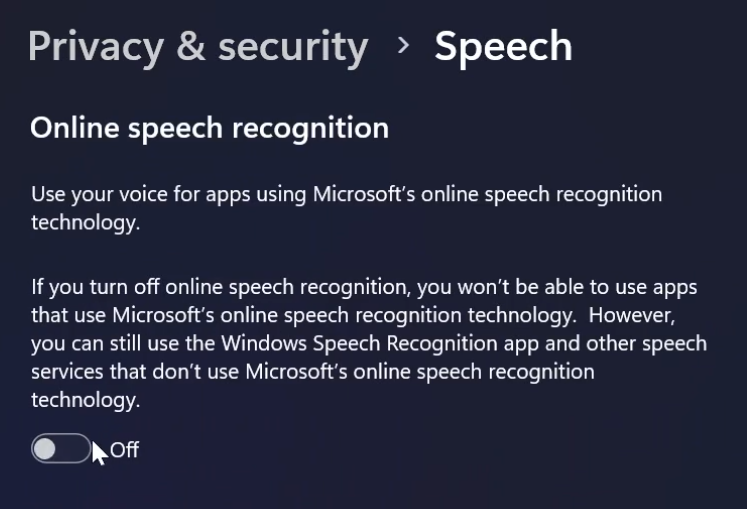
Another setting to turn off is the Online speech recognition option.
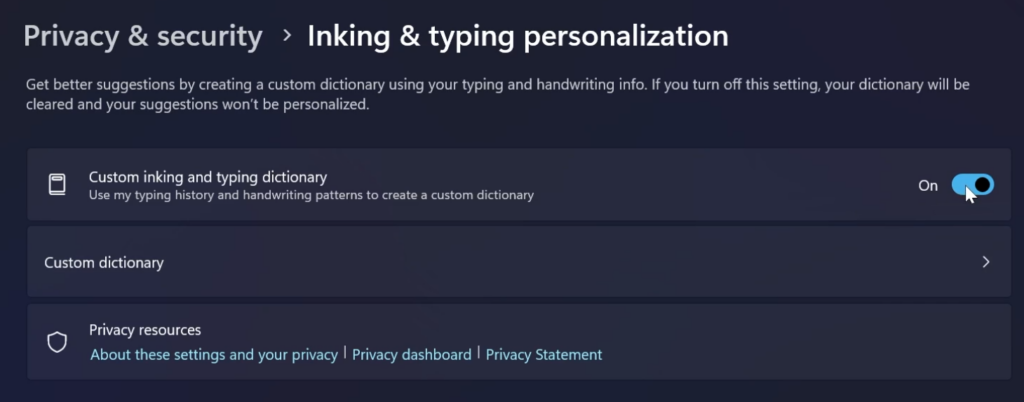
Inside Inking & typing personalization, make sure Custom inking and typing dictionary is turned off.
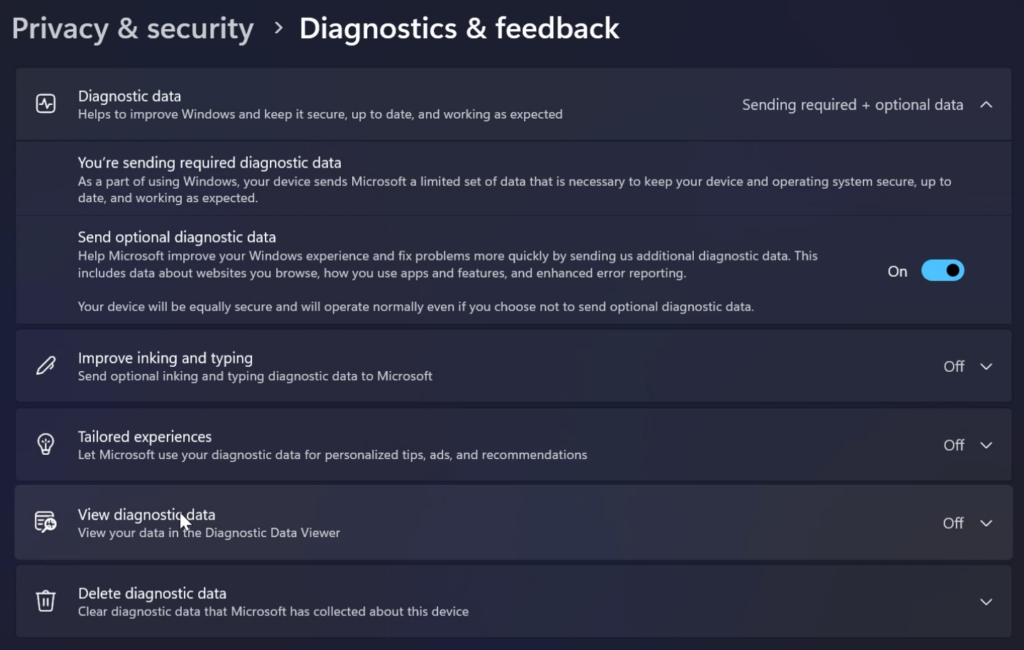
Next up, inside Diagnostics & feedback, make sure Diagnostic data > Send optional diagnostic data is turned off, Improve inking & typing: Off, Tailored experiences: Off, Delete diagnostic data: Delete, Feedback frequency: Never
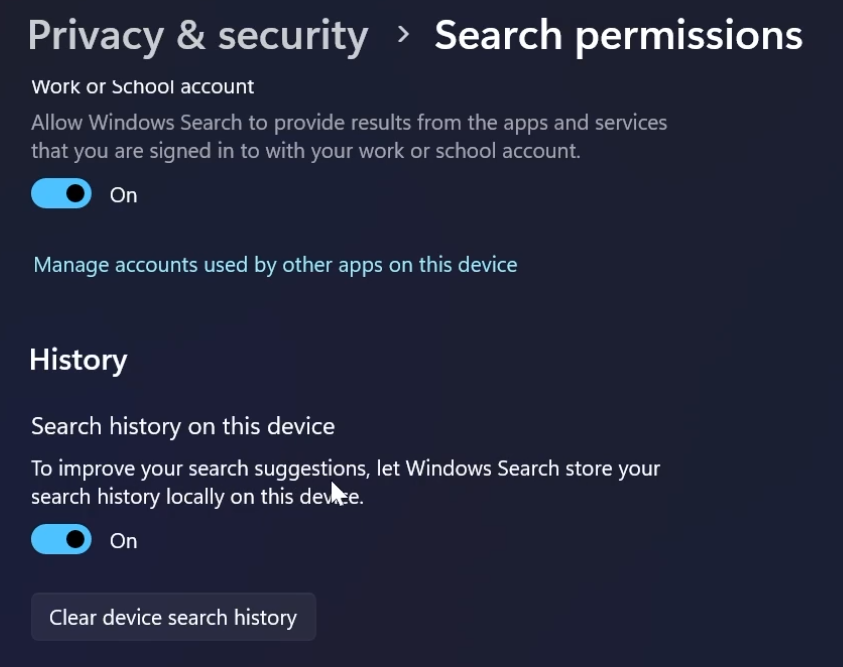
Inside Search permissions, make sure Search history on this device and Search Highlights is turned off.
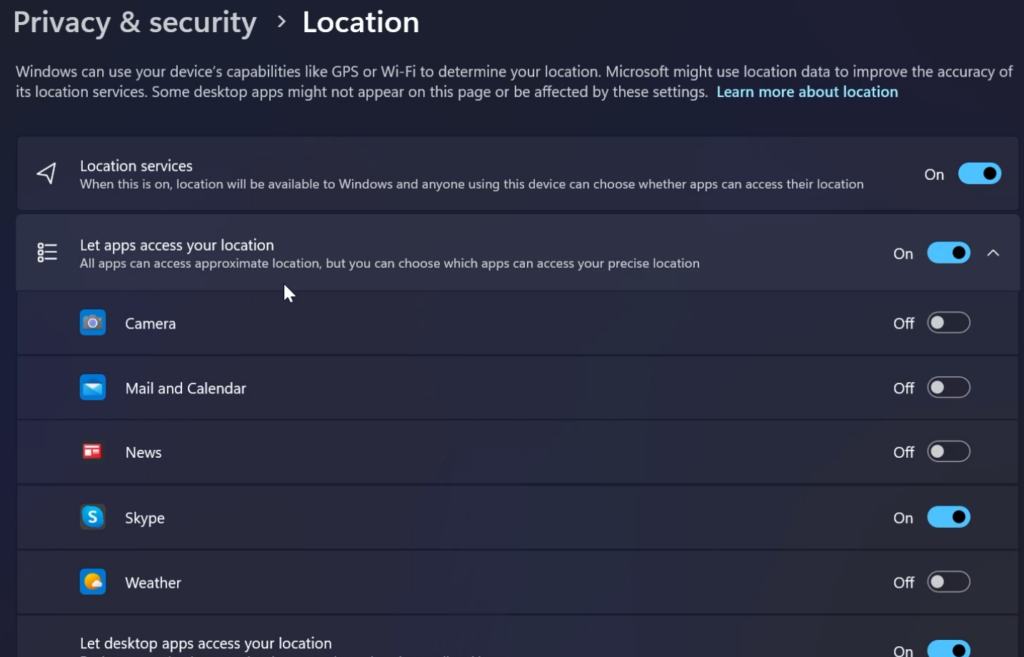
Inside Location, you can review each app permission and disable what you wish and choose which apps can have access to location, camera, microphone, notifications and more.
Additionally make sure App diagnostics and App diagnostic access is turned to off.
For a more in-depth tutorial, you can watch the video below from the youtube channel.