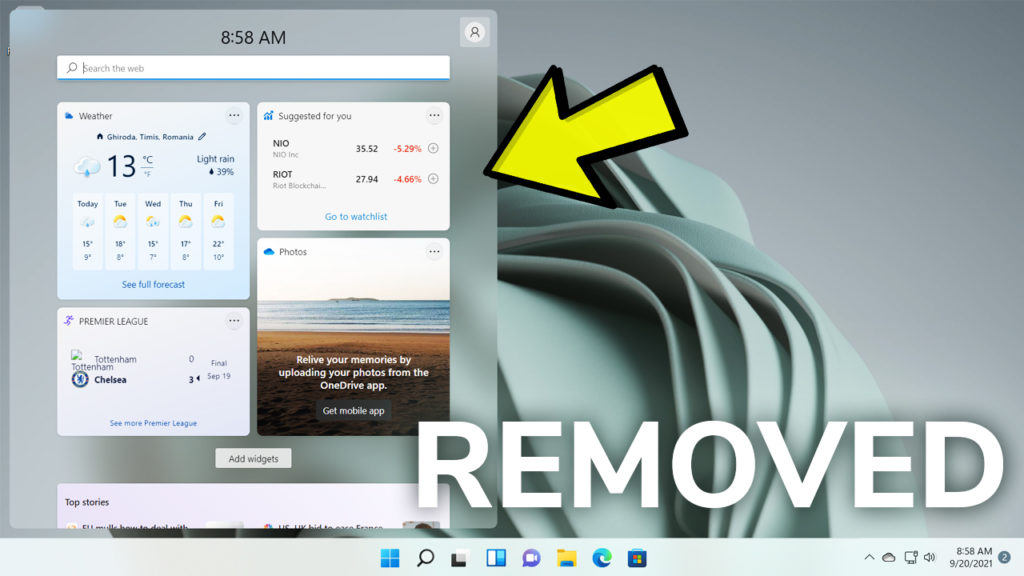
In this article, I will show you how to Enable Drag & Drop to the Taskbar in Windows 11, a useful feature that was removed from the operating system. We will use a third-party program that was created by a developer from Github.
The Drag & Drop feature doesn’t refer to the fact that you would be able to pin apps to the Windows 11 taskbar, rather it refers to the fact that you can maximize certain apps using this feature, to copy or move information from one window to another.
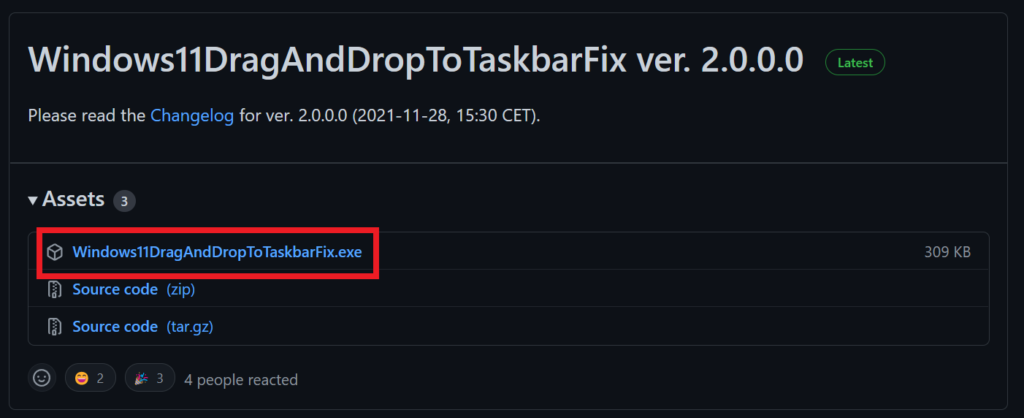
Download Windows11DragAndDropToTaskbarFix
To download the program, simply click on the .exe file from Github and save it on your computer. Make sure to download the latest version that could have certain bugs or issues fixed by the developer.
Make sure to check the developer’s Github for more info about how to program works, how to use it and what is new in a certain new update.
To start the program, double click on it, and an icon should appear in the system tray from the taskbar.
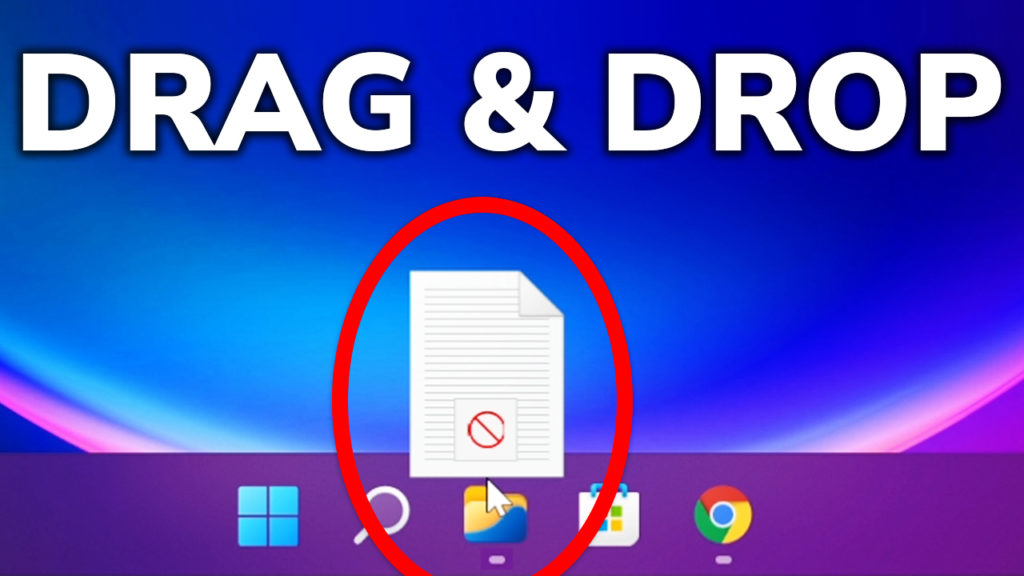
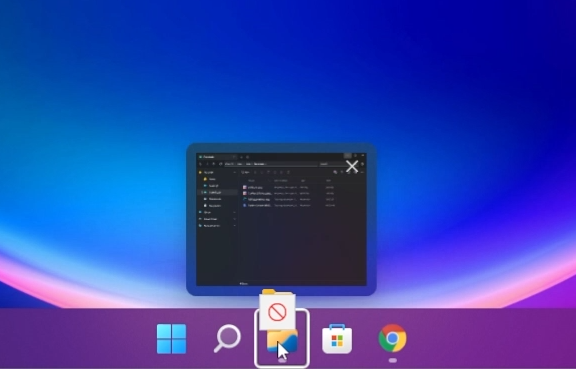
After you run the program, you can test the feature. You can drag & drop files to another window, maximize it and copy or move that file to that location.
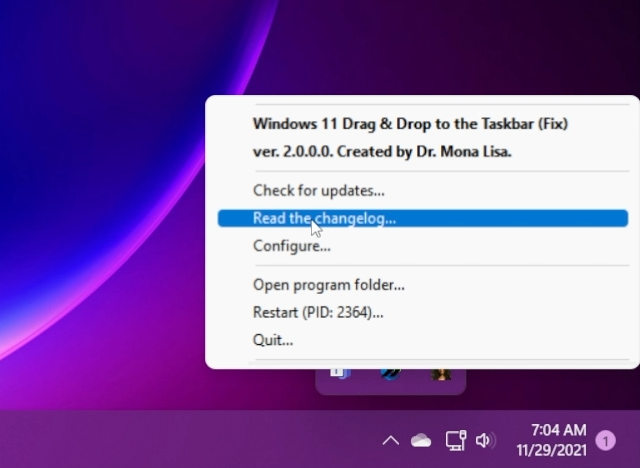
If you right-click on the icon from the taskbar, you will be able to see some new features that the developer implemented.
First of all, you can see some information about the app and the version that you are running.
You can also check for updates. This will automatically open the Github page of the program so that you can check if you have the latest version.
By clicking on Read the changelog, you will be able to see all the new features and fixes applied to the latest version.
On Configure you can create a custom configuration. You will have more information about this on Github.
You can also Open the program folder and restart it. The PID is provided if you want to restart the app manually.
We now have a Quit button also, so that we won’t have to close it from the Task Manager or use CMD.
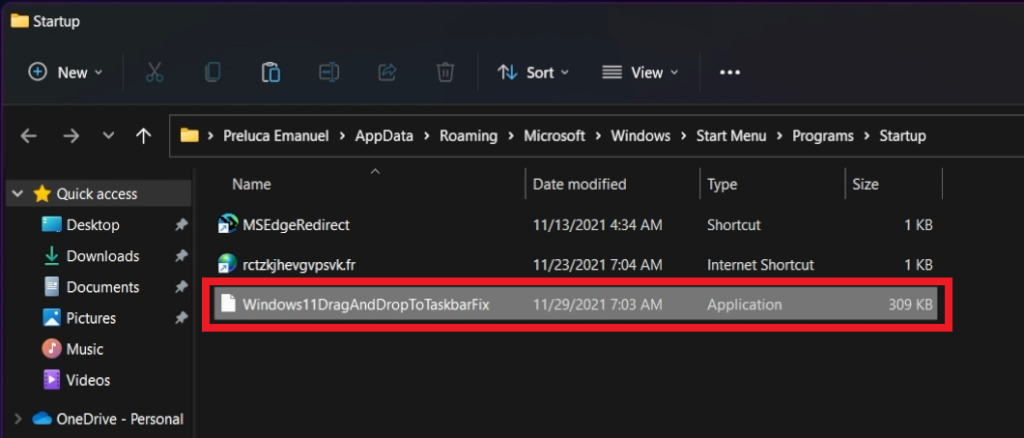
Run the program at Startup
Open the Run box, by using the keyboard combination Windows + R on your keyboard and then type in there shell:startup.
Copy the program to that location and next time you restart or shut down your computer, the program will run automatically at startup.
For a more in-depth explanation, you can watch the video below from the youtube channel.