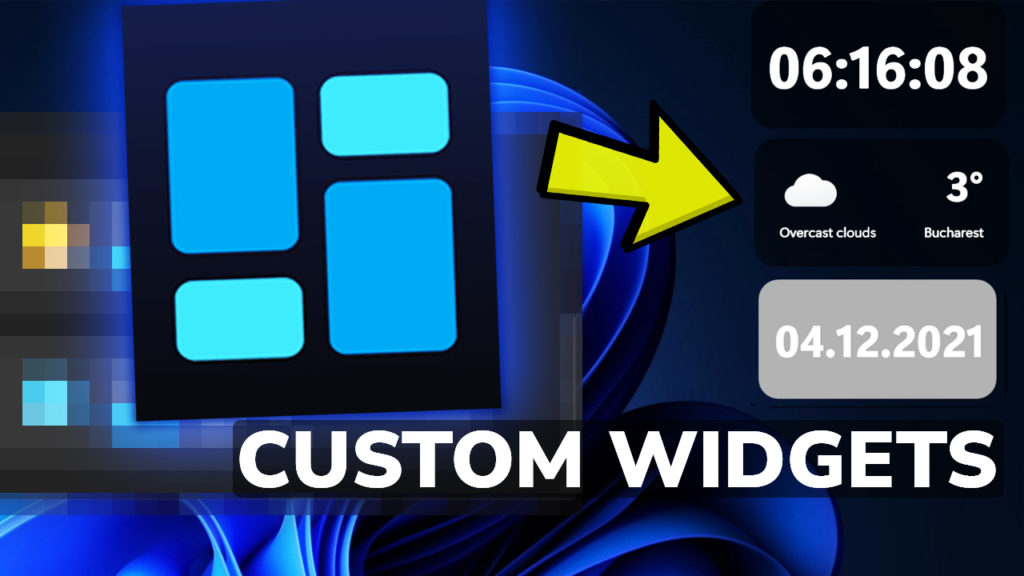
In this article, I will show you how to create custom Widgets in Windows 11. For the purpose of this guide, we will use an application named BeWidgets, available on the Microsoft Store.
We all know the new Widgets section in Windows 11, but few of us actually use it. The main reason for that is because that section is really limited and has very few options regarding creating custom or personalized widgets. The program we will install today will help us create custom Widgets in Windows 11.
Download BeWidgets from the Microsoft Store
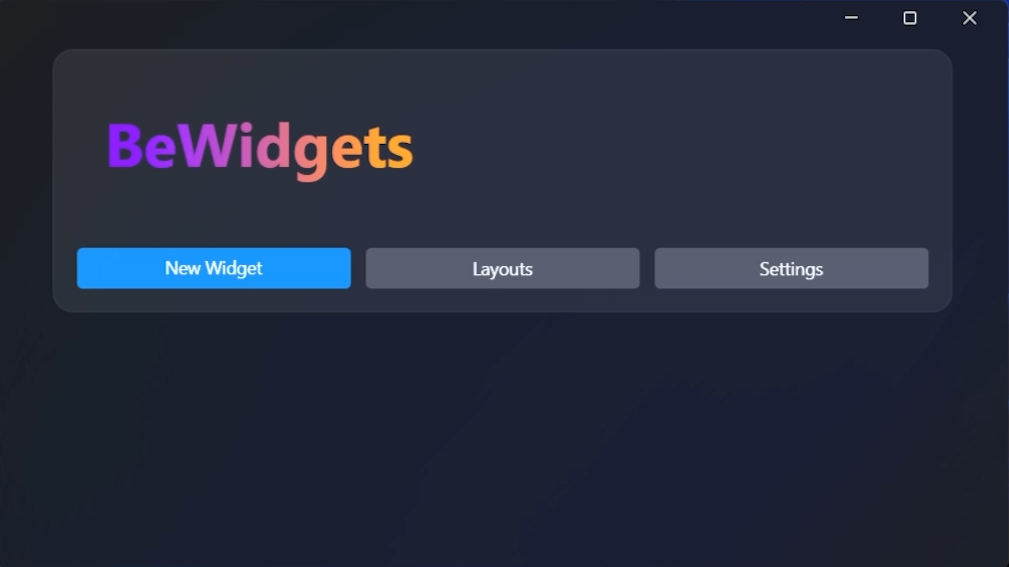
The interface of the app is really simple, but don’t worry, you’ll have a lot of settings to choose from when creating your custom widget.
By clicking on the New Widget button, you will be able to create a fully customizable widget, starting from a certain preset, or even from nothing.
In the Layouts section, you will be able to save multiple layouts of widgets to which you will be able to come back later on.
In the Settings section, you have some general settings of the app and also some appearance settings that you can choose from, including Dark Mode which I will be using throughout this article.
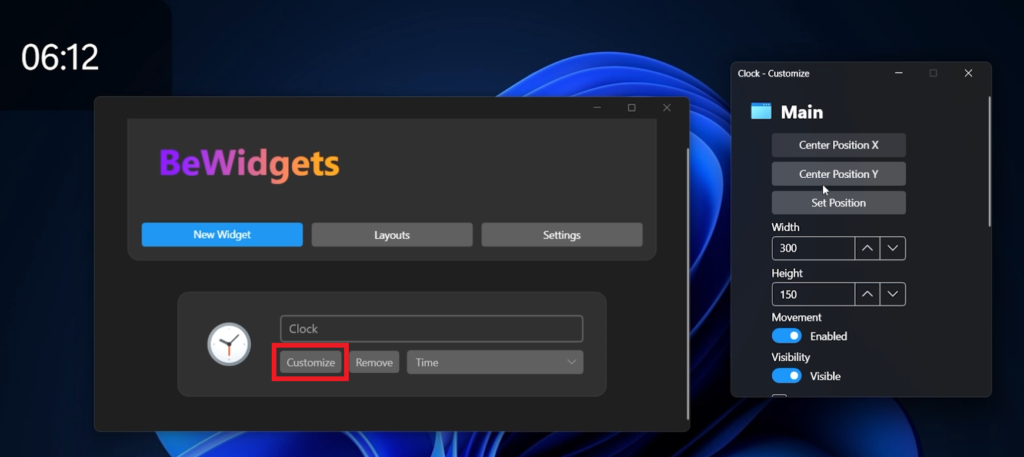
When creating a new widget, you can select a certain preset, and then on the Customize button, you have unlimited options of personalizing the created widget.
You can fully customize the position, size, appearance, and style of the widget. The only limitation is your own imagination.
And of course, you can move the widget freely wherever you want, on your screen.
By enabling the Always on top option, you can even have your widgets always on top, regardless of the windows that you currently have opened on your computer.

For a more in-depth explanation, and tutorial you can watch the video below from the youtube channel.