In this article, I will show you how to enable the New Stickers Feature in Windows 11 Version 22H2.
The New Desktop Background Stickers Feature was previewed in Windows 11 a while ago, but we haven’t had the chance to test it out yet.
The feature is present in Build 22621 as a hidden feature that can be enabled using the Registry Editor.
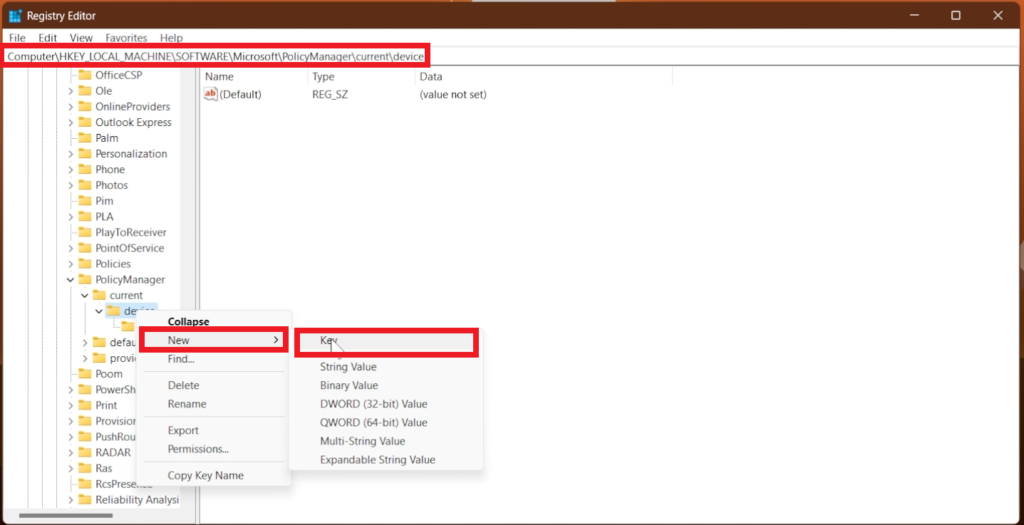
To Enable Stickers, you need to open the Search Box, type Registry Editor, and open it up as Administrator.
In the Registry Editor navigate to the following location:
HKLM\SOFTWARE\Microsoft\PolicyManager\current\deviceRight-click on the device key and go to New and Key. Name the new Key Stickers.
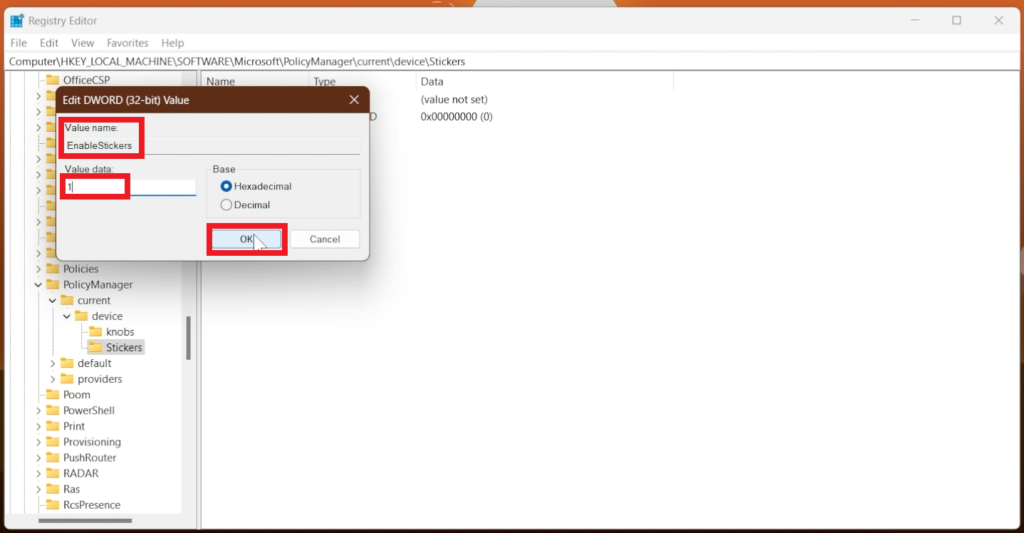
Enter the Stickers key and in the right side right-click and go to New and DWORD (32-bit) Value.
Name the Value Enable Stickers and set its value to 1 and then click on OK.
And that’s it, you now have the Desktop Background Stickers Feature Enabled in Windows 11 22H2.
You can access the feature by right-clicking on the Desktop, Personalize, and then Background.
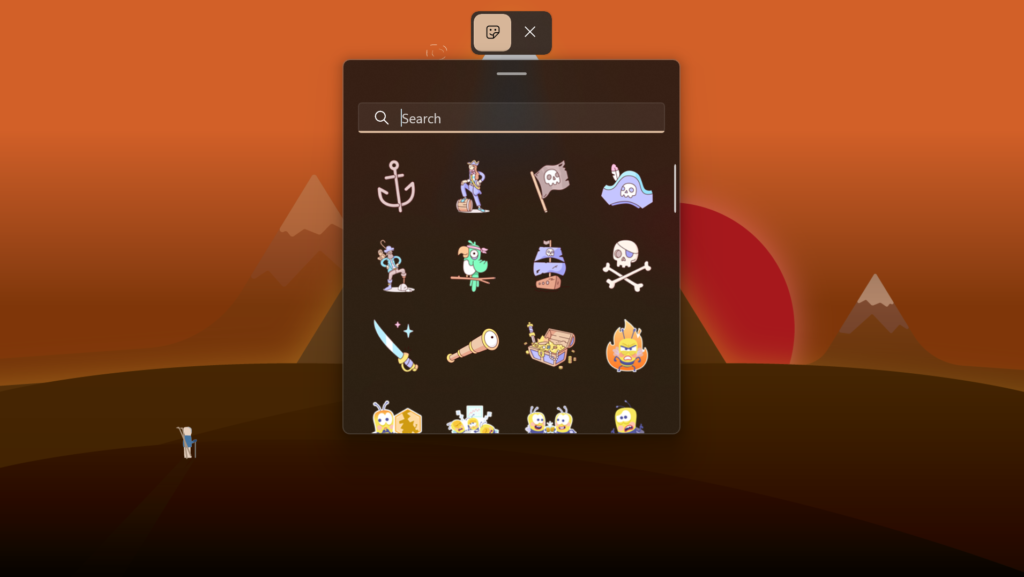
From Choose stickers for your wallpaper, click on Add stickers.

The following screen will appear with a nice menu from where you can choose from a various selection of Stickers. While on this screen the taskbar will be hidden. Double-click on a Sticker to add to the desktop.
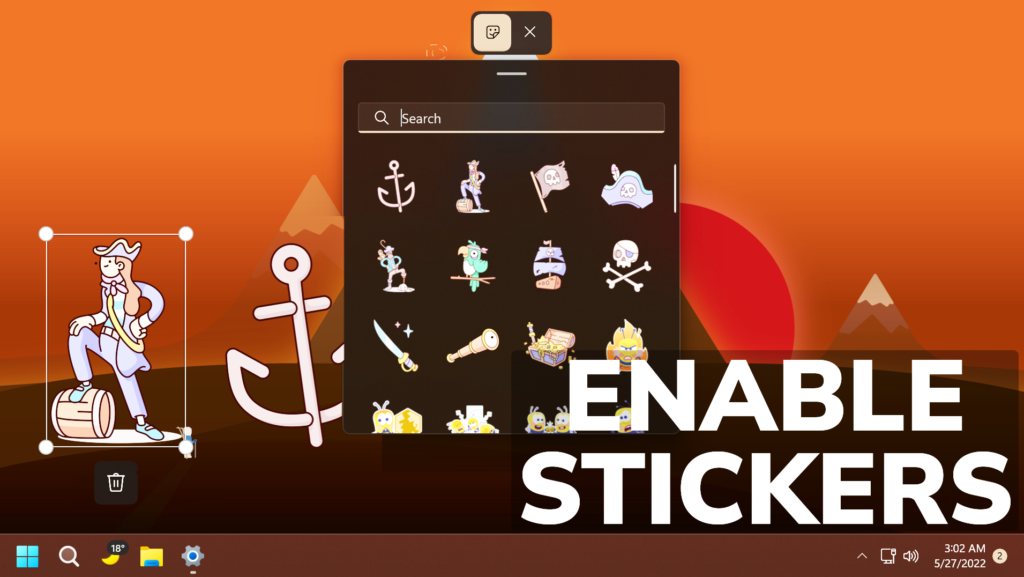
When you double-click again on a Sticker from the desktop, you will be able to resize it and also delete it if you want. You can also move the Stickers freely on the screen.

The selected Stickers will be always present on the screen, and behind every window that you use.

For a more in-depth tutorial, you can also watch the video below from the youtube channel.

@alu1231950
hace 11 horas
I have followed the steps of your tutorial
but when trying to use it I get ( ms-stickereditor:? sessionld = 1073741825) how can I fix it?