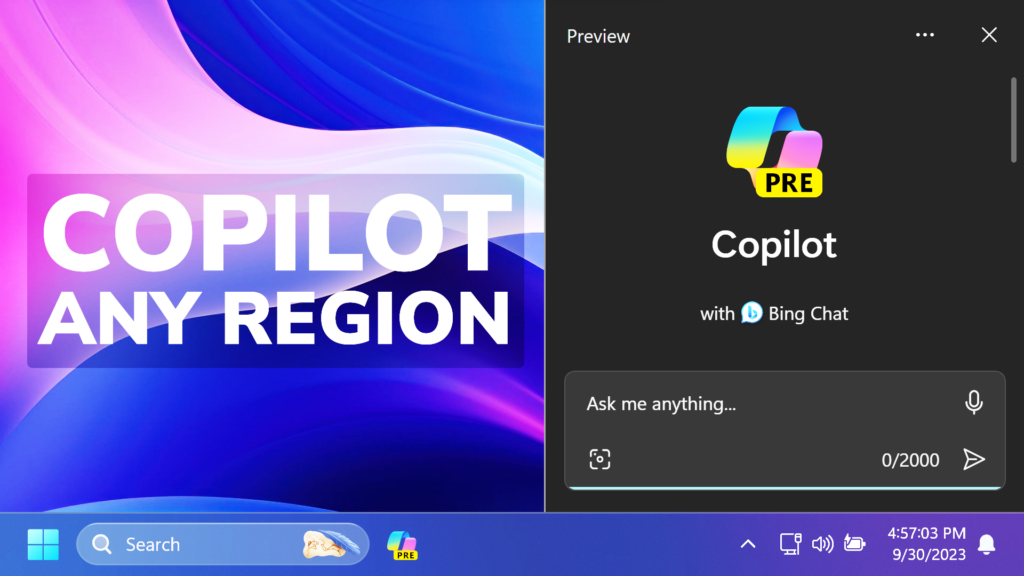
In this article, I will show you How to Enable Windows Copilot AI in Windows 11 in Any Region.
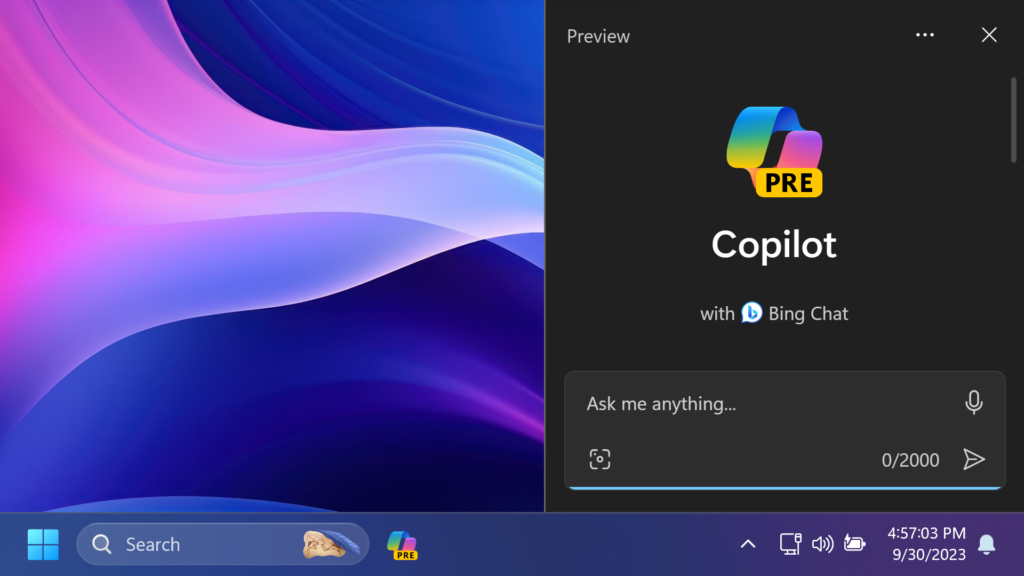
Microsoft recently released Windows Copilot AI to the public, with the release of Windows 11 Moment 4 Update for Windows 11 22H2. This new feature is not available in any region, but in this article, I will show you a few workarounds that will help you test Windows Copilot on your Computer.
Enable Eligibility for Copilot
First of all, make sure to check if you are eligible, and if not, you can force the eligibility.
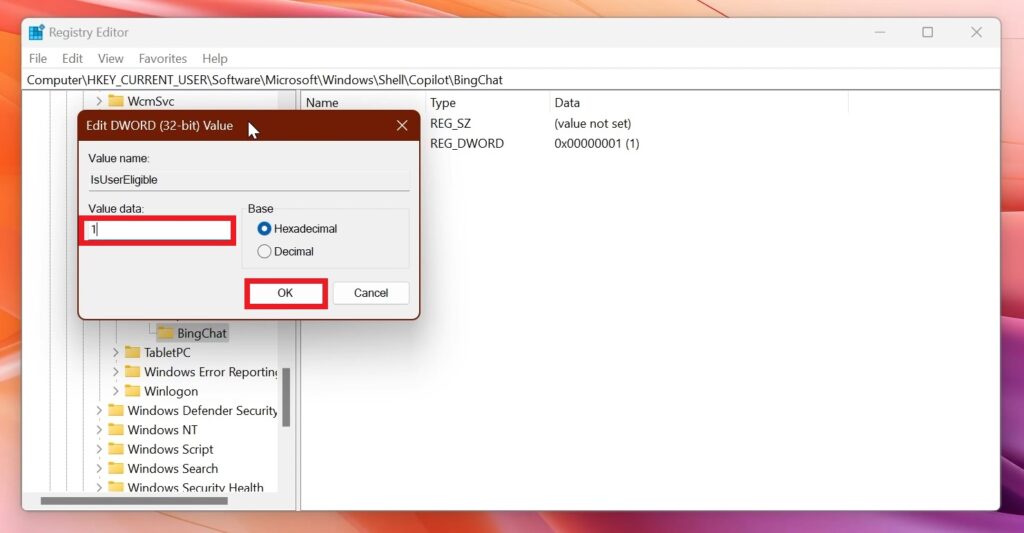
Open the Registry Editor and navigate to this location: HKEY_CURRENT_USER\Software\Microsoft\Windows\Shell\Copilot\BingChat
Inside BingChat, you will see the IsUserEligible DWORD. Double-click on it and make sure the value data is set to 1.
Update Microsoft Edge
Next up, open the Microsoft Store, go into the Library section, and then Check for Updates. This way, you will make sure that Microsoft Edge is updated.
Change Region
Make sure to also set the Region to US in the Settings App in Windows 11.
Run a Command
If nothing worked for you, and you still don’t have Copilot, there is a way of manually launching Copilot AI.
Open the Run Box in Windows 11, by pressing the Windows + R keys on your keyboard and type this:
microsoft-edge://?ux=copilot&tcp=1&source=taskbarThis will launch Windows Copilot, as it is based on Microsoft Edge.
For a more in-depth tutorial, you can watch the video below from the YouTube channel.

