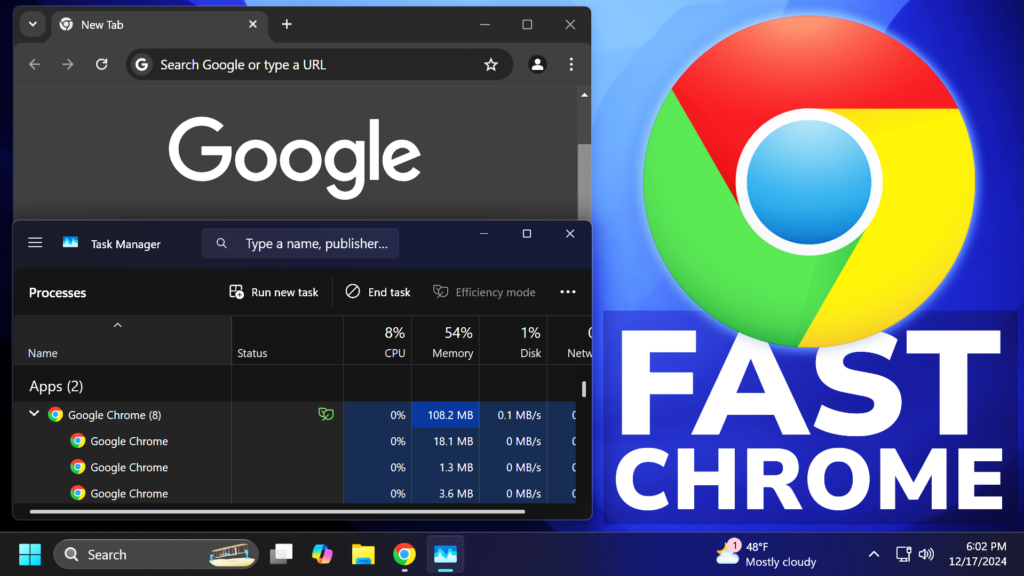
In this article, I will show you How to make Google Chrome Faster in Windows 11 24H2.
In Windows 11 in general, we have a new Feature, which is called Efficiency Mode, that will limit resources used by certain apps. In the case of browsers, this will make them feel slower and crash more often. In this article, I will show you how to fix this issue in Windows 11.
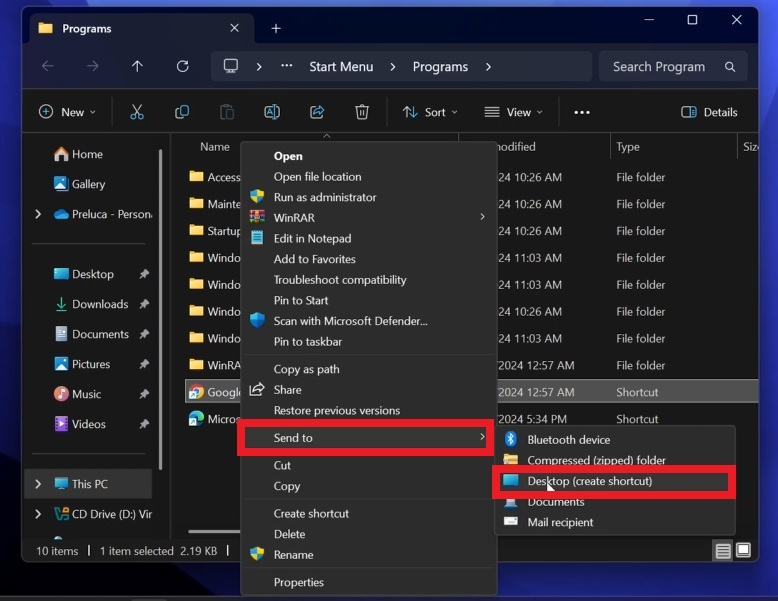
First of all, you will need to create a Chrome shortcut, because we cannot change the “Launch Options” of the default Chrome exe. Type in the Search Box Chrome and then click on Open File Location in the Right-Side.
You can then right-click on the Chrome Shortcut, more options, then hover over Send to, and then Desktop (create shortcut).
Right-click on the new Shortcut, then click on Properties. In the Target section, copy and paste the following command and then click on Apply and OK:
"C:\Program Files\Google\Chrome\Application\chrome.exe" --disable-features=UseEcoQoSForBackgroundProcess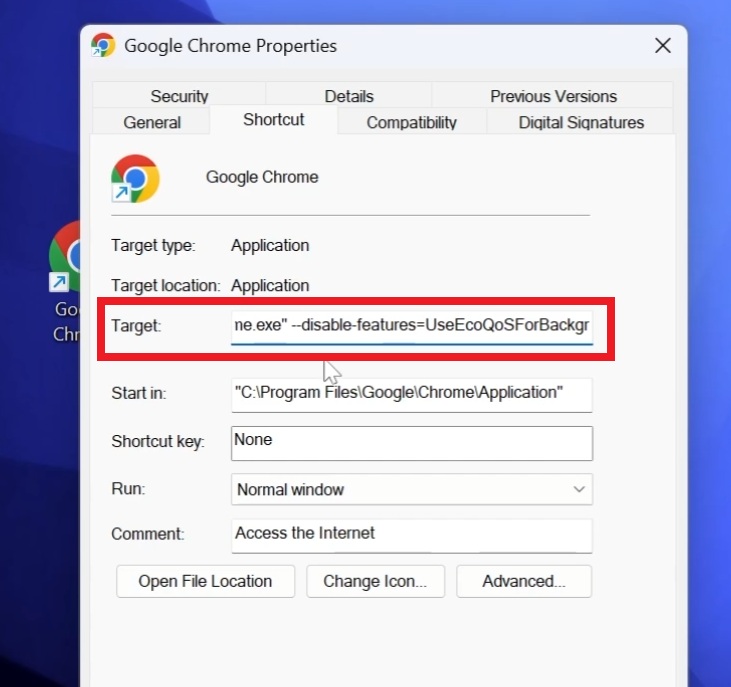
In case you have multiple Profiles in Chrome, make sure your command looks something like this:
"C:\Program Files\Google\Chrome\Application\chrome.exe" --profile-directory="Profile 6" --disable-features=UseEcoQoSForBackgroundProcessYou can then use the Shortcut to open Chrome, pin it to the taskbar and more.
For more information about this, including commands for other browsers you can check this article from the Microsoft Forum.
For a more in-depth tutorial, you can watch the video below from the youtube channel.

