In this article, we will talk about How to Upgrade Windows 10 to Windows 11 25H2 (All Methods).
Windows 10 is reaching it’s End of Support on the 14th of October 2025 and people have to choose whether they want to Extend their Updates with Windows 10, or Upgrade to Windows 11 25H2. In this article, I will show you All the Possible Methods of Upgrade Windows 10 to Windows 11 25H2.
Check if Computer is Compatible with Windows 11 25H2
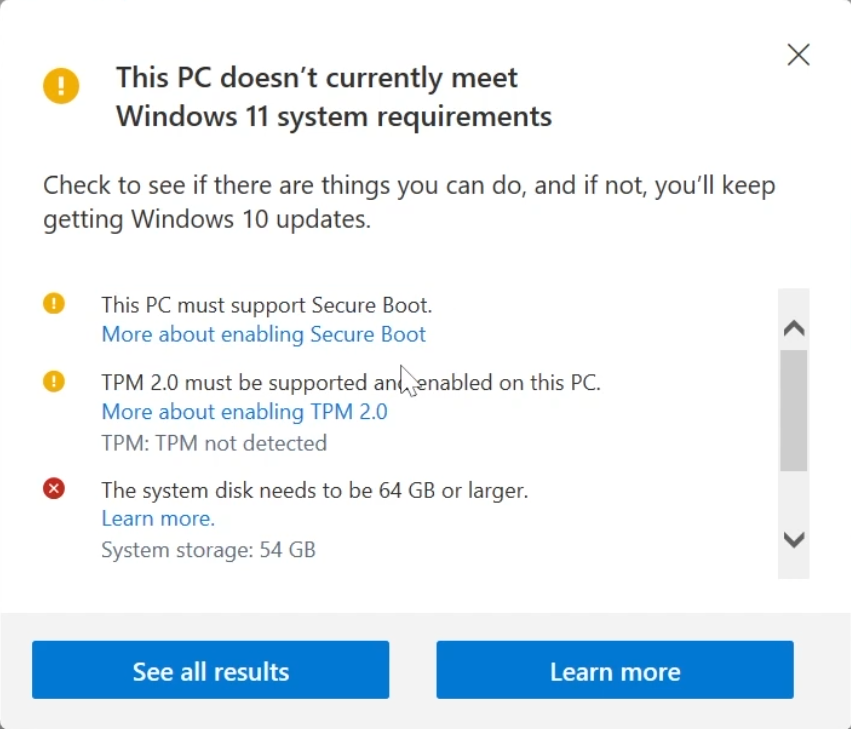
The process is very simple, install the PC Health Check App, and it will tell you every System Requirement that you don’t meet.
In the case of an Incompatible Computer, you will see the exact System Requirement that your PC is not meeting.
For a Compatible PC, you should see a Green Checkmark that tells you are good to Upgrade to Windows 11 25H2.

Upgrade through Windows Update
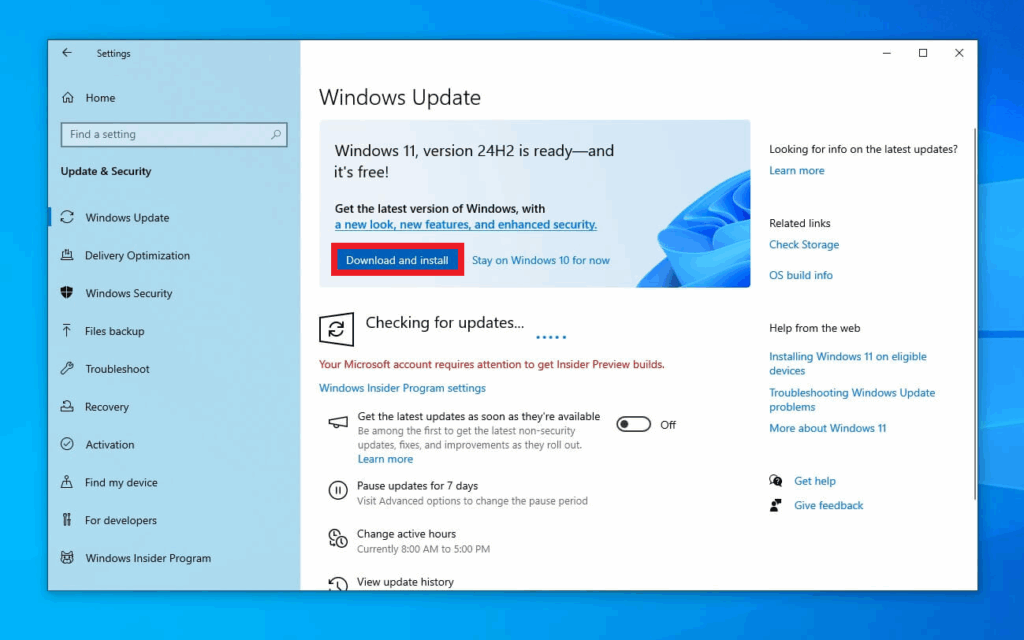
If you meet the System Requirements, you can just open the Settings App (WIN + I), go to Update & Security and then Check for Updates.
A banner will appear after a while, that will allow you to Upgrade to Windows 11 by pressing the Download and install button.
Upgrade through Installation Assistant
Go into this Download Page from the Microsoft Website and then click on Download Now in the Windows 11 Installation Assistant section.
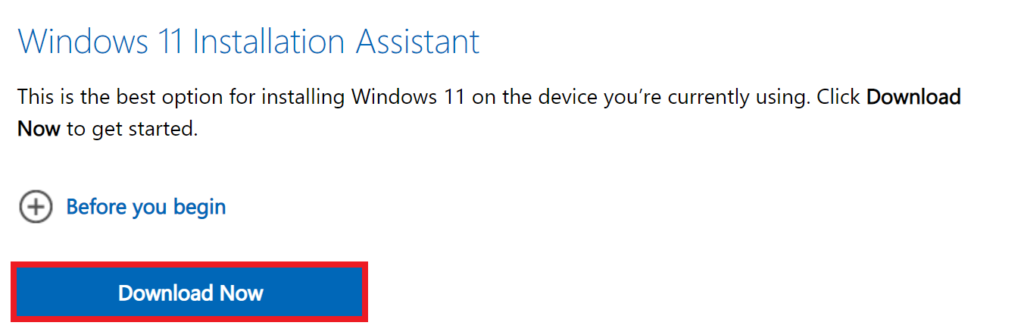
This Assistant will allow you to update to Windows 11, without losing your files and settings.
Upgrade through ISO
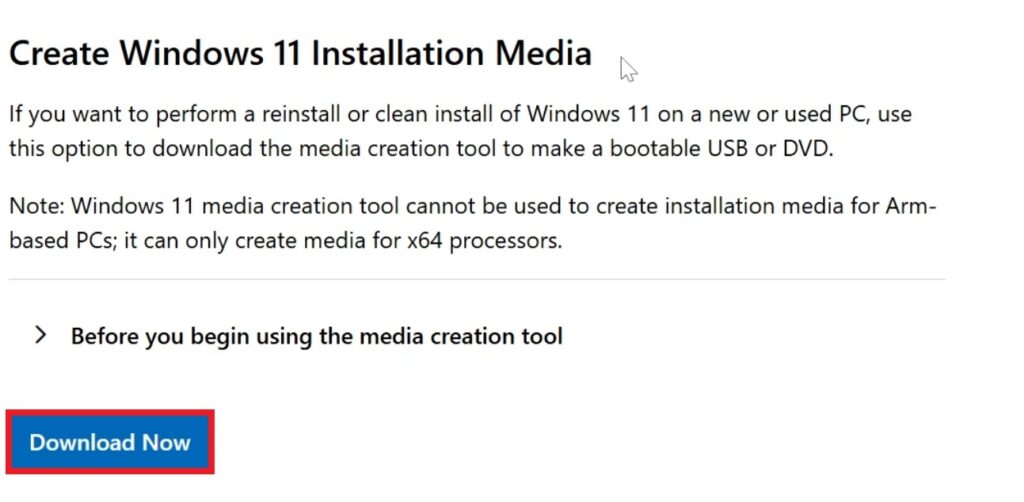
Make sure you go to the Official Windows 11 25H2 Microsoft Download Page and in the Create Windows 11 Installation Media Section click on Download Now.
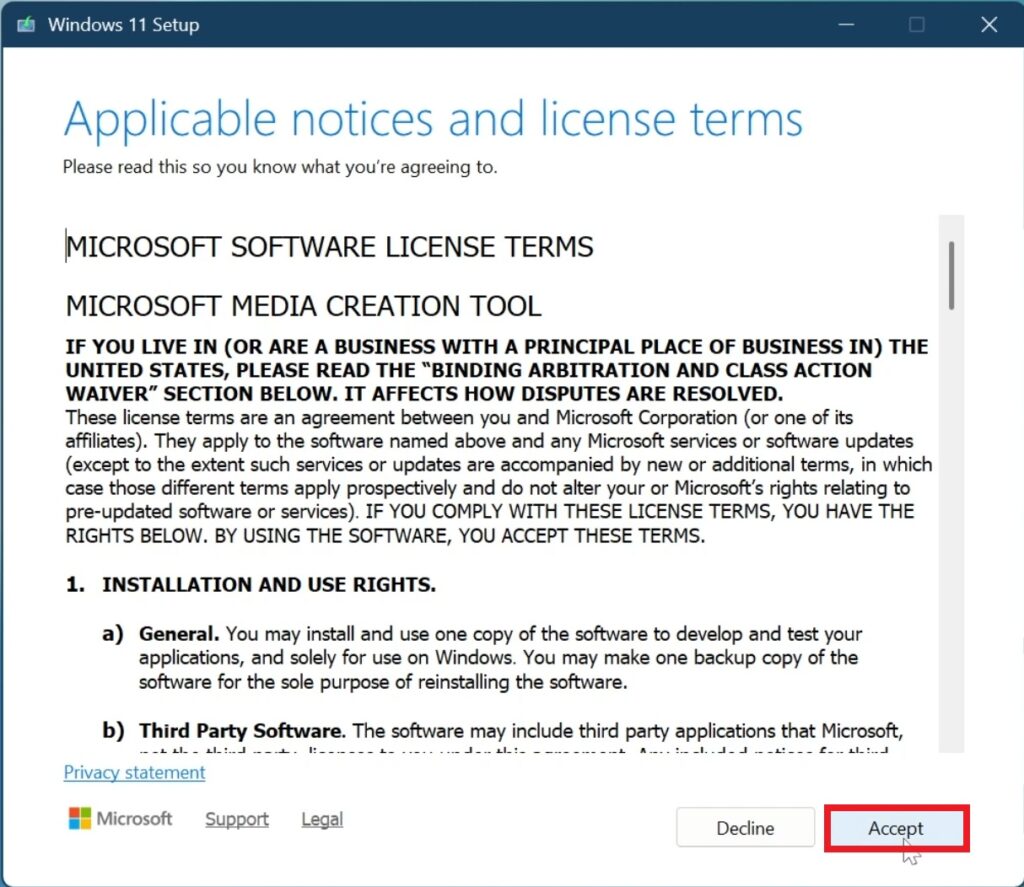
Once opened, you will need to Accept the License Terms in the Windows 11 Installation Media.
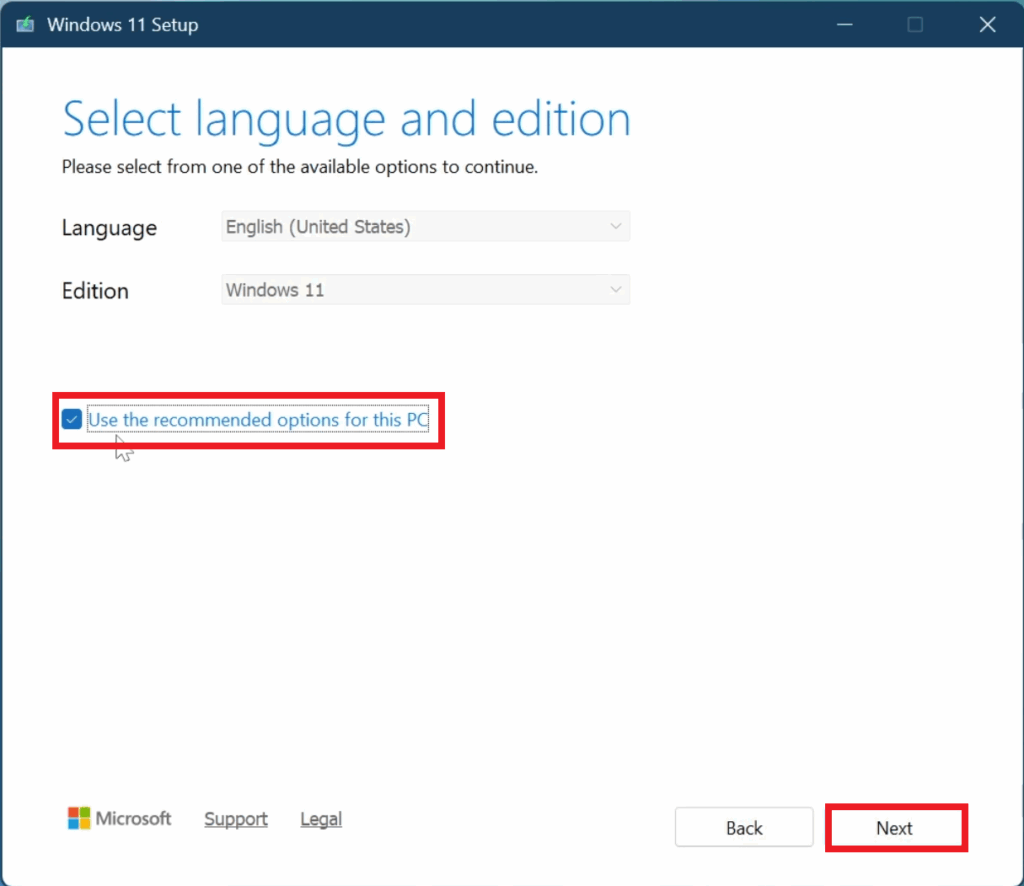
Next up, select Use the recommended options for this PC and then click on Next.
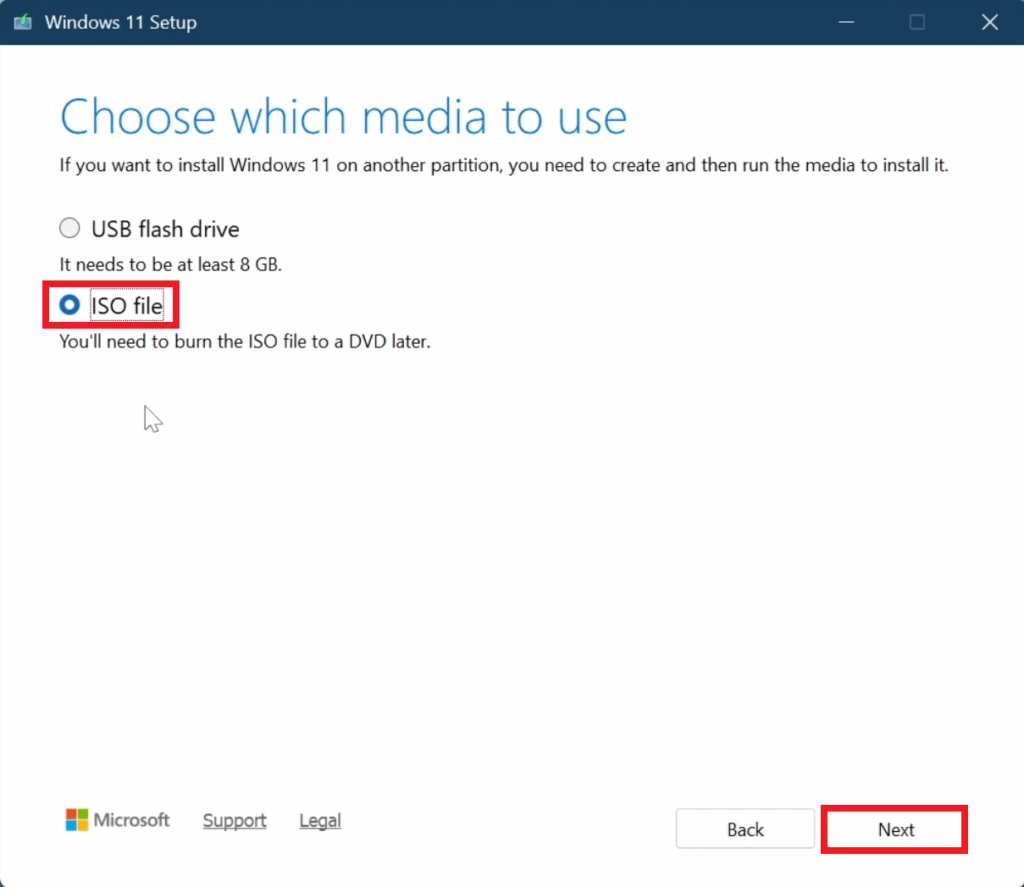
Then select ISO file, click on Next and select the location where you want the ISO to be downloaded.
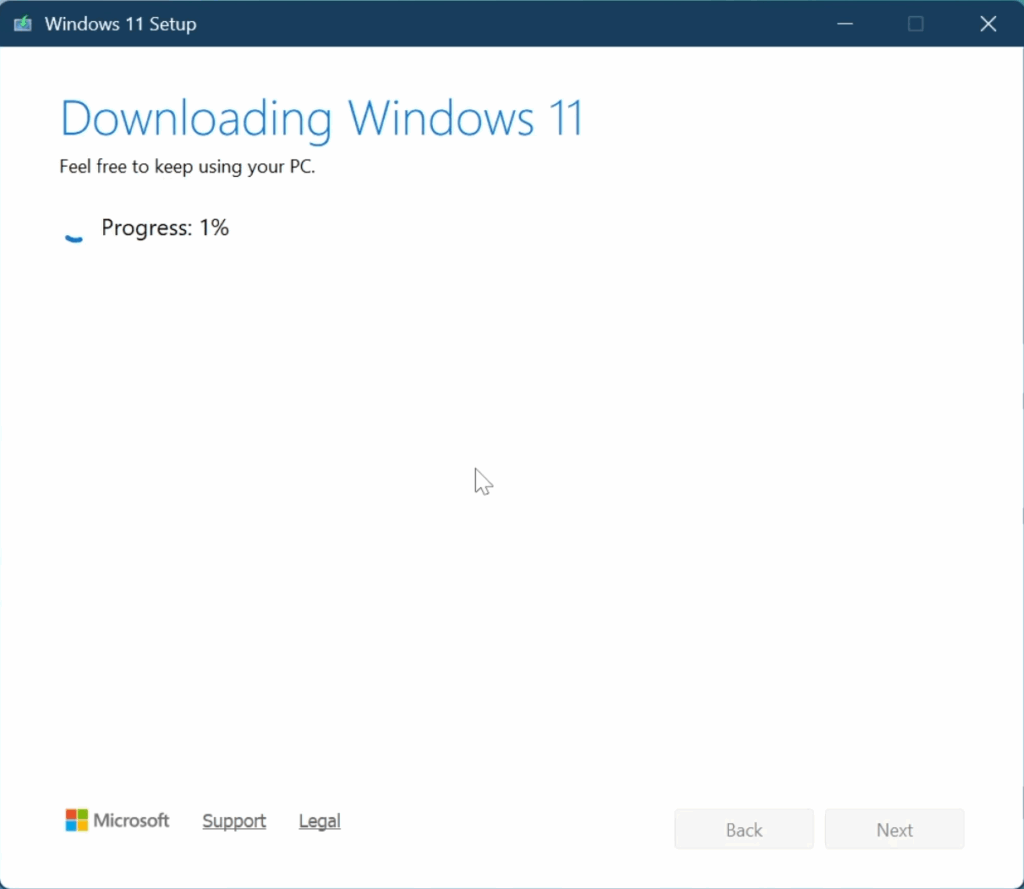
After this, just wait for the Download Process to be finished and then click on Finish.
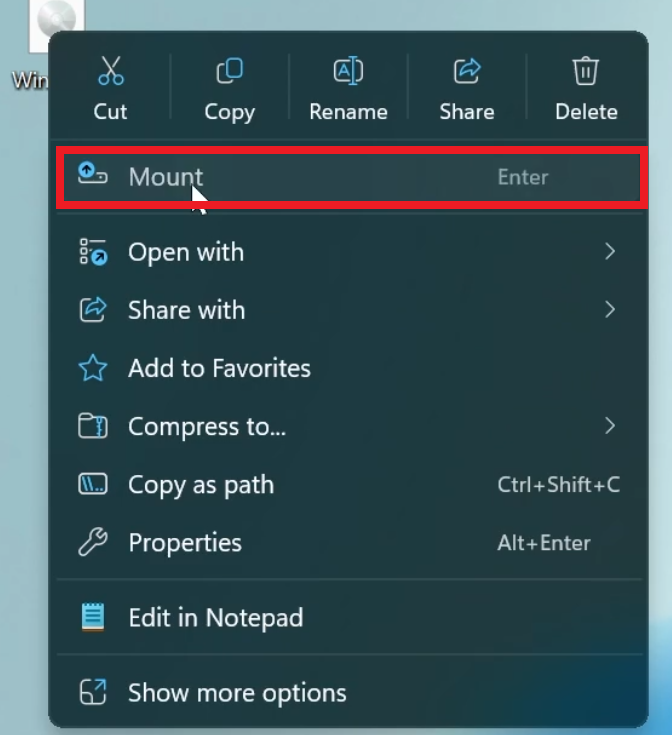
After this, locate the ISO, right-click on it and then click on Mount.
Next up, double-click on setup.

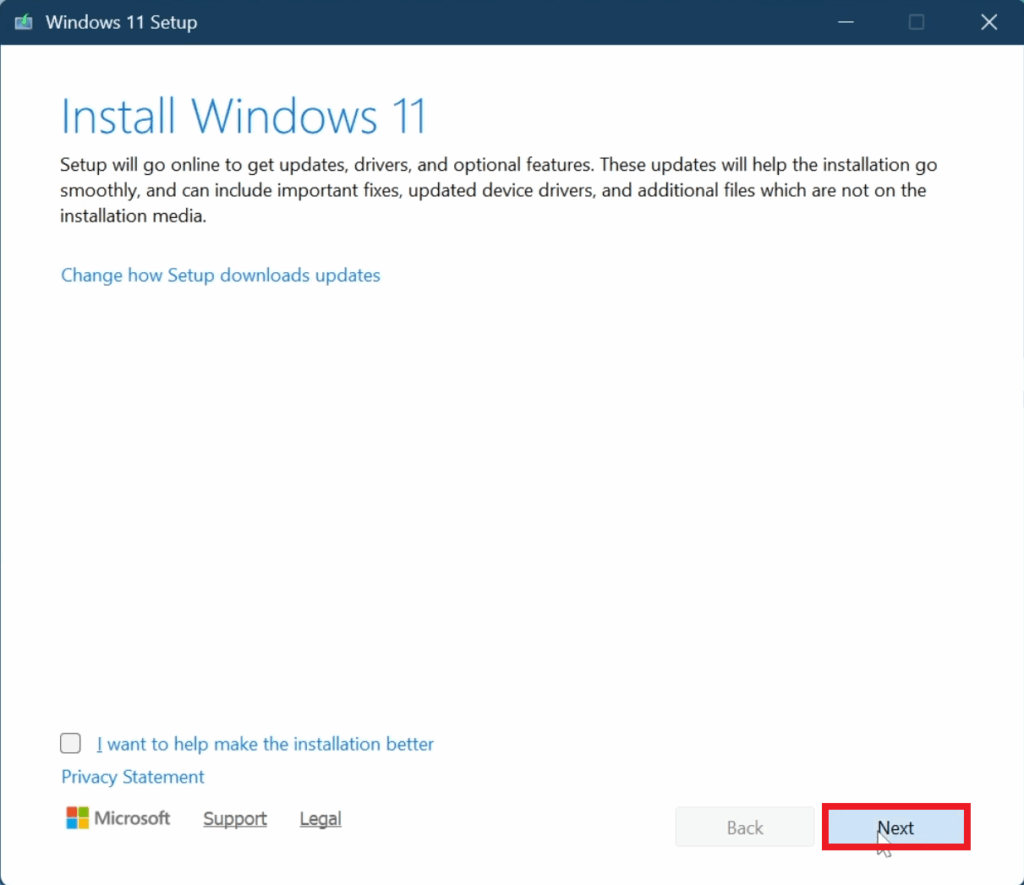
In the first step, click on Next.
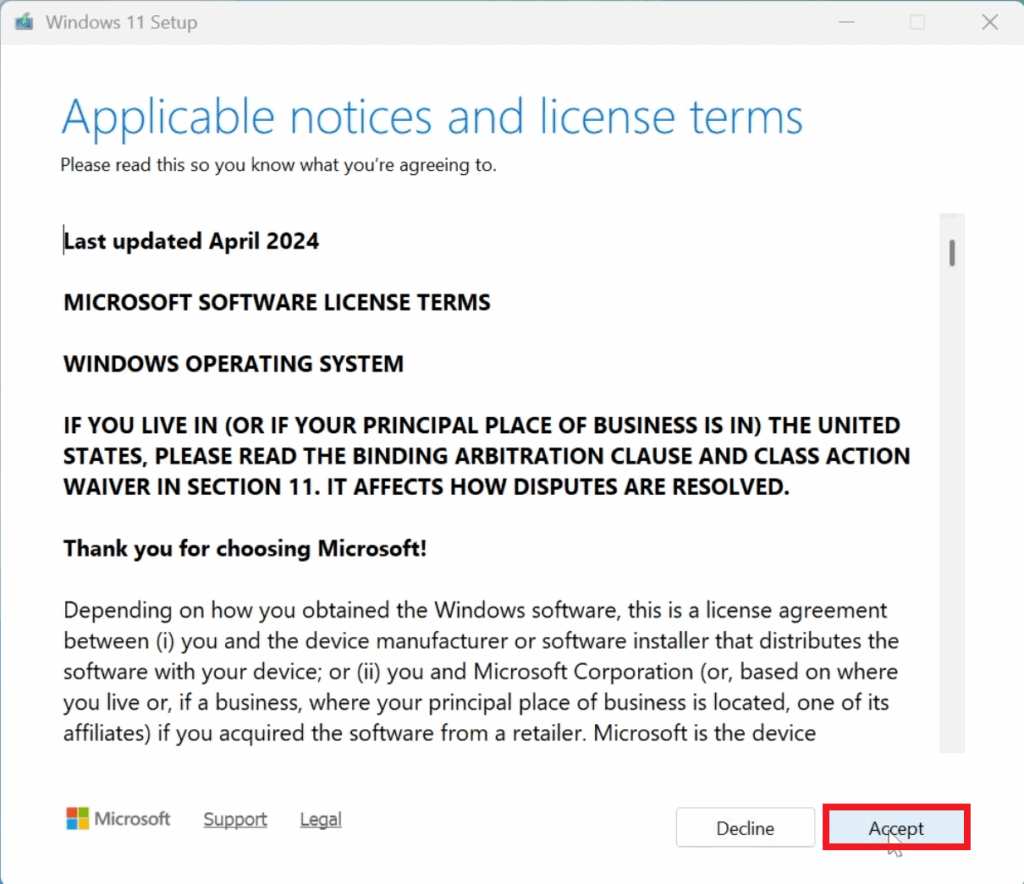
Accept the License Terms.
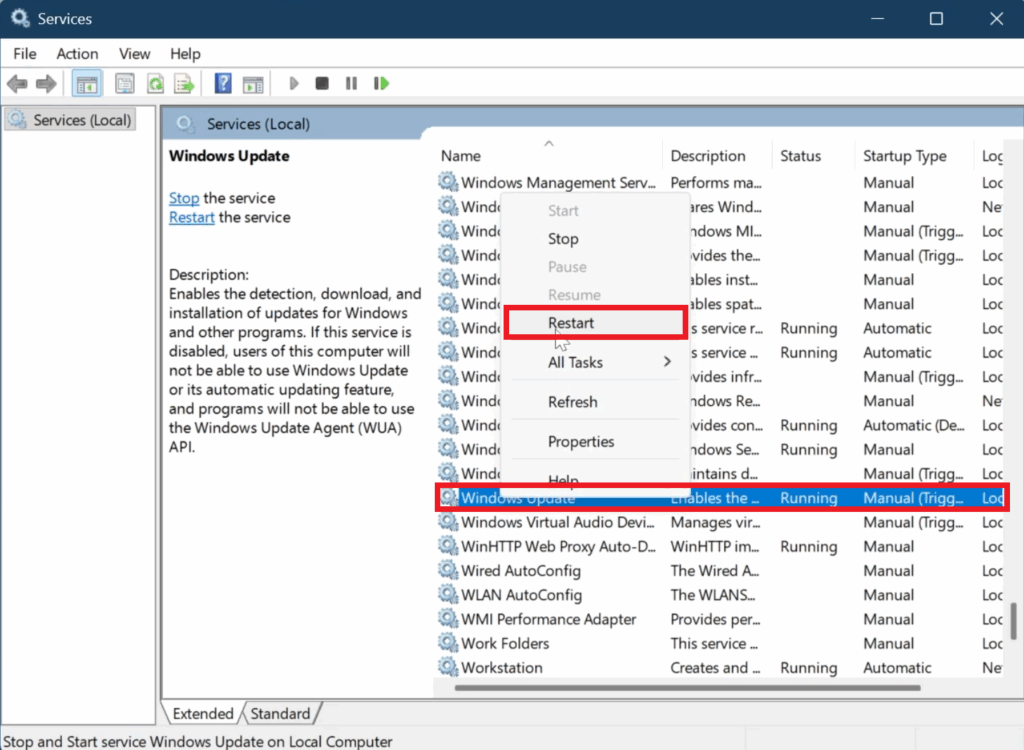
In case your Getting Updates Section is getting stuck at 46%, you can open Services from the Search Box, locate the Windows Update Service, right-click on it, and then click on Restart.
In the end, make sure to double-check the options and click on Install.
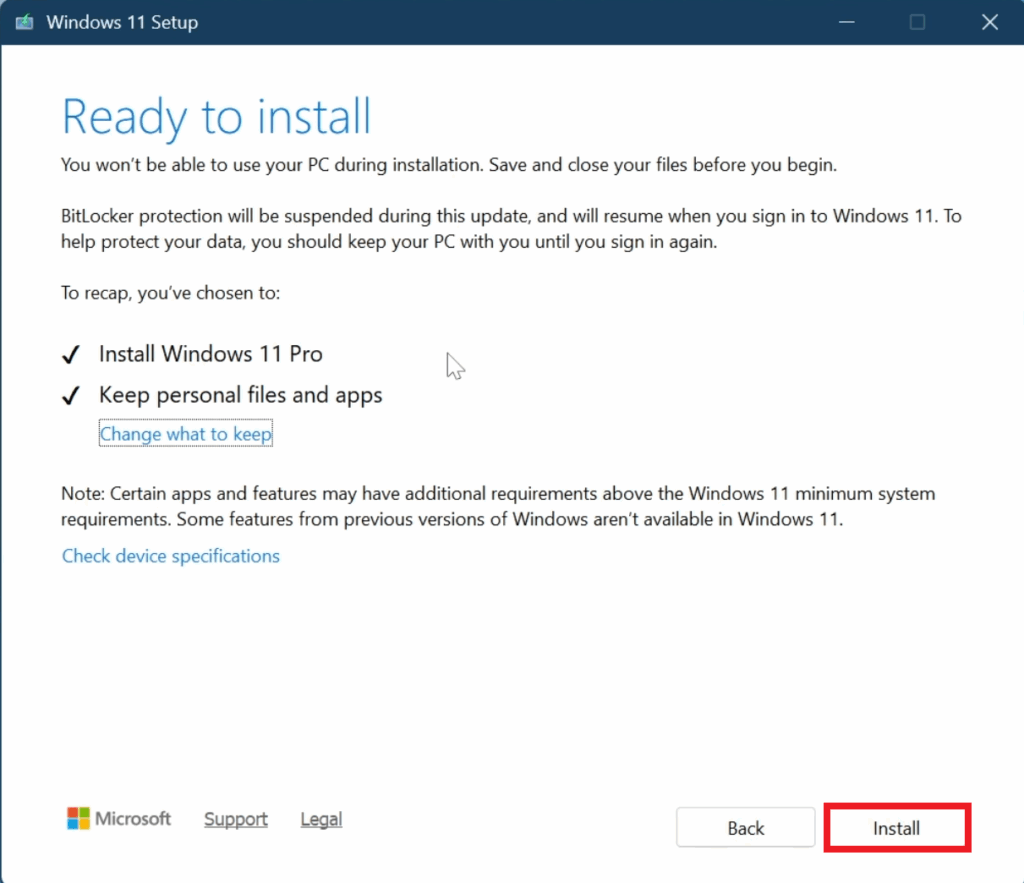
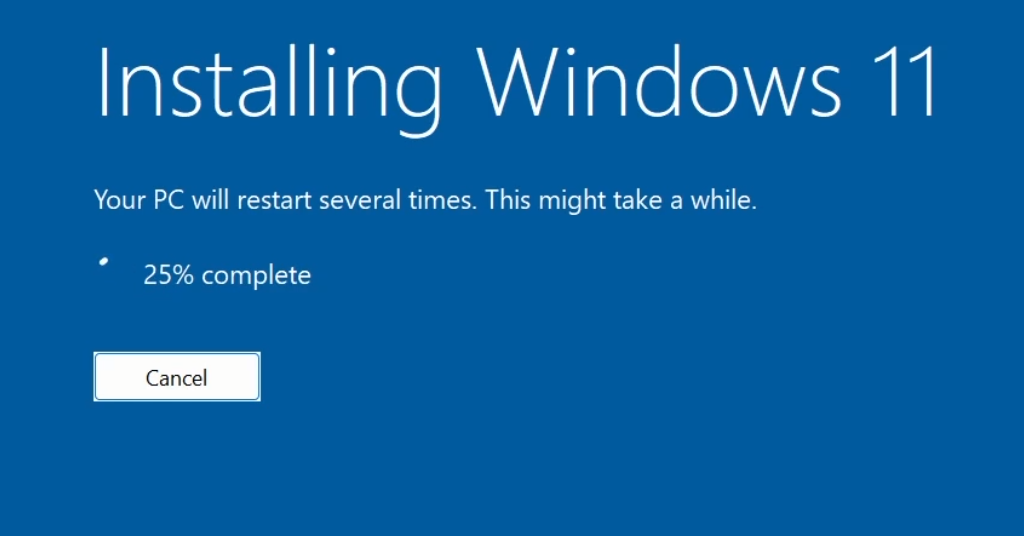
After this, all you need to do is to wait for the Installation Process to be finished, and you will have Windows 11 25H2 Installed on your System.
Upgrade on Unsupported PC
First of all, make sure to Download Rufus.
Once opened, select the USB, the ISO, Change the Volume Label and then click on Start.
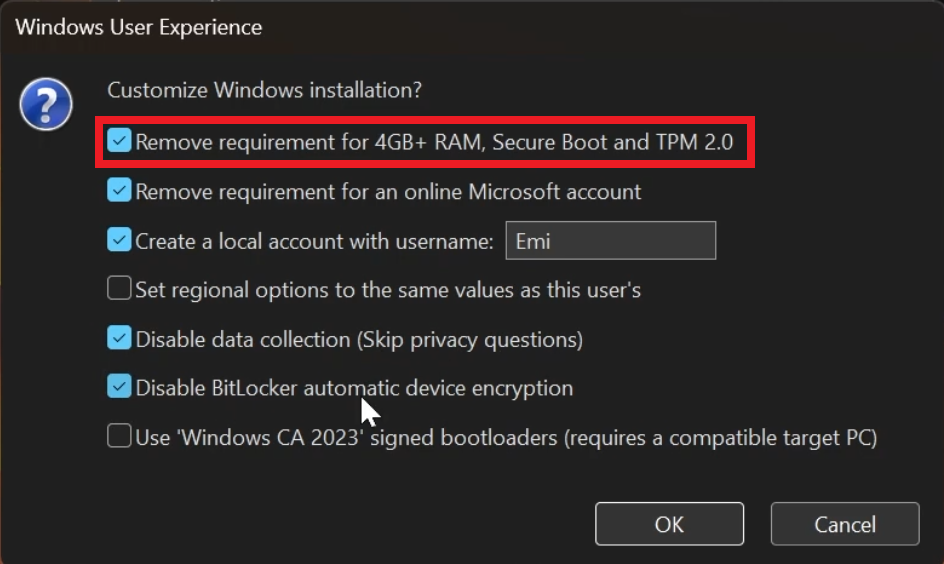
A window will appear where you need to select Remove requirement for 4GB+ RAM, Secure Boot and TPM 2.0.
Additionally, you can also Automatically Create a Local Account, Skip the Privacy Questions and Disable Bitlocker.
Once finished, click on OK and wait for the process to be finished.
After this, you can start the Clean Install process of Windows 11 25H2.
For a more in-depth tutorial, you can watch the video below from the youtube channel.