In this article, we will talk about the Full Windows 11 25H2 Clean Installation Process.
On the 30th of September 2025, Microsoft has released the 2025 Update or the 25H2 Version for Windows 11.
Create a Bootable USB Flash Drive
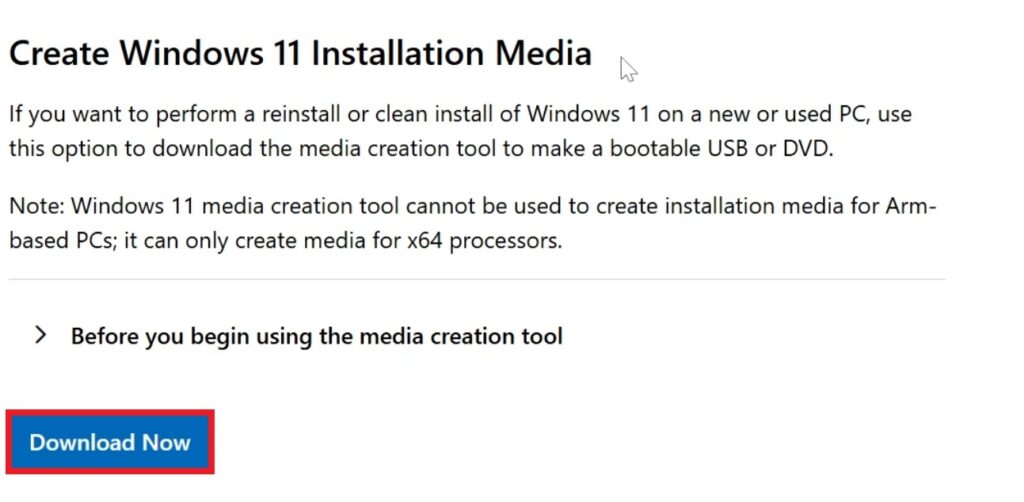
Make sure you go to the Official Windows 11 25H2 Microsoft Download Page and in the Create Windows 11 Installation Media Section click on Download Now.
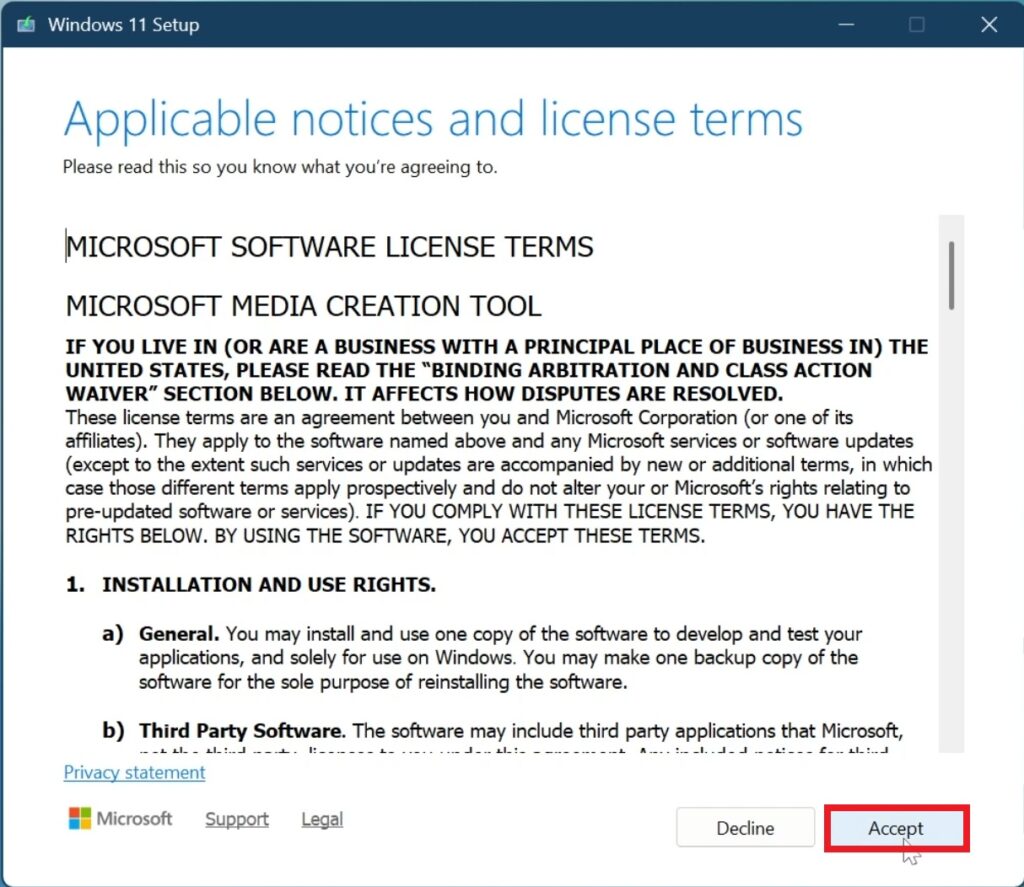
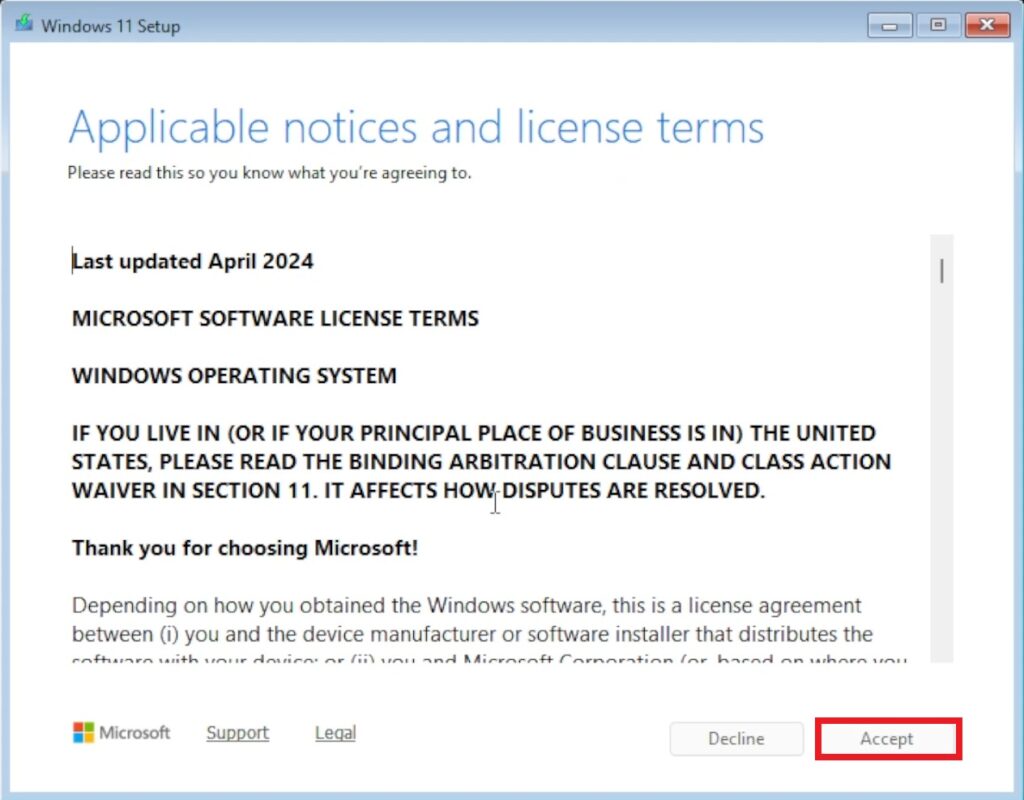
Once opened, you will need to Accept the License Terms in the Windows 11 Installation Media.
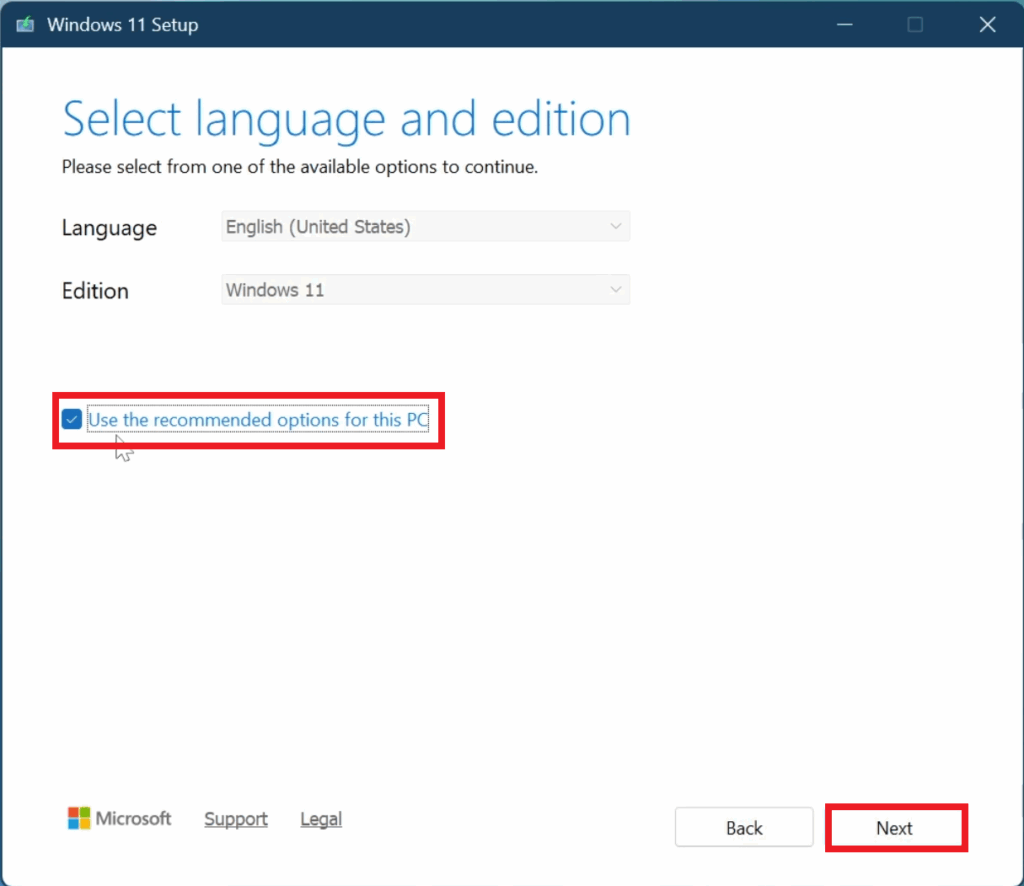
Next up, select Use the recommended options for this PC and then click on Next.
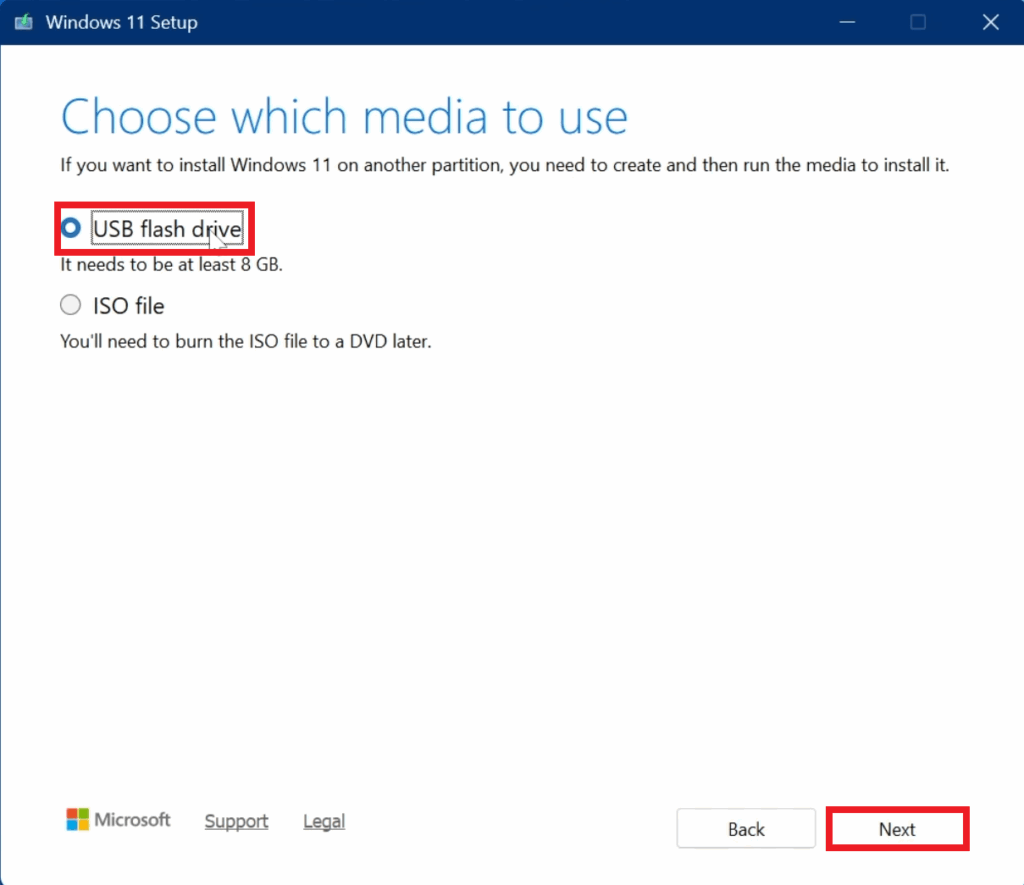
Select USB Flash Drive, select the Disk and then click on Next.
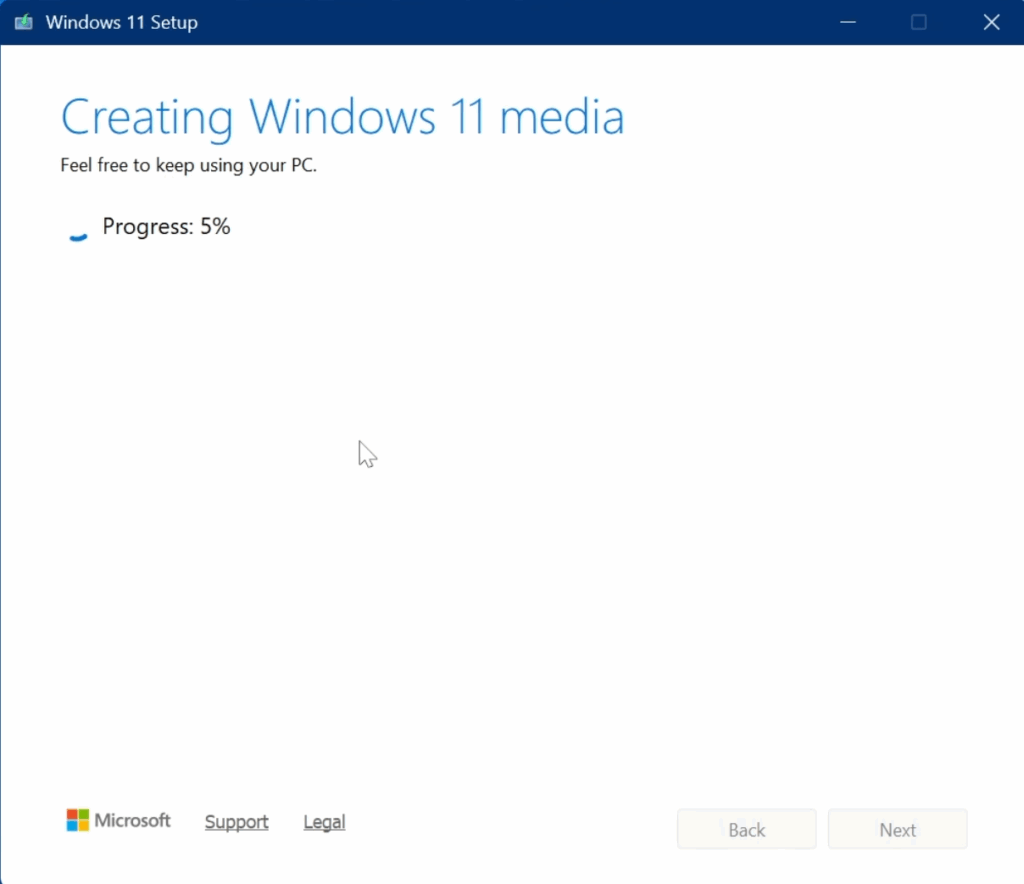
After this, just wait for the process to be finished, and you will have the Bootable Windows 11 25H2 USB Flash Drive.
Once everything is finished, make sure to plug in the USB into the Computer where you want to install Windows 11 25H2, power it on and press the Boot Key for your motherboard (it can be either F2, F8, F12, DEL, ESC etc.)
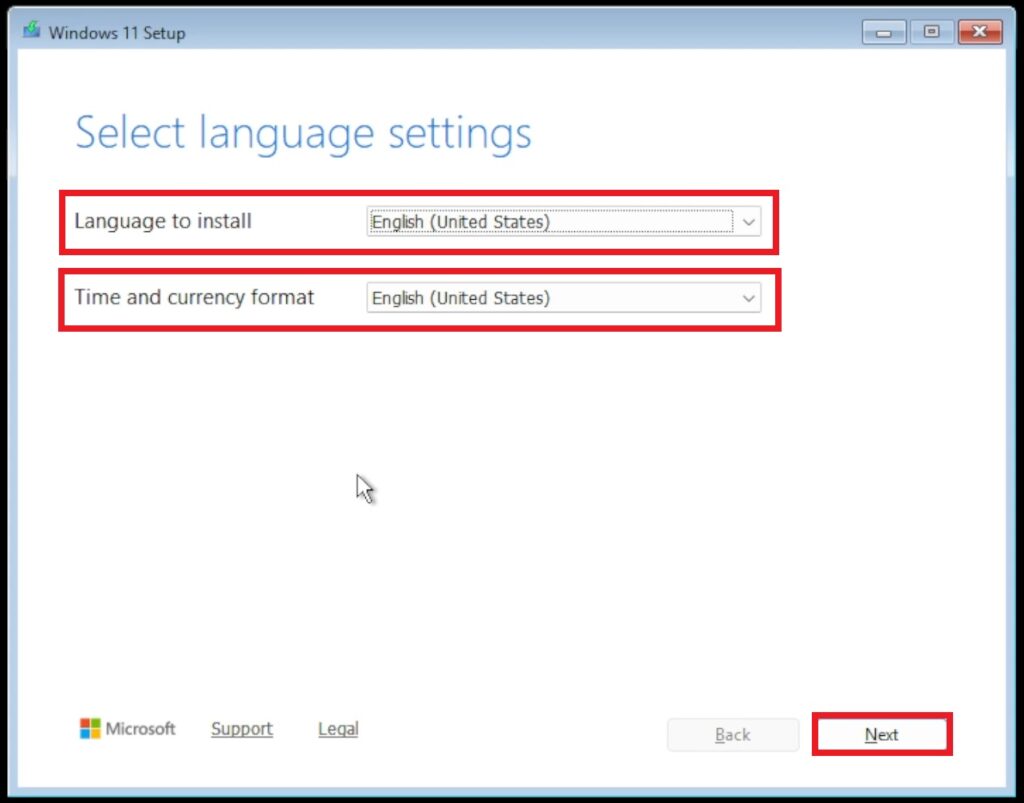
The Setup will start and first of all, select your Language to install, Time and currency format and then click on Next.
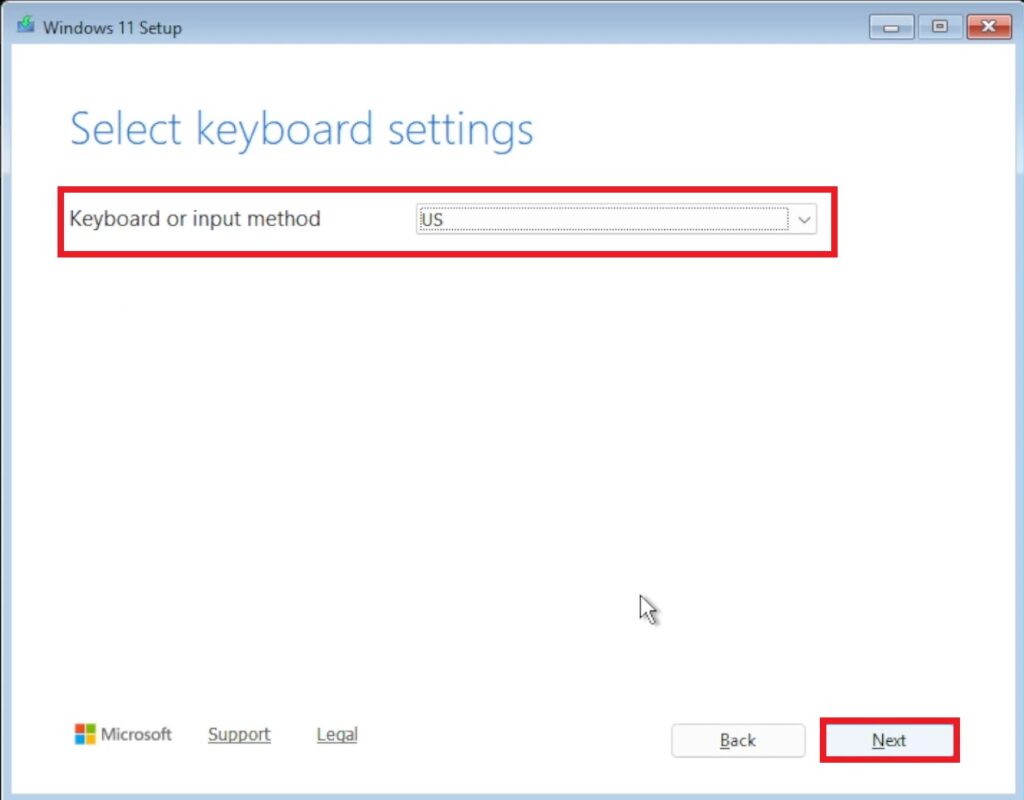
Next up, select your Keyboard or input method and then click on Next.
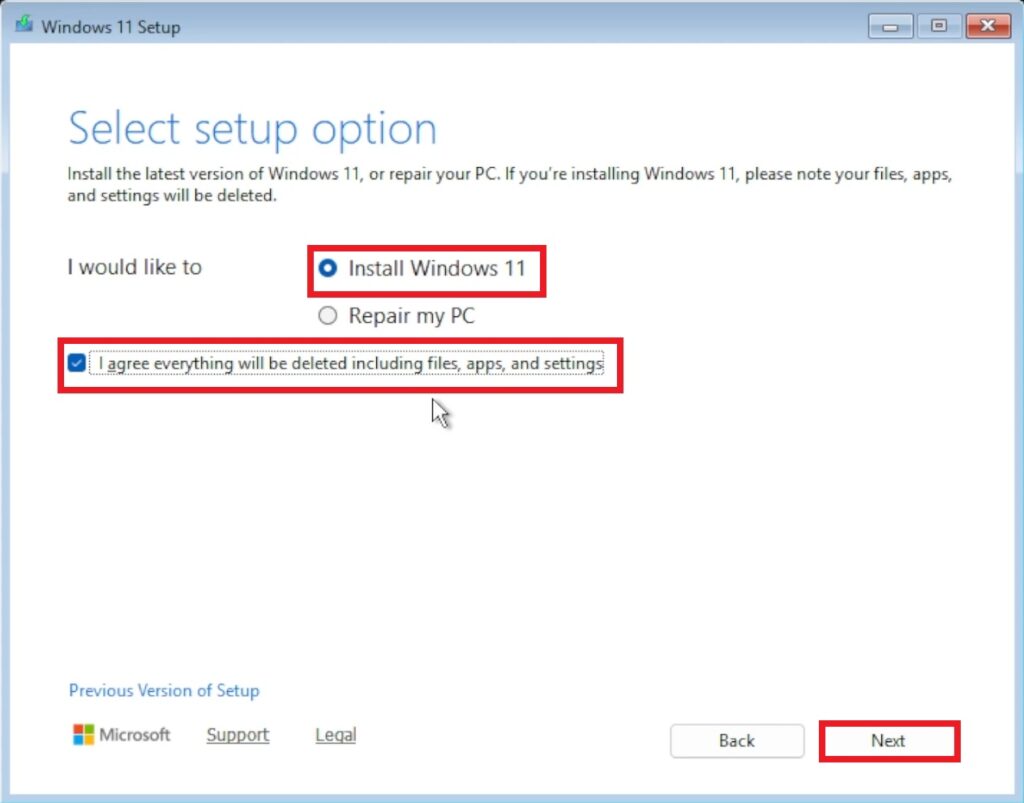
Select Install Windows 11, select I agree everything will be deleted including files, apps, and settings and then click on Next.
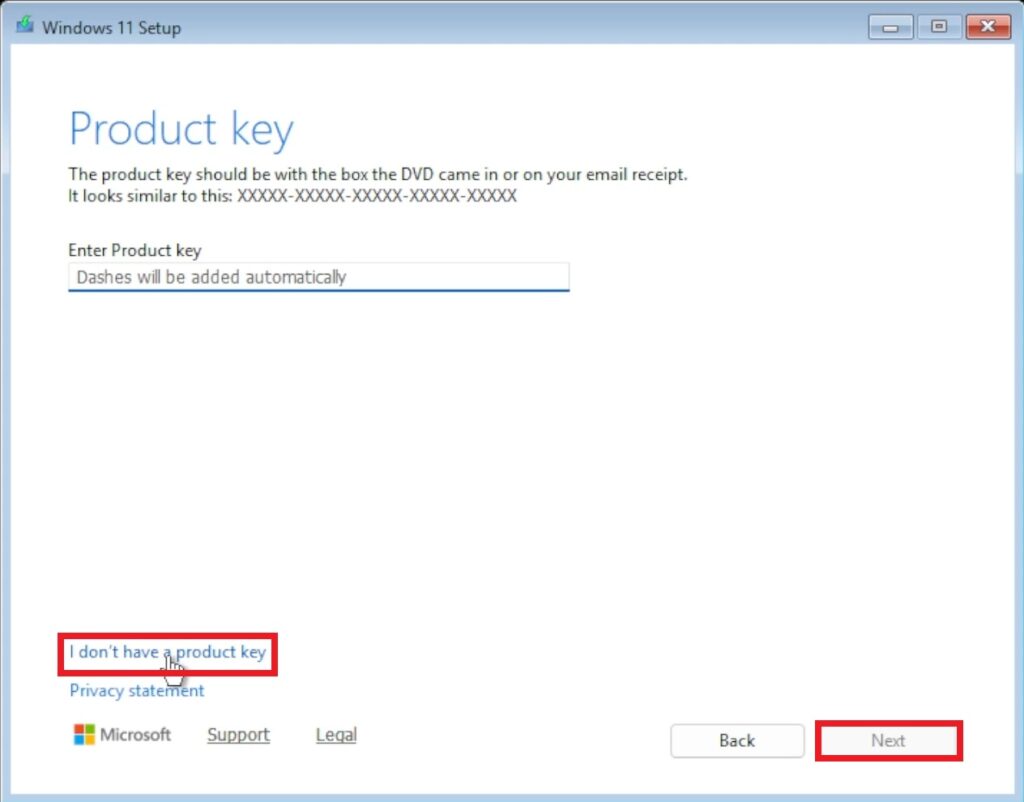
Click on I don’t have a product key (you can always add your license after) and then click on Next.
Accept the license and terms.
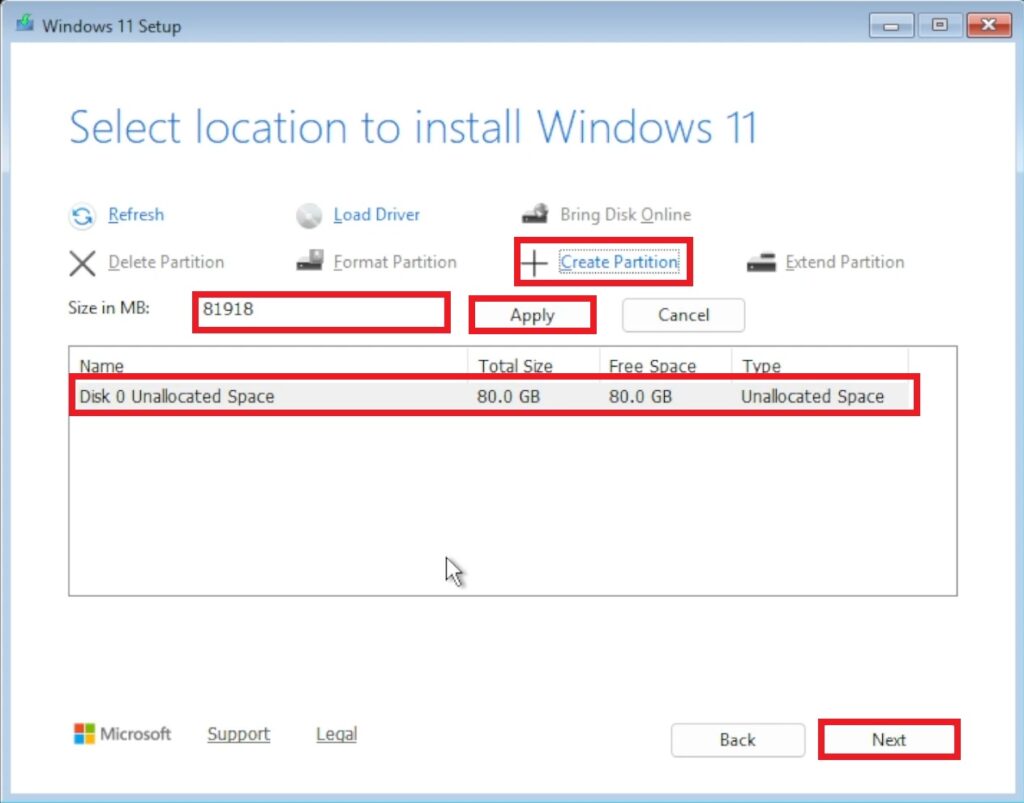
Next up, you will need to Create your partitions, by simply clicking on your Unallocated Space, then on Create Partition and then after inputting your Size in MB, click on Apply. After all these steps, click on Next.
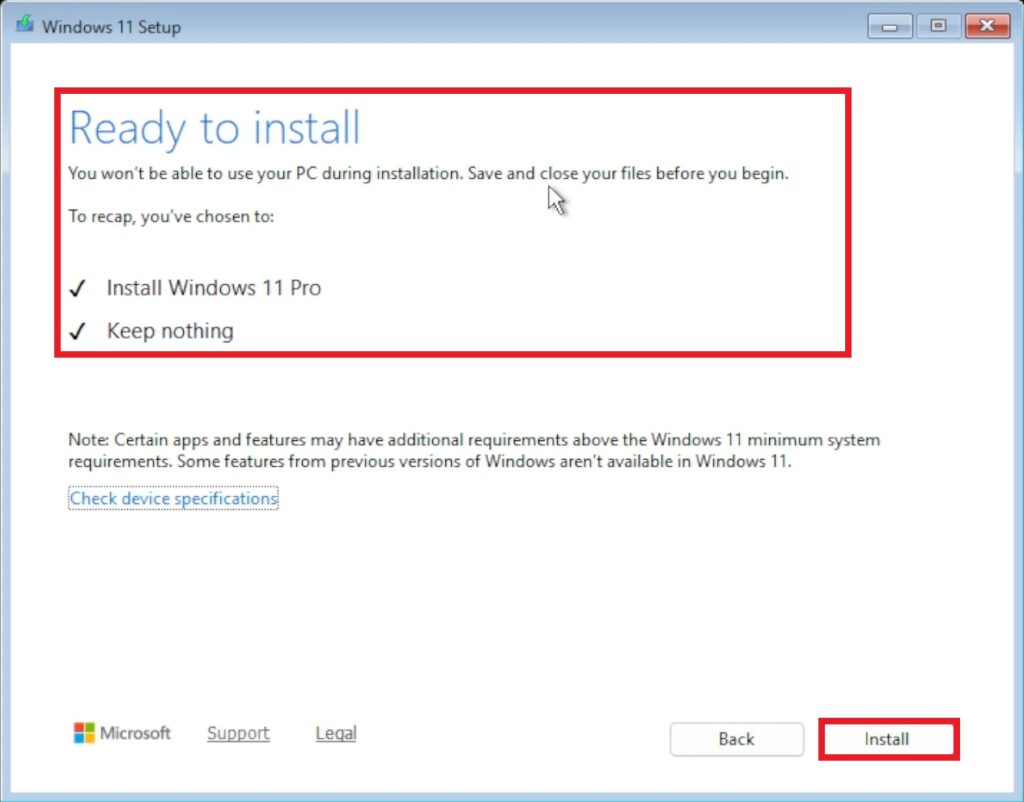
The Setup will show you all the settings you selected and then you can click on Install.
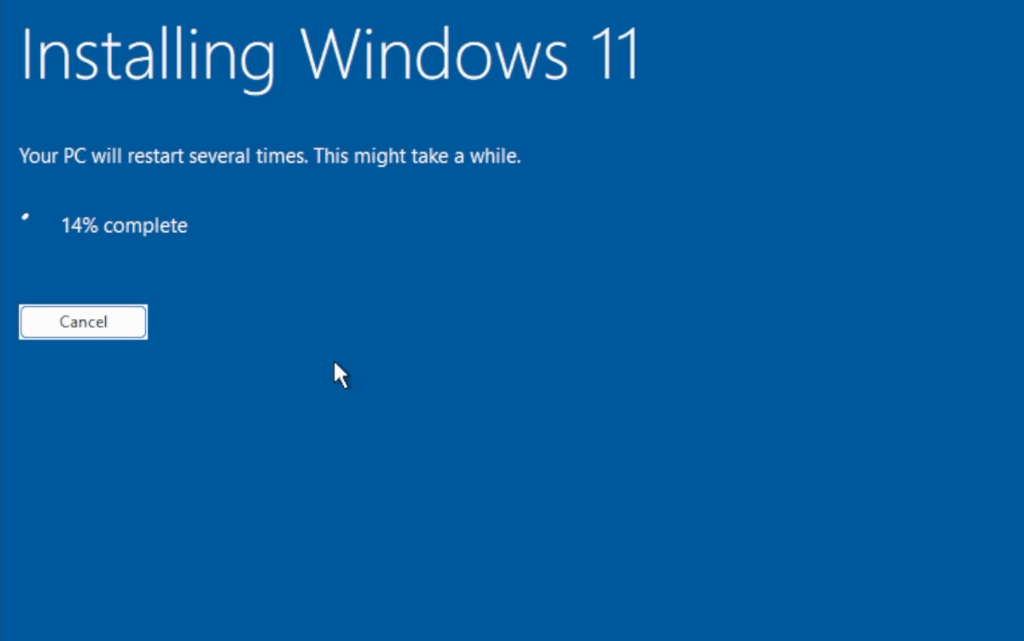
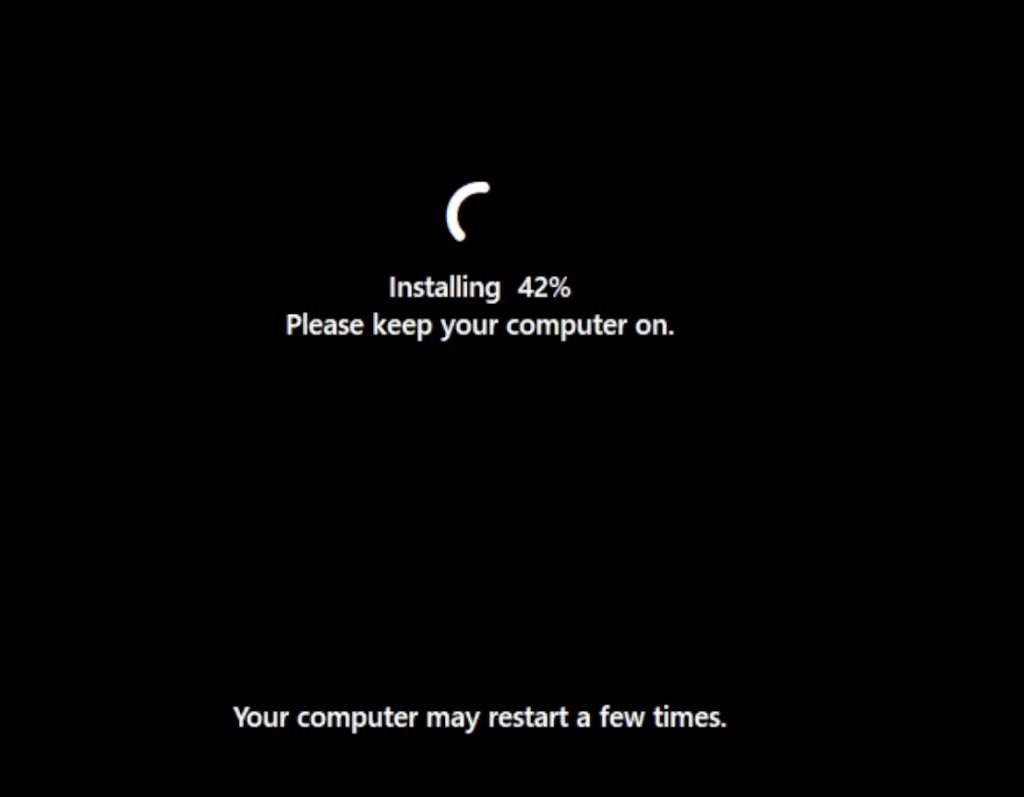
This is the New Installing Windows 11 Section.
This is the second part of the New Installing Windows 11 Section.
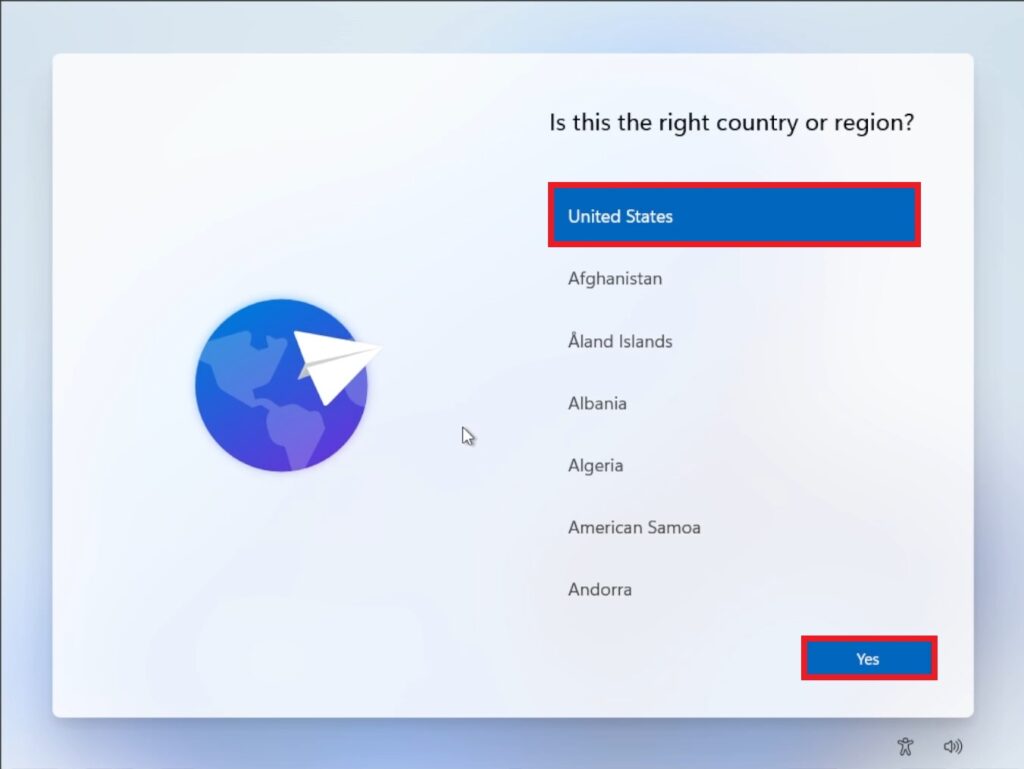
Inside the New OOBE Section, select your country or region and then click on Yes.
Select your keyboard layout or input method and then click on Yes.

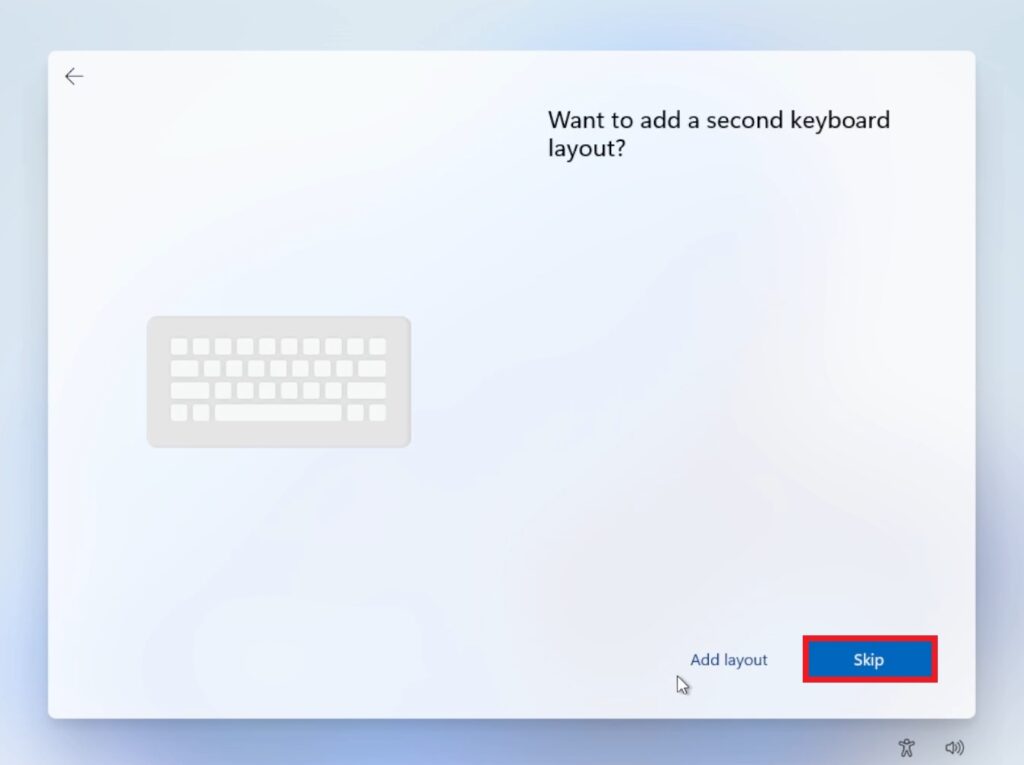
You can Skip adding a second keyboard layout.
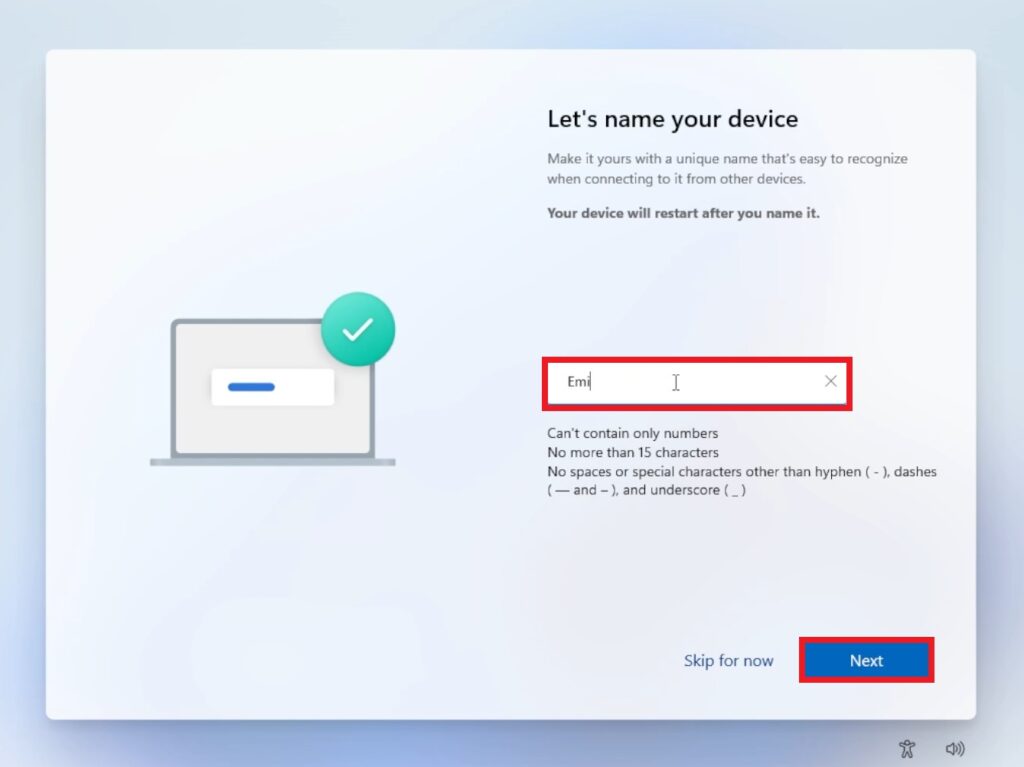
Add a name to your device and then click on Next.
Select Set up for personal use and then click on Next.

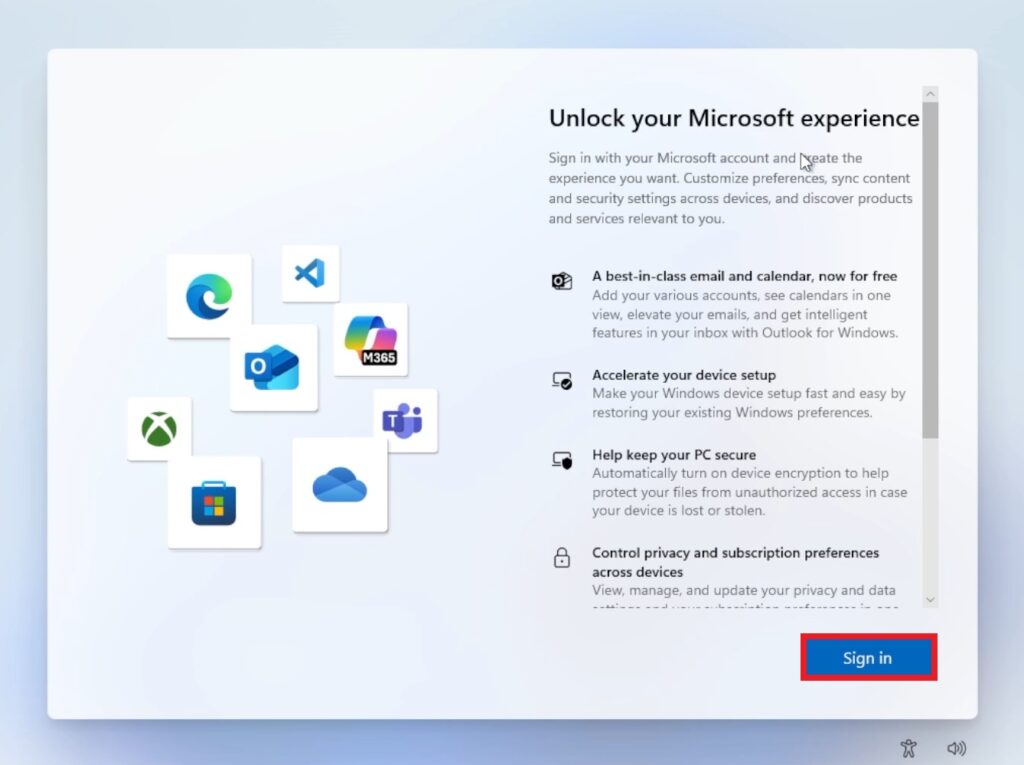
Click on Sign in, to add your Microsoft Account.
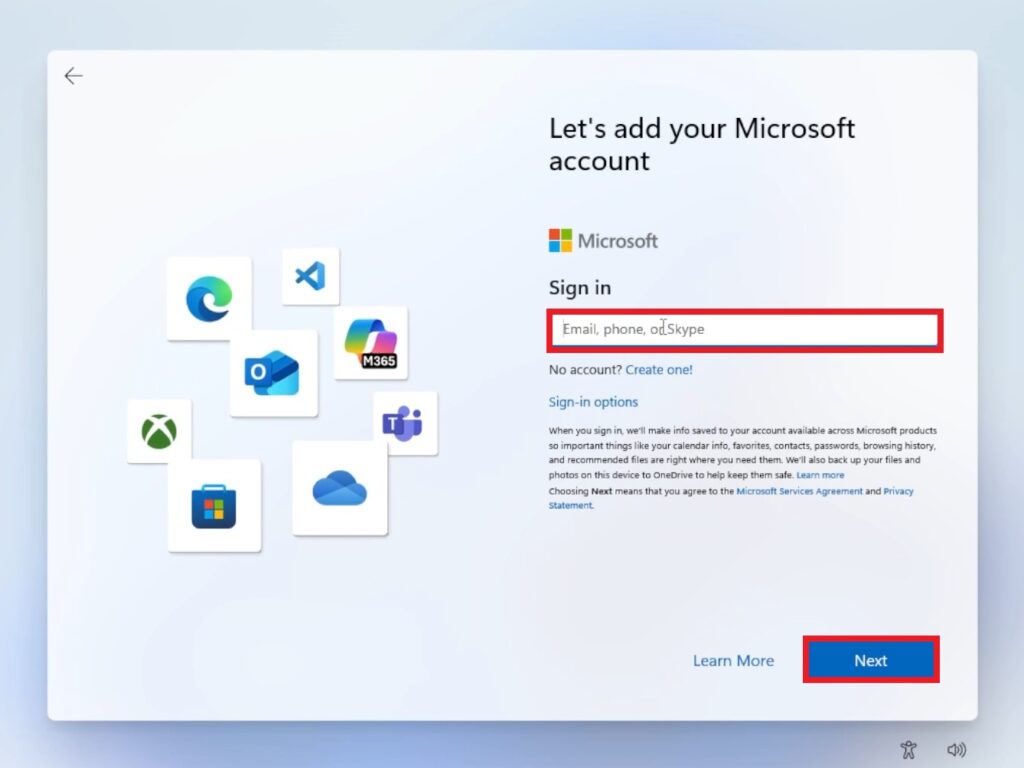
Login to your Microsoft Account, and then click on Next.
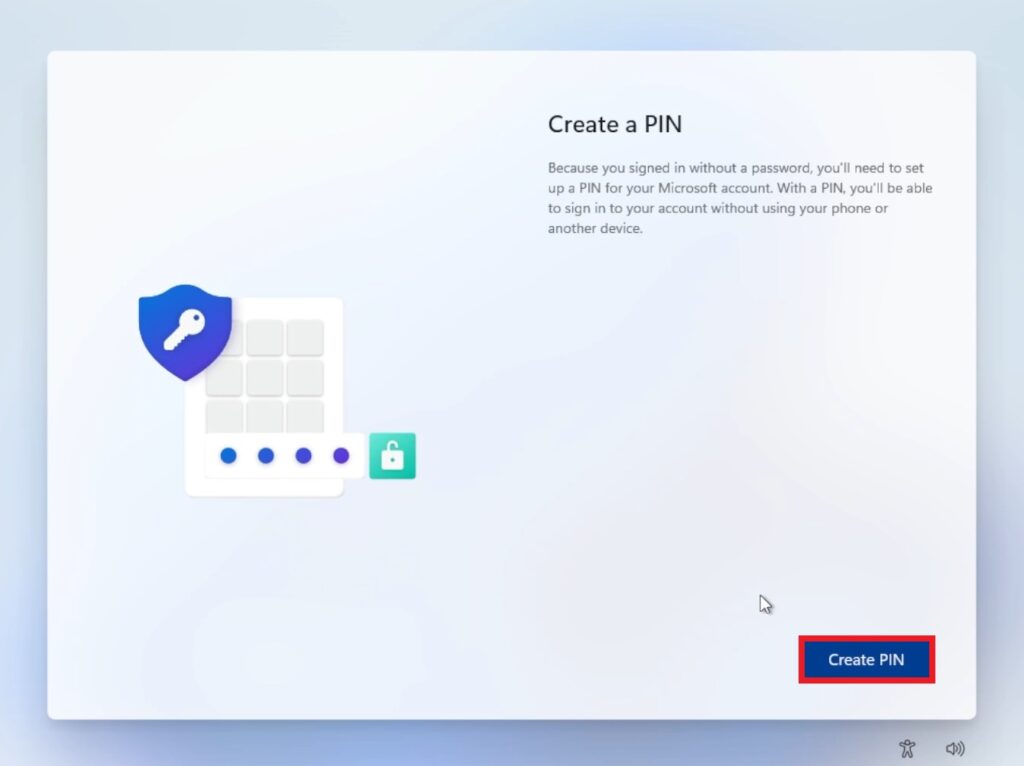
Click on Create PIN.
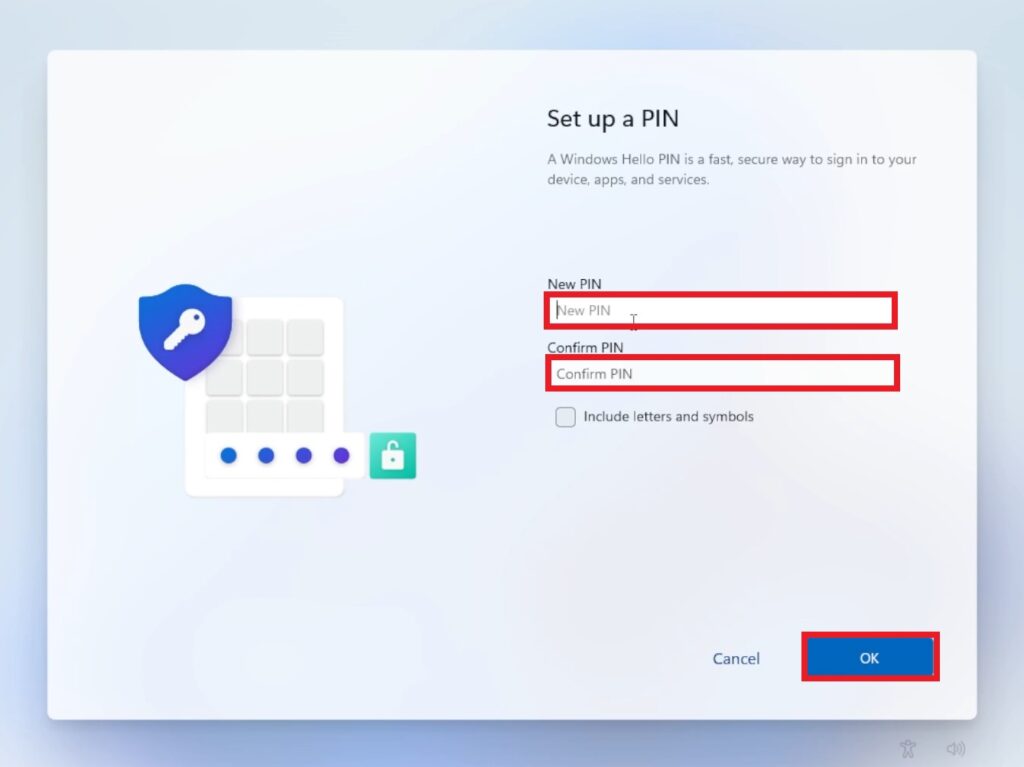
Set up a PIN and then click on OK.
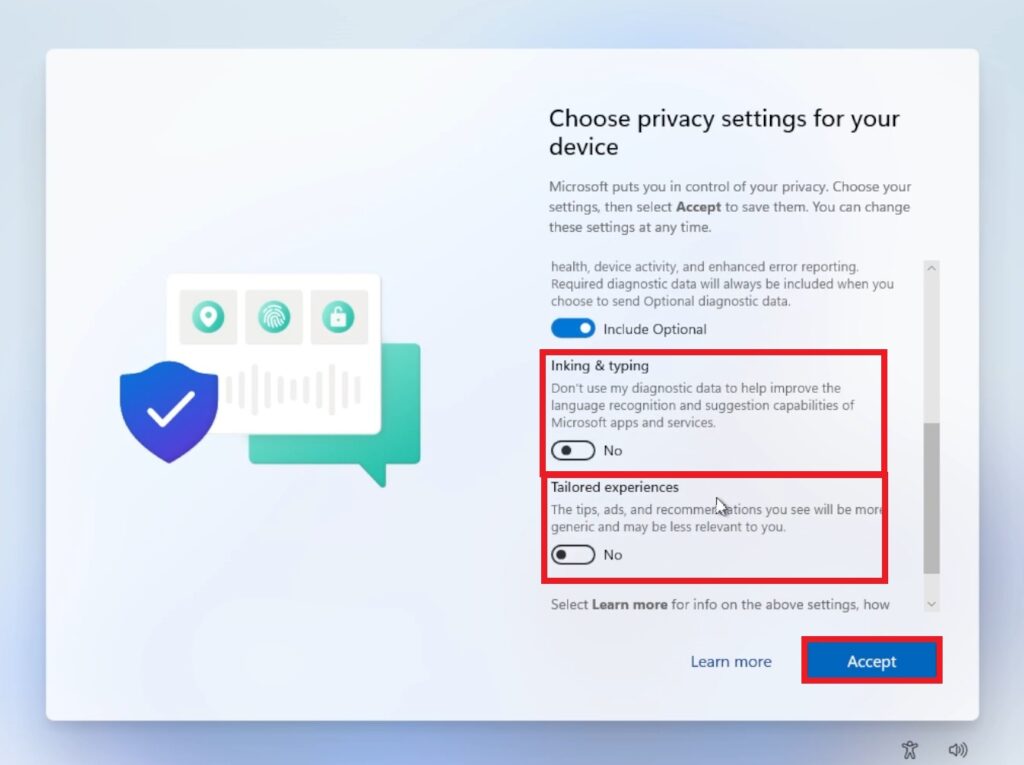
You can now customize your privacy settings (as an example I disabled Inking & typing and Tailored experiences) and then click on Accept.
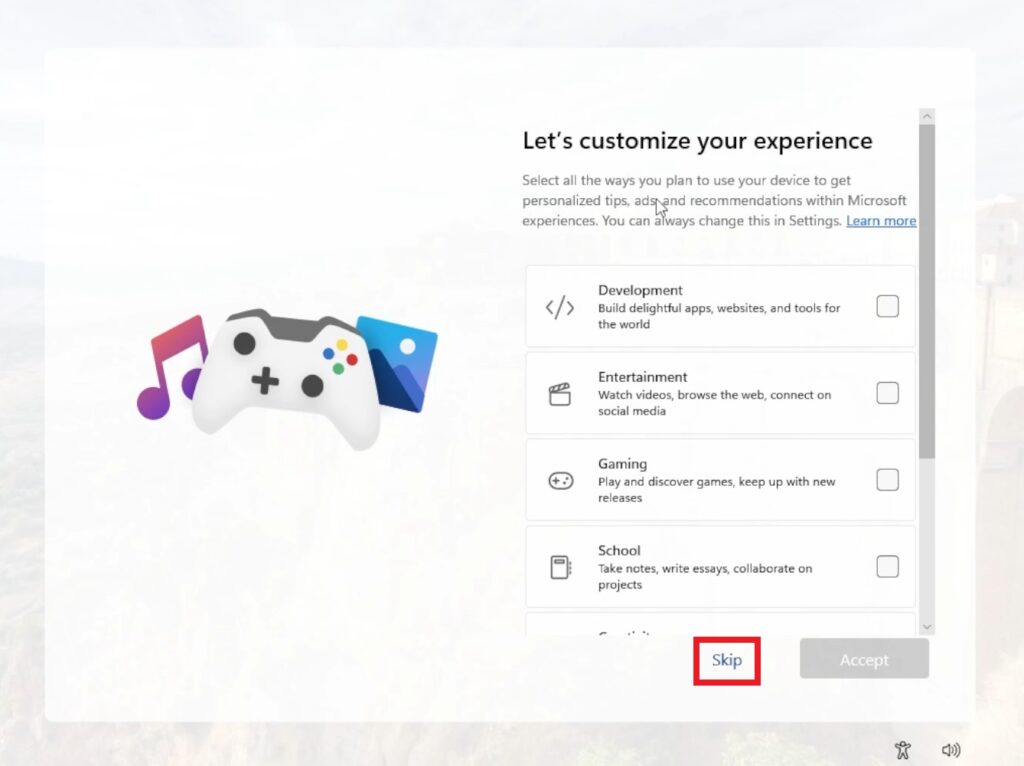
Click on Skip when asked to customize your experience.
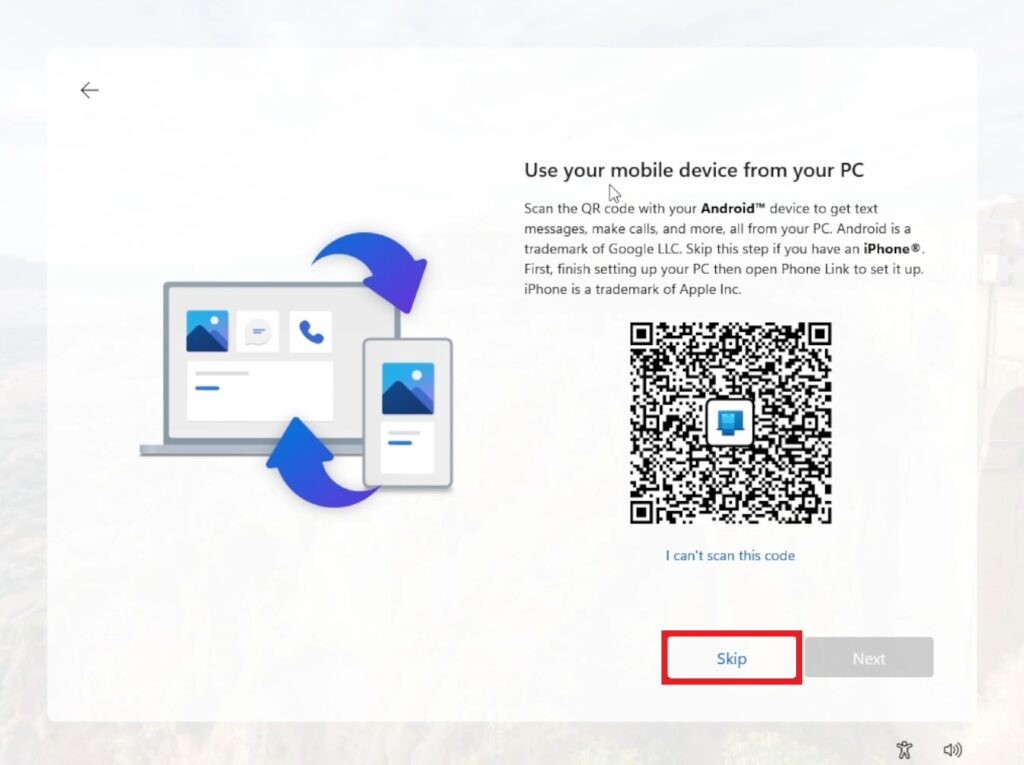
Skip adding your Mobile Phone (you can always do this later).
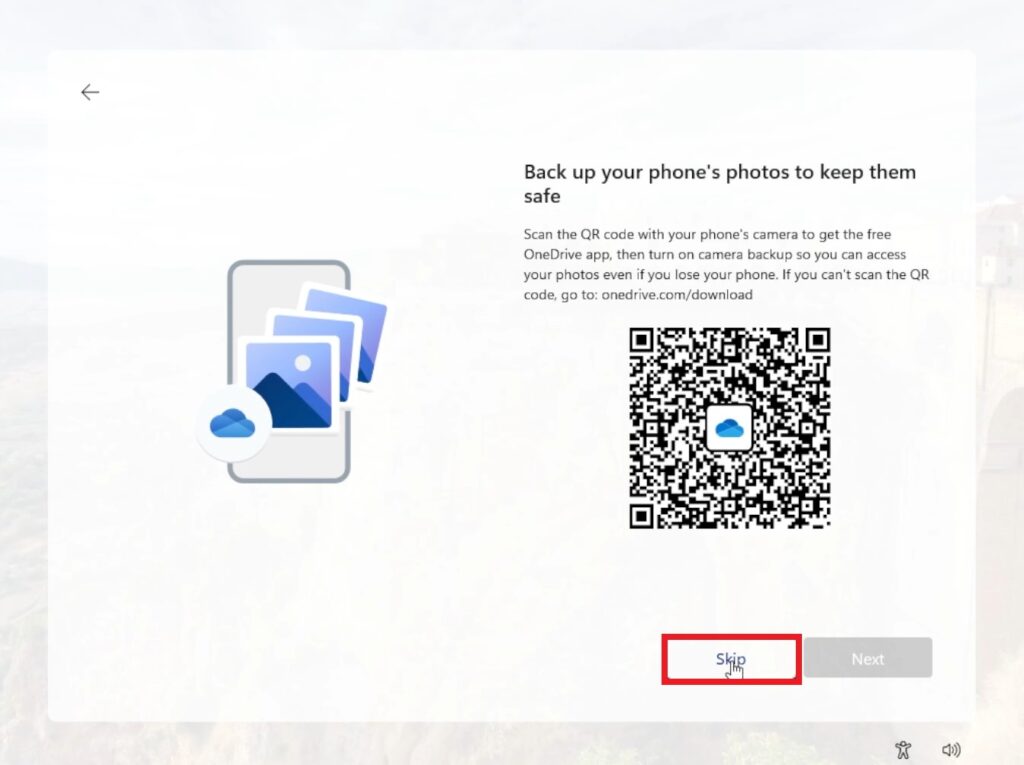
Skip backing up your phone’s photos (you can always do this later).
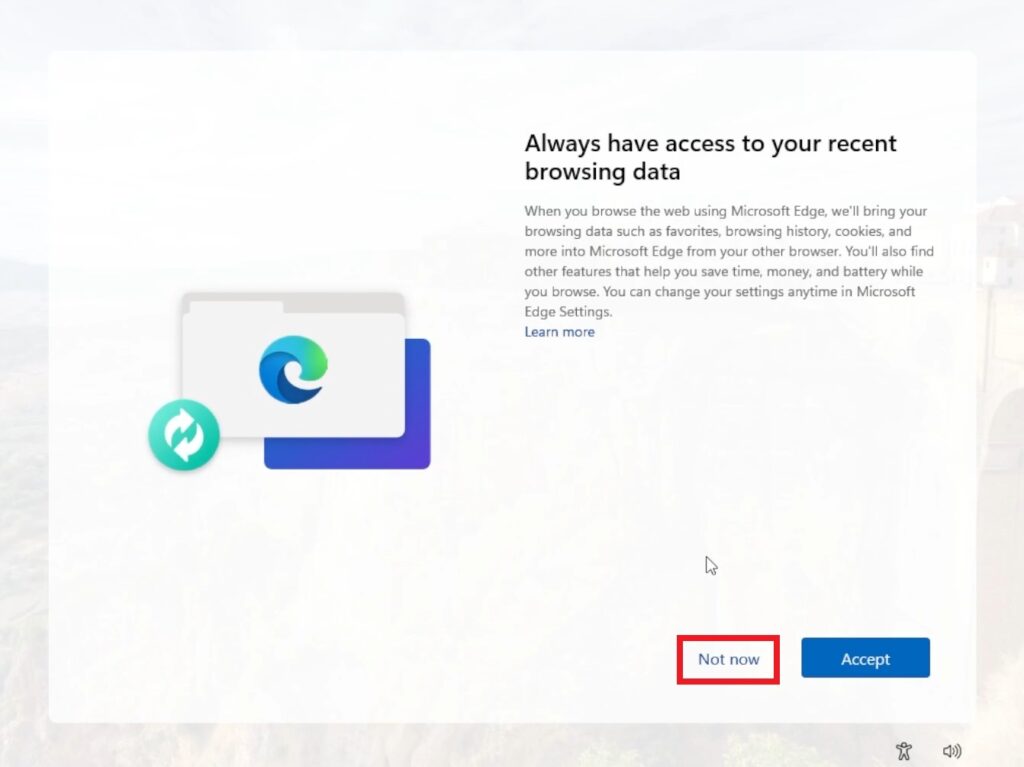
Select Not now, when asked about your recent browsing data.
Decline Microsoft 365 if you’re not interested in these products.

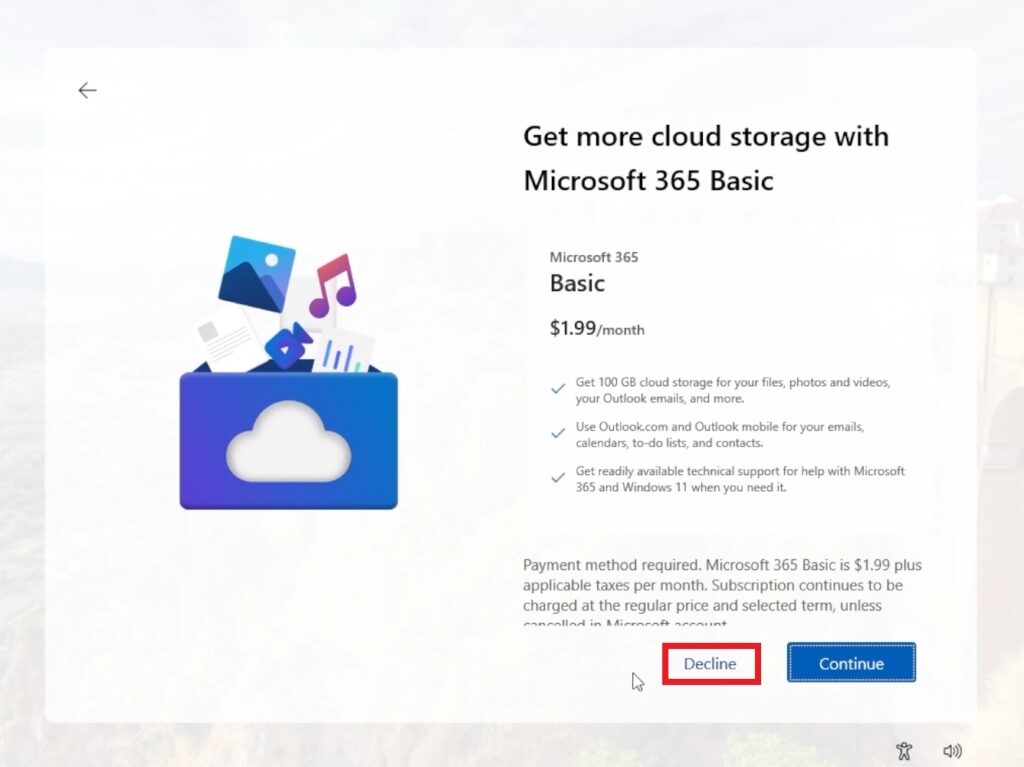
Decline Microsoft 365 Basic if you’re not interested in this product.
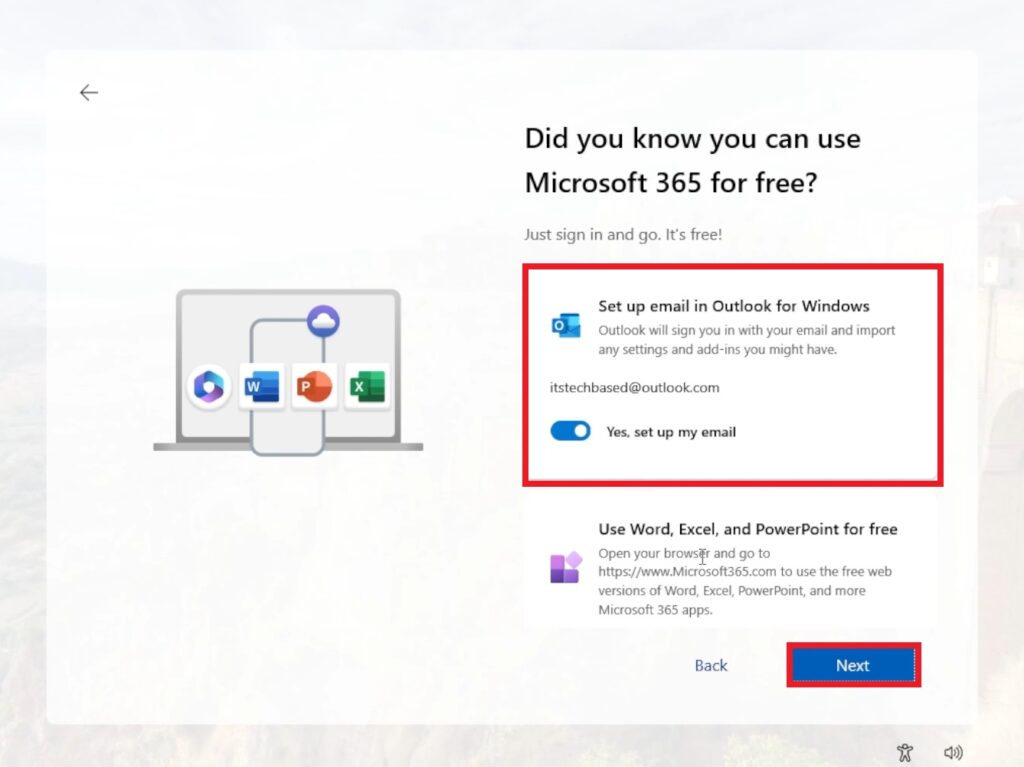
You can uncheck Set up email in Outlook for Windows and then click on Next.
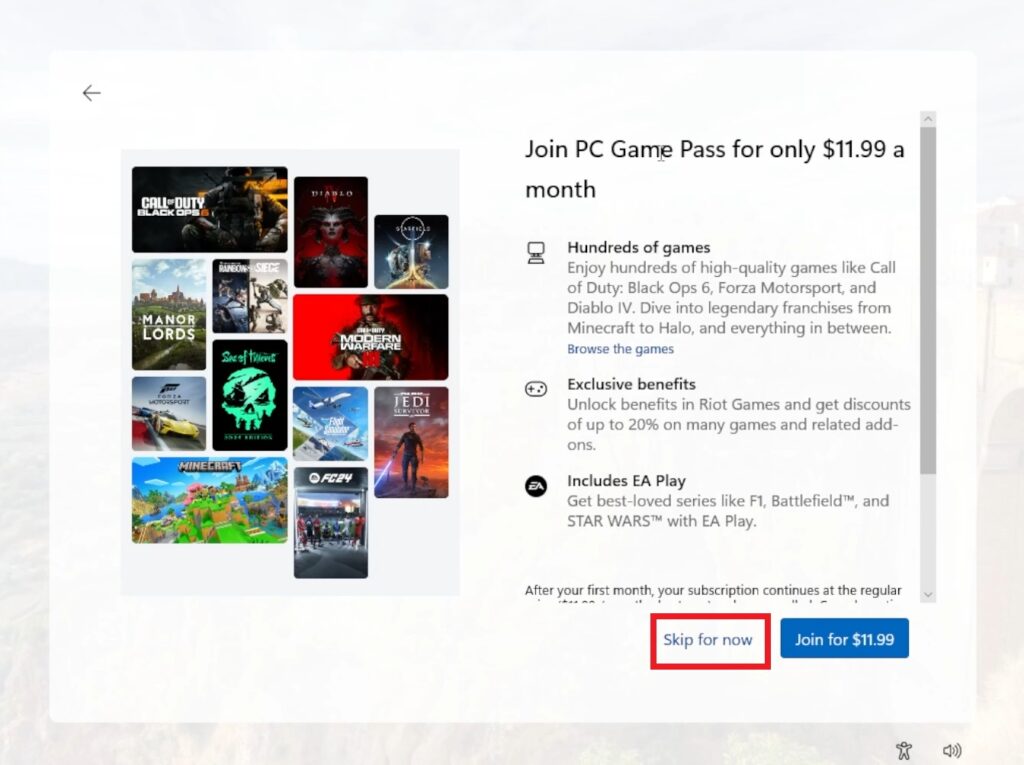
Skip for now when asked about the PC Game Pass.
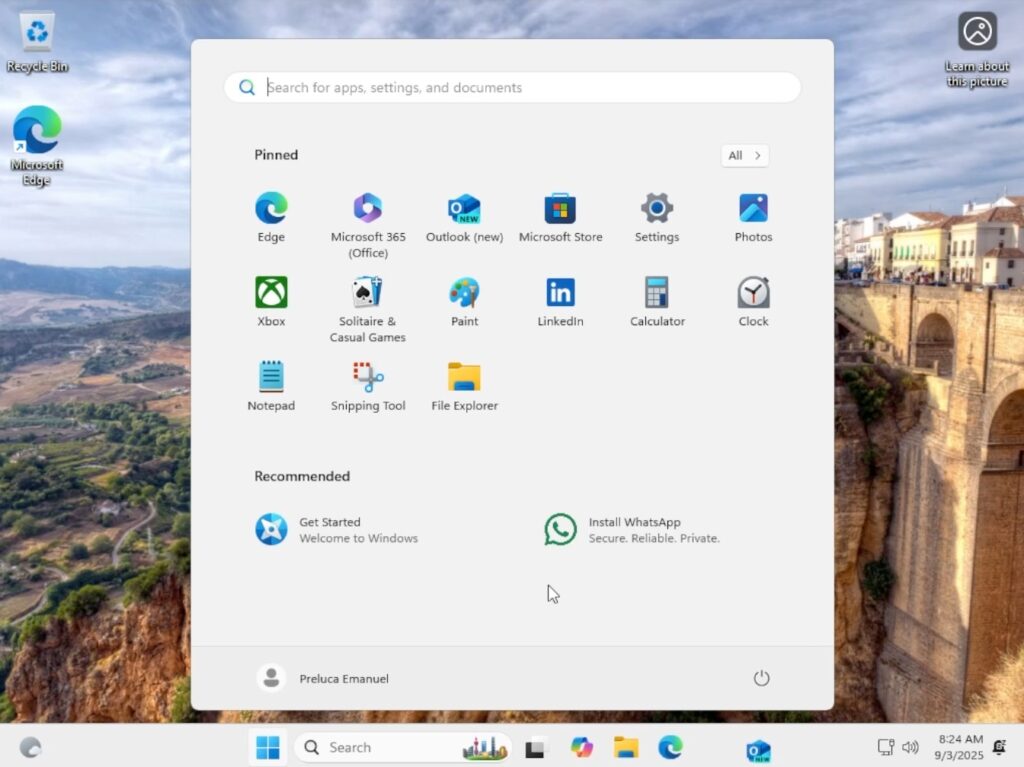
And that’s it, you can now proceed with installing your drivers and apps.
For a more in-depth tutorial, you can watch the video below from the YouTube channel.