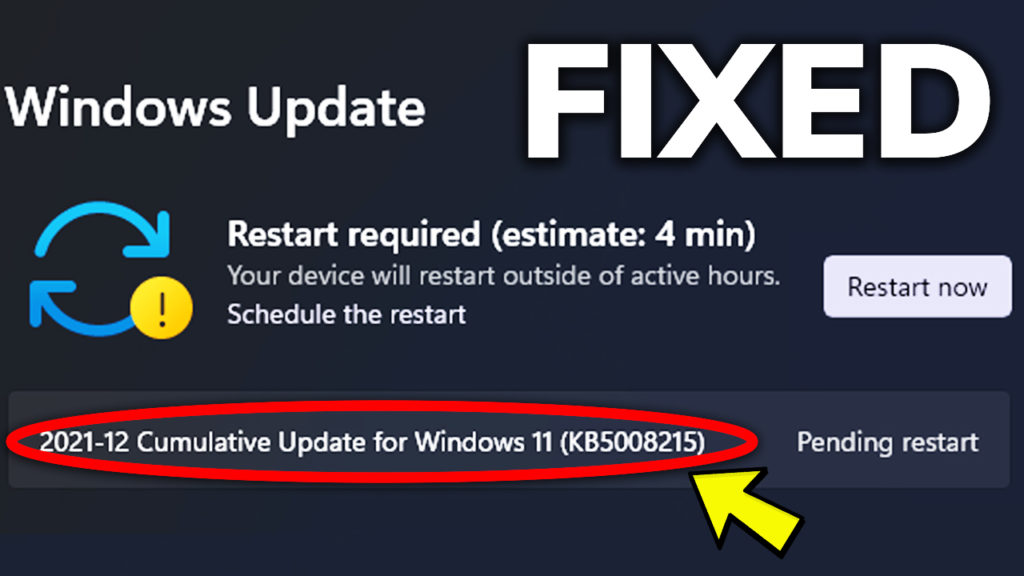
In this article, I will show you how to fix Windows Update Error 0x80070643 in Windows 11. This is related to some updates that won’t install, and will also interfere with other updates that need to be installed.
Hide the Update that causes issues
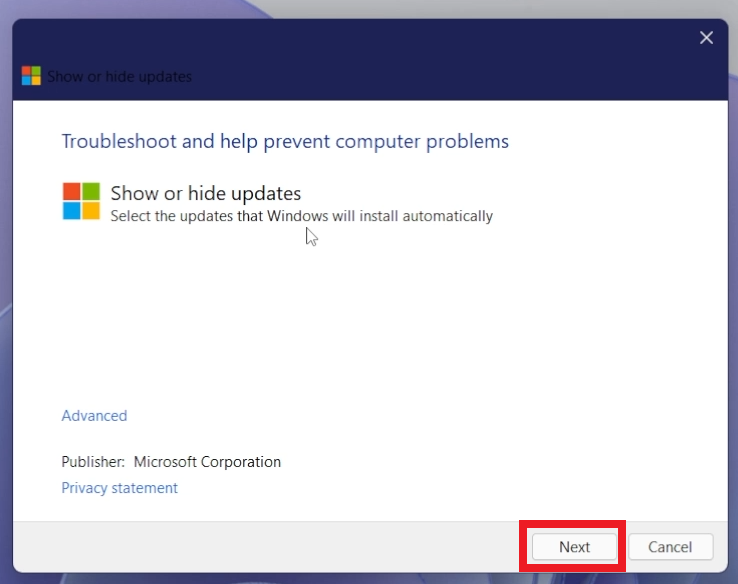
Download Microsoft Tool that hides Windows Updates
This Microsoft Tool will let you hide certain updates that won’t work or won’t install. This will help you install important updates that can’t be installed because of this error.
Once you open the Tool, all you need to do is to select the updates that cause errors in Windows Update. First of all click on Next.
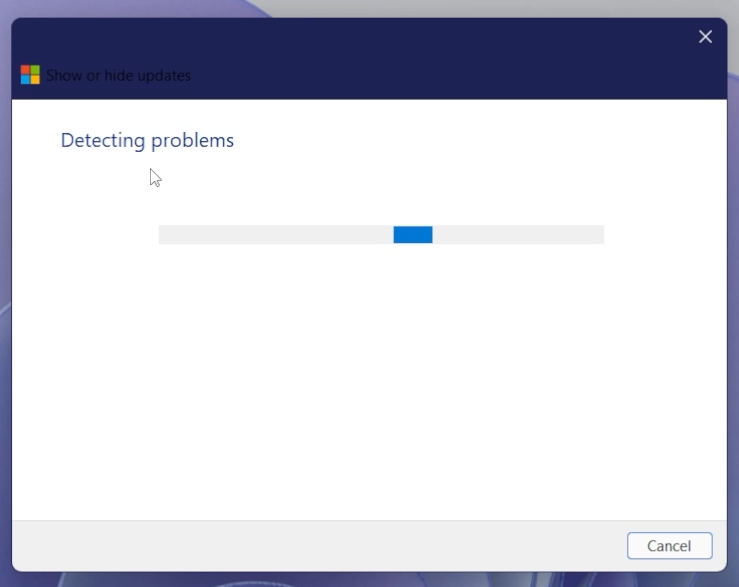
The Tool will automatically try to Detect problems and list Installed Updates or Updates that cause certain errors.
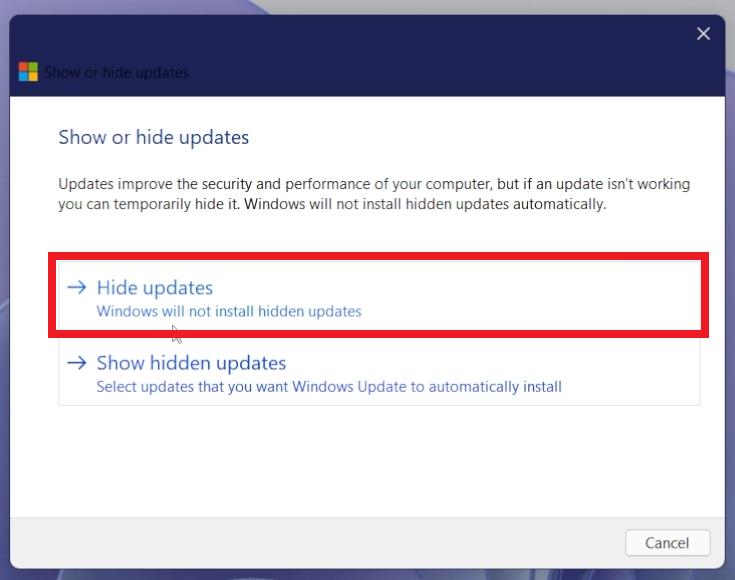
Next up, you need to click on Hide updates, to see the list of updates.
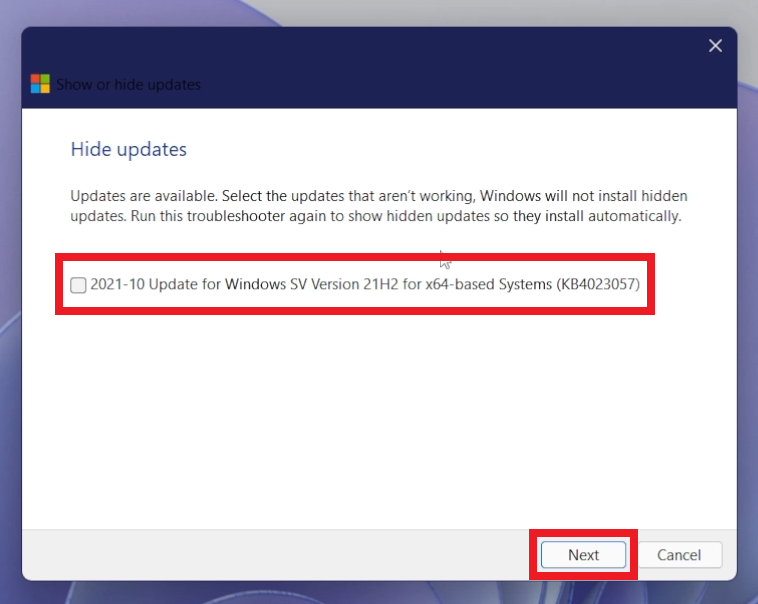
After this, you need to select the update that you want to hide and then click on Next.
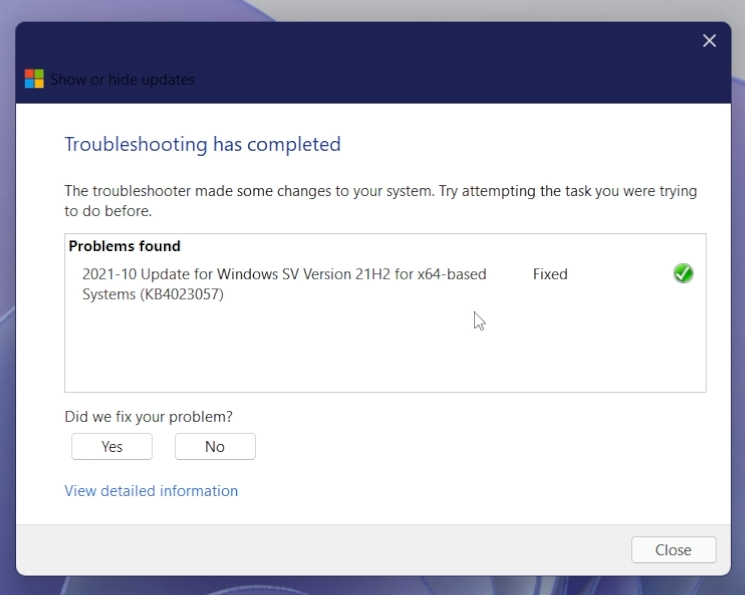
The Tool will perform the Troubleshooting process and will hide the update that you selected. If everything was successful, you should see a green check mark near the problem.
Now you need to Check for Updates again and see if the problem is fixed.
Later on, if you want to install that update, you go and click on Show hidden updates.
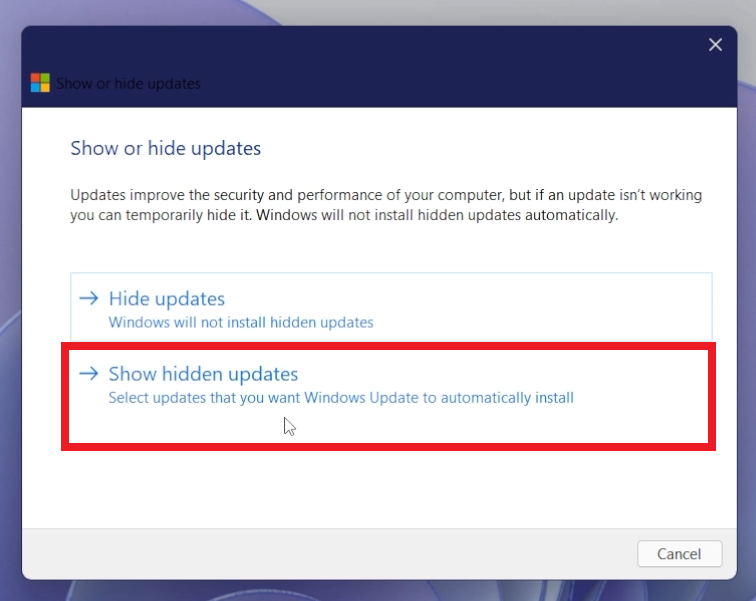
Select the update again and then click on Next.
Re-register the Windows Update Component
Additionally, you can download this script, to re-register the Windows Update Component.
Simply run the script As Administrator and then restart your computer for the changes to take effect.

For a more in-depth explanation, you can watch the video below from the youtube channel.