In this article I will show you how to customize the Snap Layouts from Windows 11, or to be more exact I will show you how to expand their usability as they are really limited by default in Windows 11.
The Snap Layouts from Windows 11 is a cool feature, but by default very limited. If you have a Ultra-Wide Monitor or a 4K Monitor you don’t have the full options that will help you use the monitor to its full potential.
In this situation, the Microsoft PowerToys app comes in help. To install it, just search powertoys in the Microsoft Store and install the first app that appears.
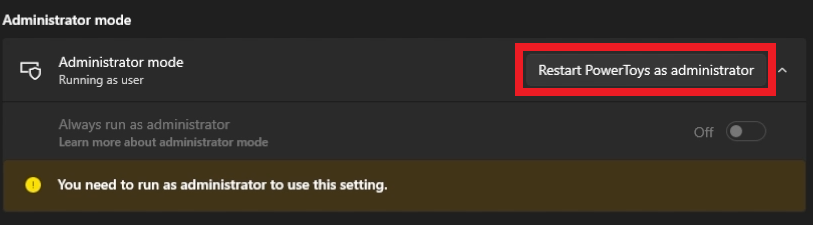
When you first open the app, you will need to go to the General Tab and then in the Administrator mode section click on Restart PowerToys as administrator, so that the app will have the full access to every app that requires administrative privileges.
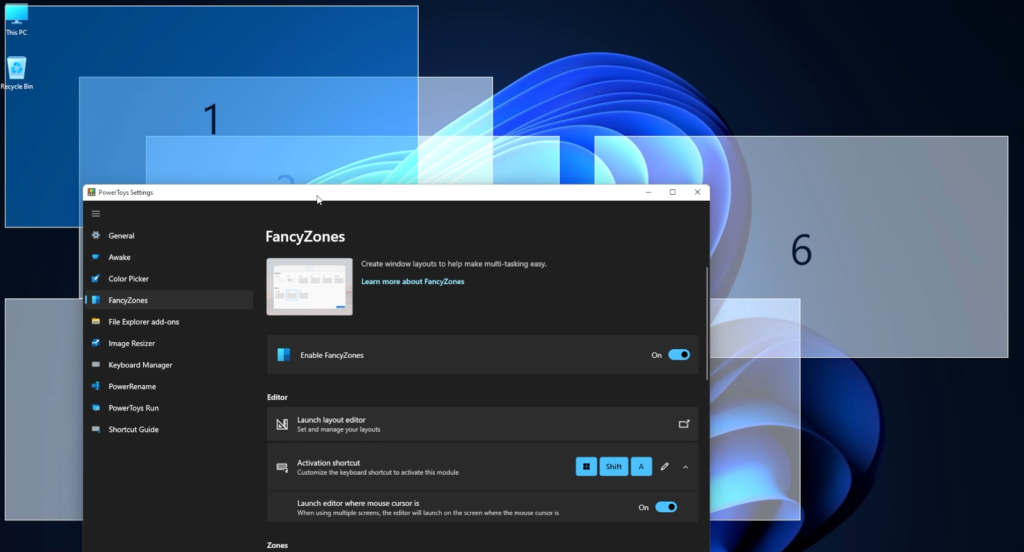
In the PowerToys app we are going to use the FancyZones section where you can customize the Snap Layouts from Windows 11 in detail.
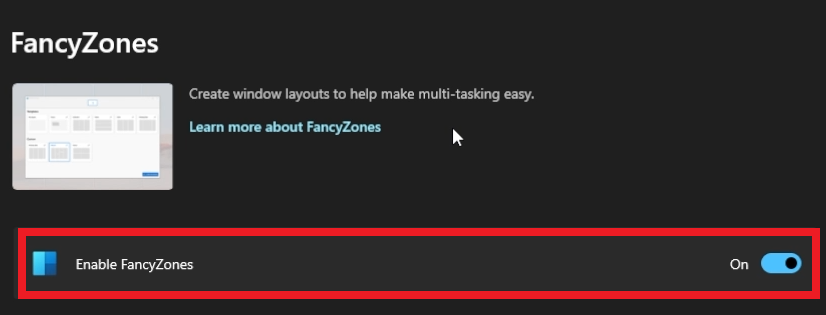
First of all, make sure that FancyZones is enabled. You can check that by clicking the FancyZones tab and then make sure that Enable FancyZones is set as On.
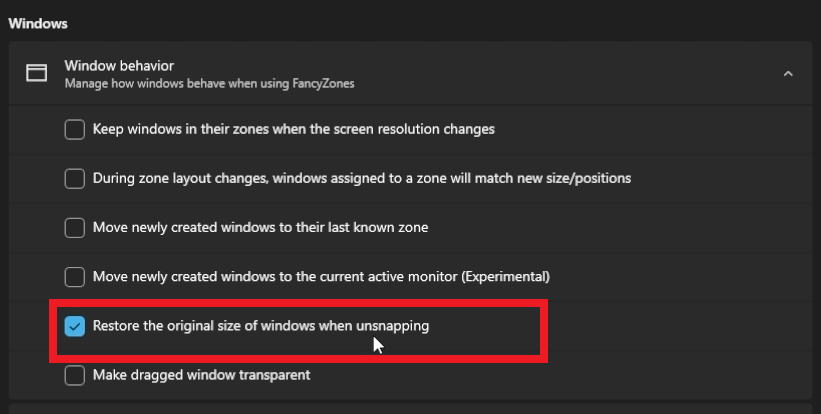
A setting that I would recommend you enable the start is in the Windows section. Enable Restore the original size of windows when unsnapping. This will be very useful when you unsnap a certain window. The window will come back to its original size, otherwise it will stick to the size of the previous layout.
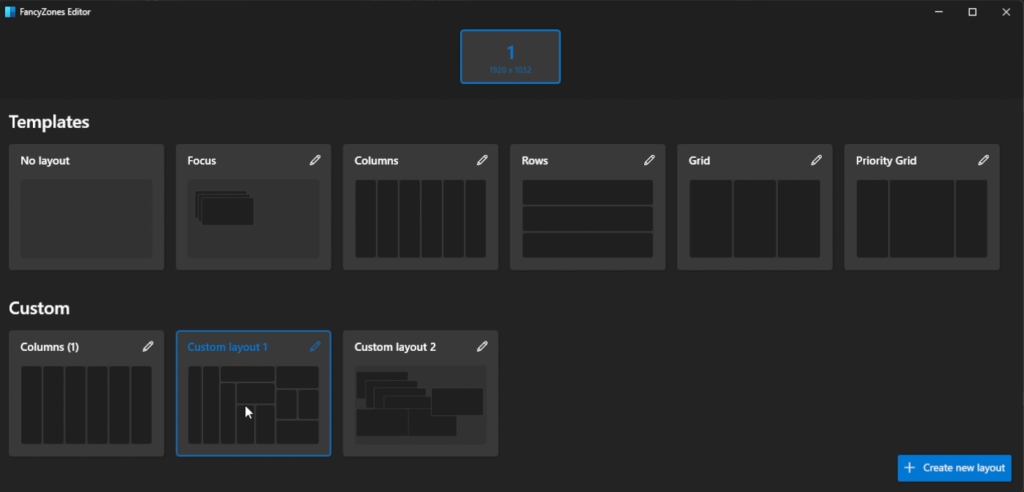
To start editing the snap layouts or the fancy zones, all you need to do it to click on Launch layout editor in the Editor section. In this editor you will have certain templates that you can edit, by clicking on the edit button, or you will be able to create a custom layout.
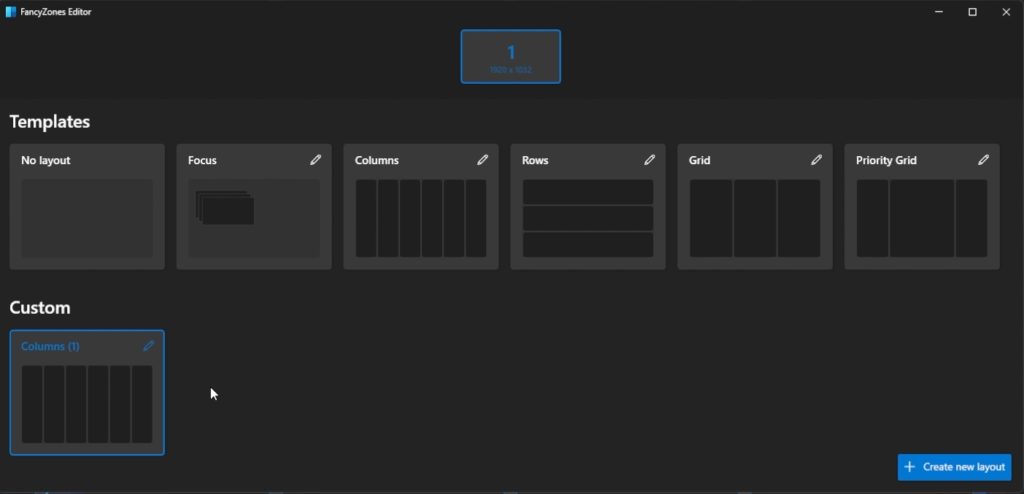
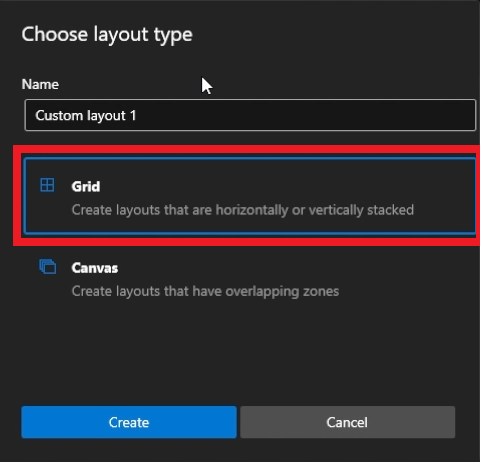
To Create a Custom Layout, click on the Create new layout button and select the layout type and name. At first I would recommend the Grid type.
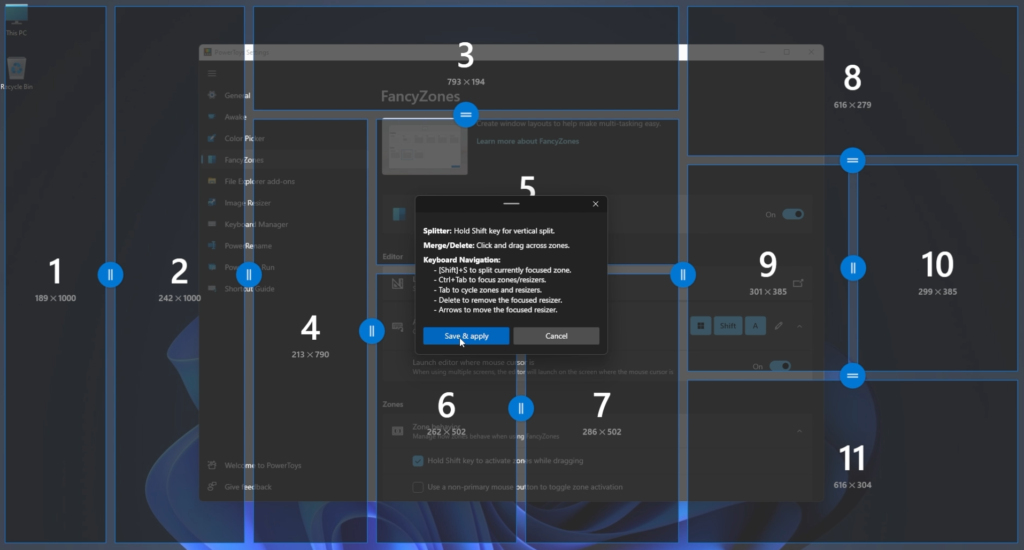
In the menu that appears, you will be able to completely customize the layout by clicking or by dragging its components. When you finished creating your desired layout, just click on Save & apply.
You can now minimize the app and open a random window to test the new layout. While holding Shift on your keyboard, drag the window on the screen and you will be able to easily change its position to a certain spot on the layout that you created.
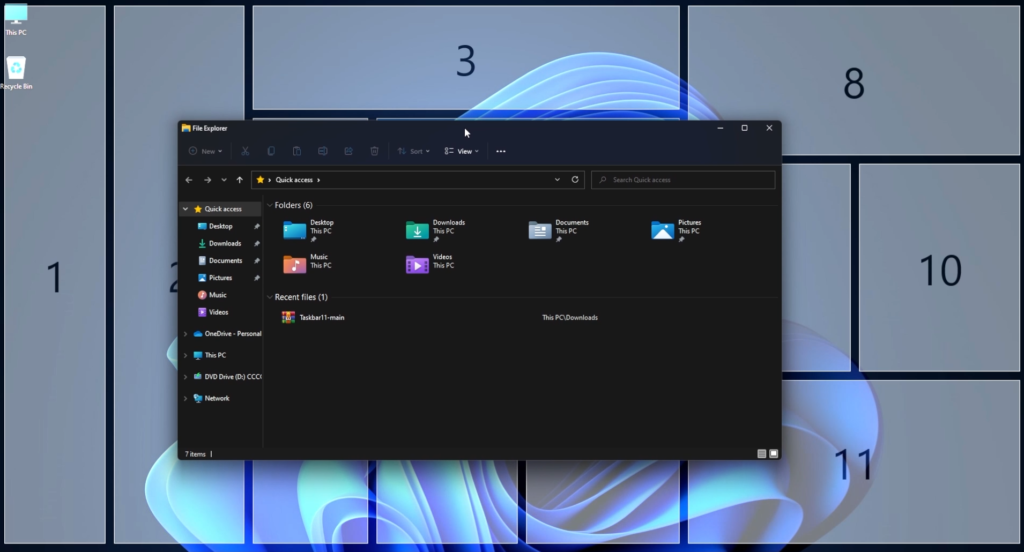
If you unsnap your window, it will come back to its original size, because we enabled that option at the beginning. To unsnap a window, just drag it a bit to the right.
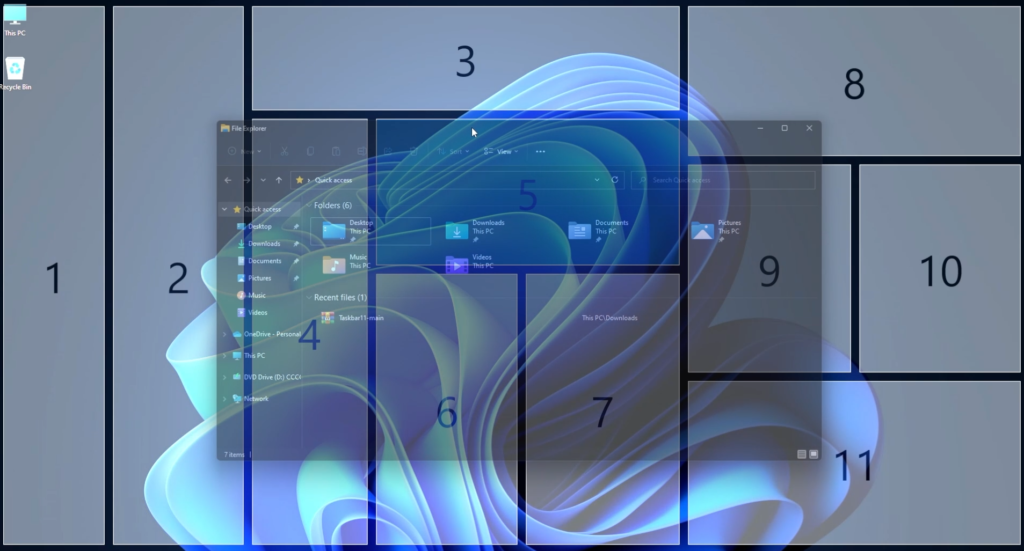
Now let’s create a layout with the Canvas type.
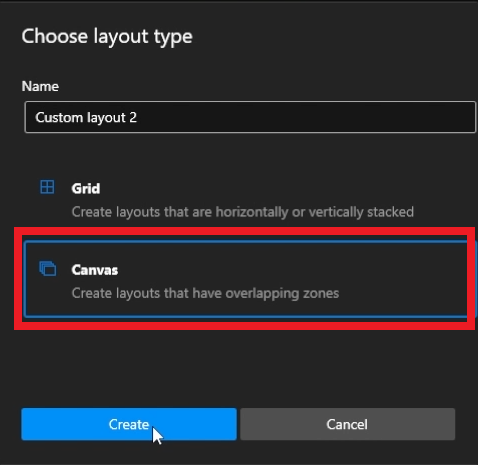
In this case, you will be able to create a layout that will allow windows to override, or more exactly go on top of each other.
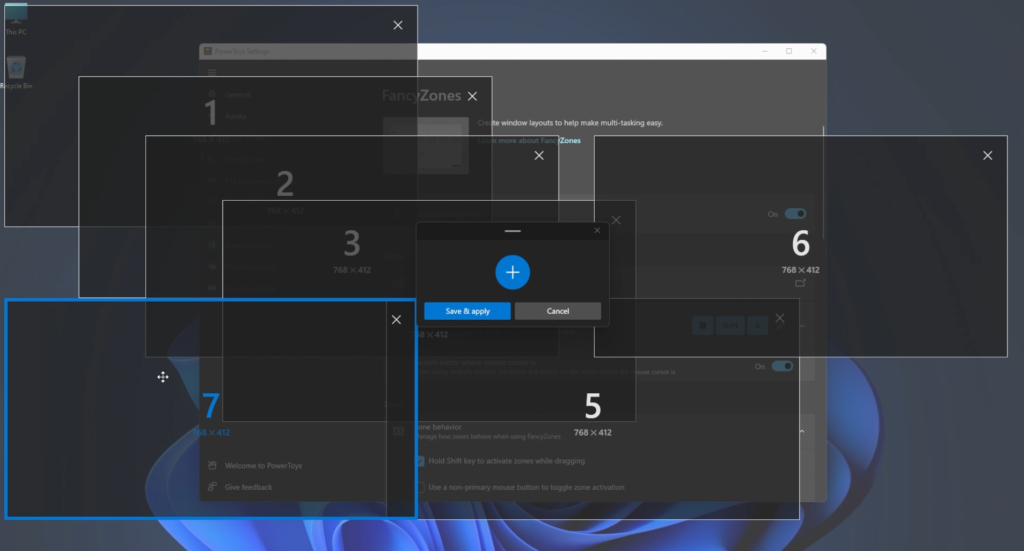
The final result can be seen again by holding Shift and dragging your window on the screen.
In the FancyZones Editor make sure you have the layout that you want to be used, selected, because you can only use one layout at a time.
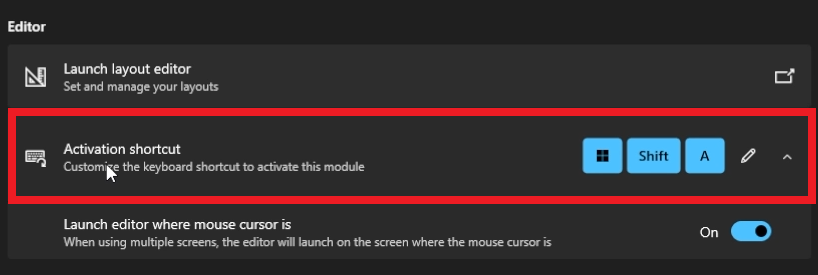
You can easily activate the FancyZones editor at any time, by setting a Activation shortcut. When you use that combination, it doesn’t matter the window that you have now focused, the Editor will pop-up and let you edit the layout.
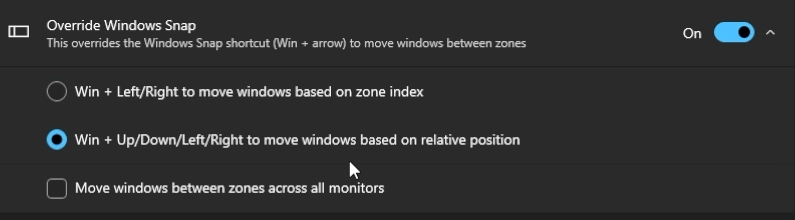
You can use the Override Windows Snap option if you want to use the Windows + arrow keys in windows to automatically position a certain window to a certain spot on the layout created in Microsoft PowerToys.
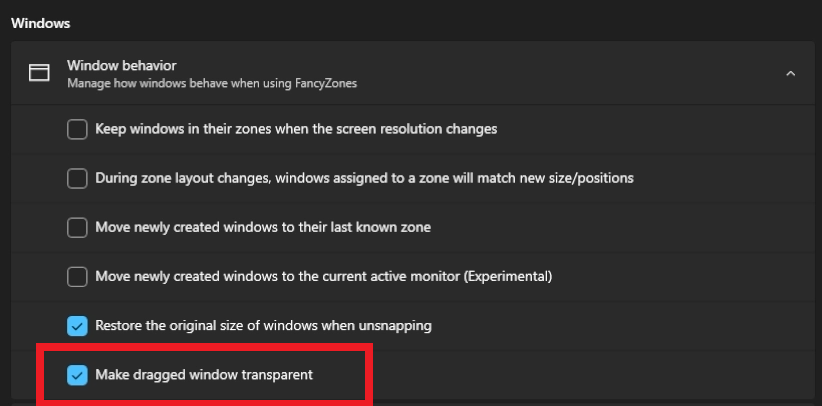
Another option that I personally use, is in the Windows section. Enable Make dragged window transparent, in order to be able to see the layout better when you drag the window. This option will make the window dragged transparent.
Do the steps above the see the result.
This is how you can customize the Snap Layouts in Windows 11 using the Microsoft PowerToys App. For a more in depth explanation you can watch the video below from the youtube channel.