In this article I will show you how to enable the old Context Menu from Windows 10, in Windows 11 using only a command in command prompt.
Even though the new Context Menu from Windows 11 has a really nice and modern interface, a lot of users complained that sometimes it is slow or unresponsive. The solution for that until Microsoft tweaks it a little would be to enable the old Context Menu in Windows 11.
In Windows 11 the old Context Menu can be easily activated if you click on the Show more options button, but you wouldn’t want to do that every time you right click in an empty space on your desktop or file explorer.
Enable the Old Context Menu
To enable the old Context Menu back in Windows 11, all you have to do is to open the Search Box and type there CMD. Right click on CMD and then click on Run as administrator. In CMD you will need to copy and paste in, the following command:
reg.exe add "HKCU\Software\Classes\CLSID\{86ca1aa0-34aa-4e8b-a509-50c905bae2a2}\InprocServer32" /f /veAfter you press Enter, you should receive the following message: “The operation completed successfully”.

After that make sure to restart your computer, for the changes to take effect. After the restart, you will have the old Context Menu enabled in Windows 11.
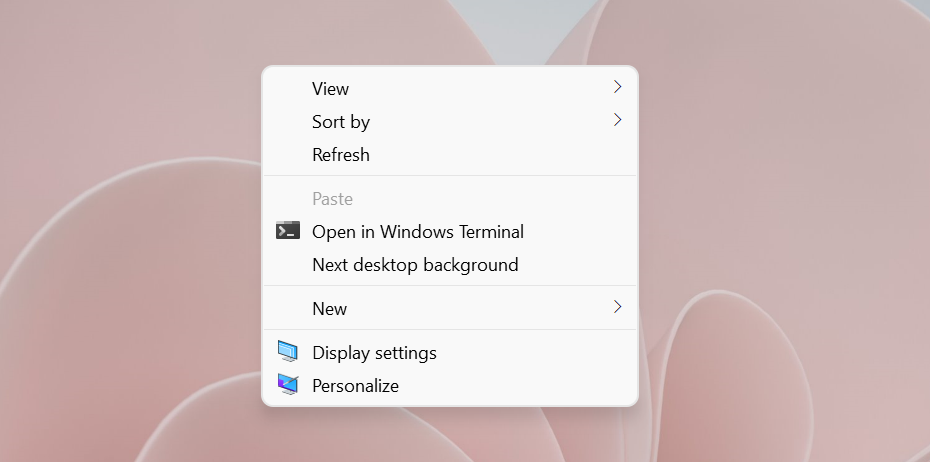
Enable the New Context Menu Again
If after a while you want to enable the new Context Menu again on Windows 11, all you have to do is to open the CMD again with administrative privileges as states above and there copy and paste in, the following command:
reg.exe delete "HKCU\Software\Classes\CLSID\{86ca1aa0-34aa-4e8b-a509-50c905bae2a2}" /fAfter you press Enter, you should receive the following message: “The operation completed successfully”.

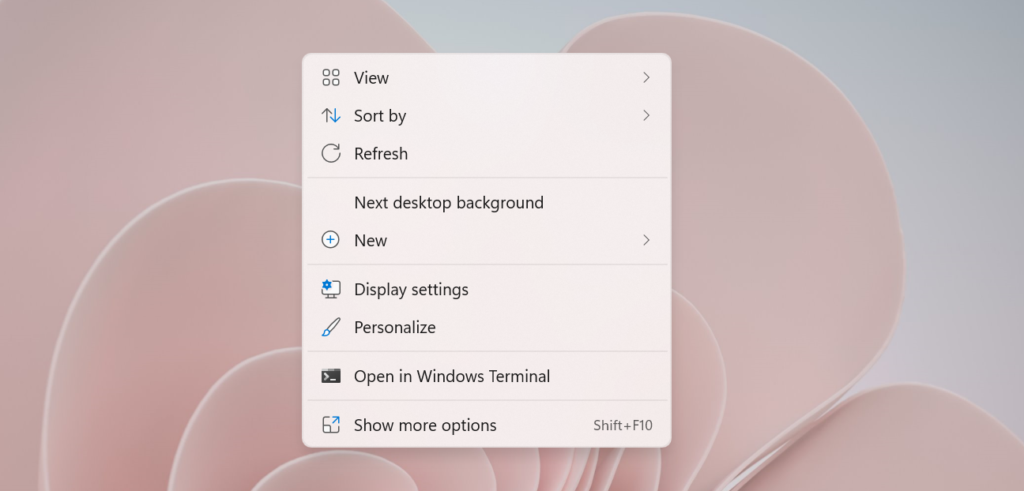
This is how you can easily enable the old Context Menu in Windows 11. Be aware that this command could be patched in the future, but for now it works.
For a more in depth explanation, you can watch the video below from the youtube channel.

thanks 🙂