
In this article I will show you how to install the Google Play Store in Windows 11 through the Windows Subsystem for Android. We will use some scripts and resources provided by ADeltaX on Github.
Before doing anything, make sure you have United States selected on the Country and region setting and the Windows Settings app, and also make sure you enabled Hyper-V and Virtual Machine Platform in Windows Features. If you don’t know how to do that, check this article. Additionally you may need to enable virtualization for your processor in the BIOS, but that is really simple to do and it depends on the type of motherboard that you have.
Things that we need at the beginning
- Download Windows Subsystem for Android
- Windows Subsystem for Linux with Ubuntu or any other distribution installed
- Download 7zip
Download Windows Subsystem for Android
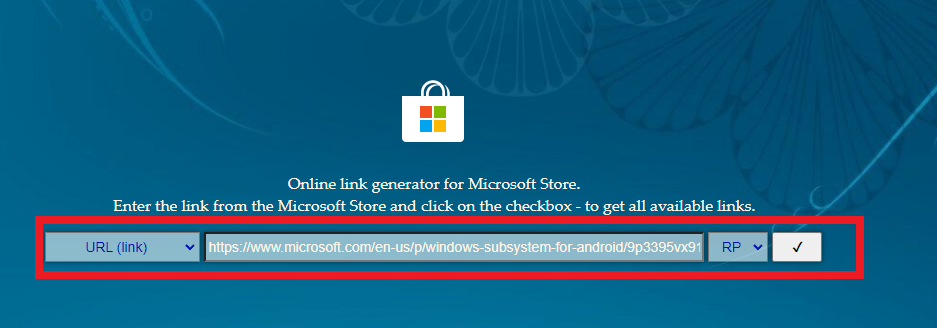
Next up, you will need to download the Windows Subsystem for Android. Click here to download from the official Microsoft Page, or if this doesn’t work, follow the next steps.
Copy the link above and go to store.rg-adguard.net, paste the link there, select Slow from the right button and click on the checkmark.
Alternatively Download from Wetransfer.com (link available for 7 days)
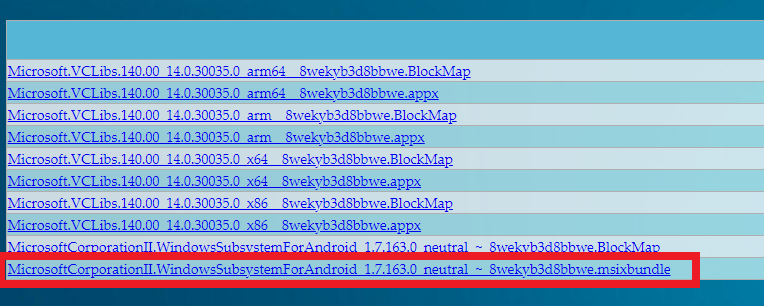
From the list loaded download the last link, which is Windows Subsystem for Android .msixbundle.
Download and install 7zip
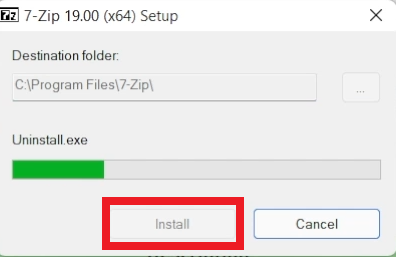
To access the 7zip download page, just click on this link. Download the 64-bit .exe version for Windows and then install it by clicking on the install button.
Download and install Windows Subsystem for Linux with Ubuntu
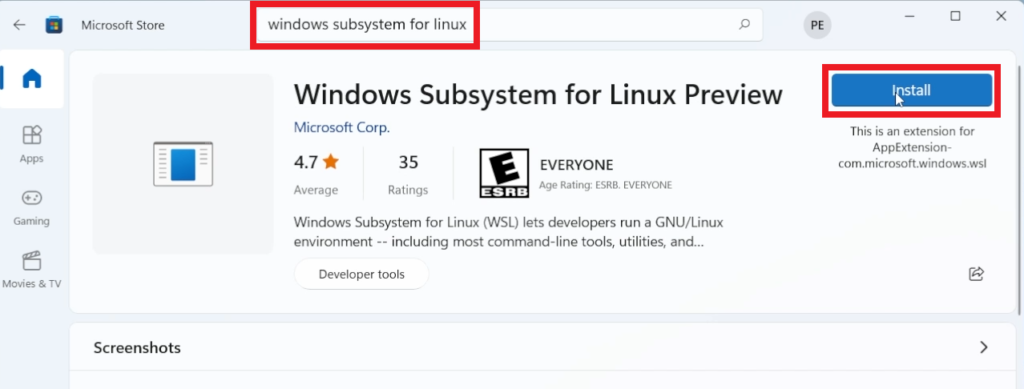
Open the Microsoft Store and type Windows Subsystem for Linux. Once you click on it, click on Install to start the installation.
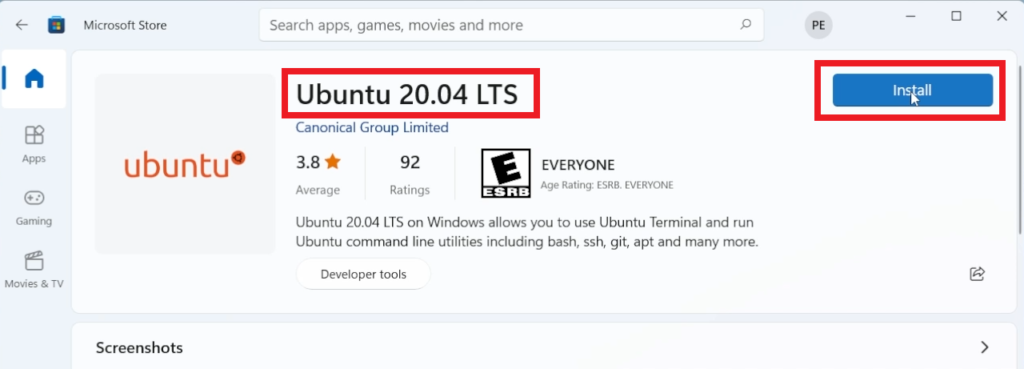
After that, search for Ubuntu and install Ubuntu 20.04 LTS.
Setup Windows Subsystem for Android
Open 7zip and then right click on the WSA Installer to click on Copy as path.

Paste the path copied in the 7zip address bar and then press Enter. You are now inside the WSA Installer.
Here double click on the x64 package from the WSA Installer. Create a new folder in the C partition named WindowsSubsystemAndroid and drag and drop all the files from that package, except AppxMetadata, [Content_Types].xml, AppxBlockMap.xml and AppxSignature.p7x to that newly created folder.
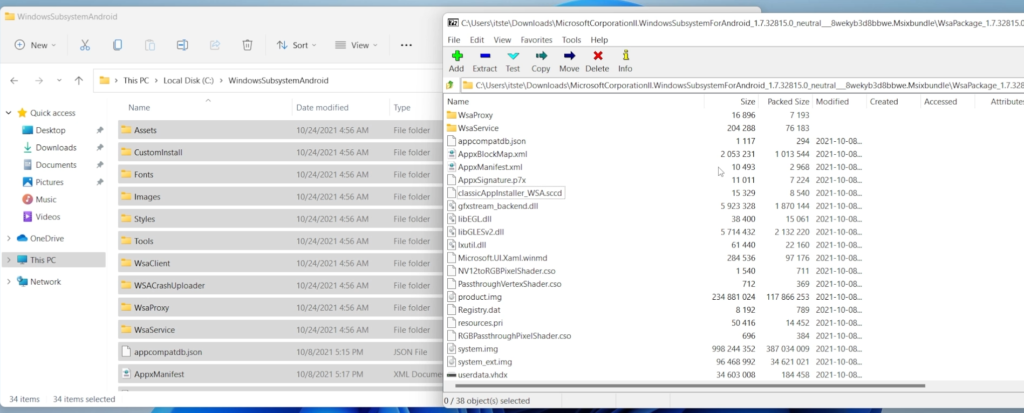
To deselect a certain file from a selection, while holding CTRL on your keyboard, click on each file that you want to be deselected.
Setup ADeltaX scripts
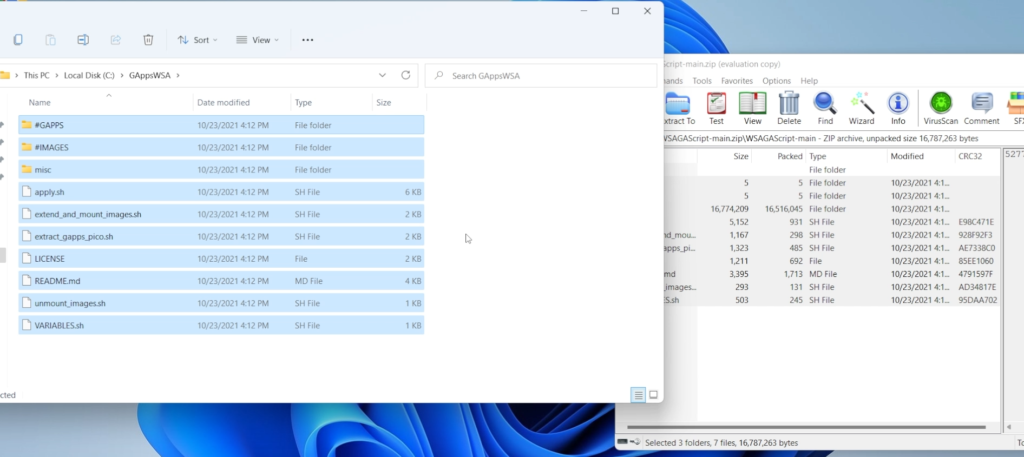
Create a new folder in the C partition named GAppsWSA.
Download the contents from the ADeltaX Github and extract all the files in that folder that you’ve just created.
Download Google Play Store files
Access this page and select x86_64 from the platform, 11.0 from Android and pico from the Variant. After that click on the Download button.

Copy the downloaded archive into the #GAPPS folder from GAppsWSA.

Make changes to Image Disks from WSA
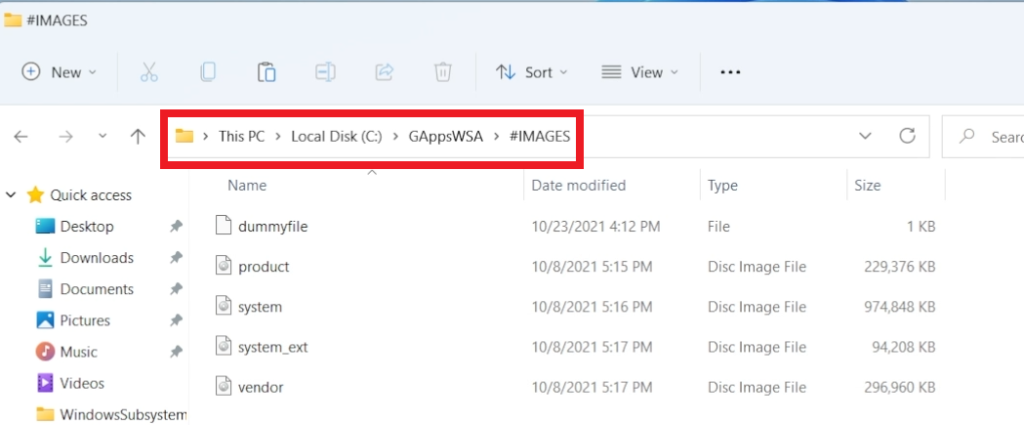
From the WindowsSubsystemAndroid folder copy vendor, system_ext, system and product image disks.
Paste the files into the #IMAGES folder from GAppsWSA.
Now you will need to open the Ubuntu Distribution. If you open it for the first time, you will need to set a new username and a password.
Type the following command to have administrative privileges (you will need to enter the password that you set before):
sudo suChange the directory to the GAppsWSA folder by using these 2 commands or use the third one directly if your location if the same:
cd .. (to go back to the parent directory)
ls (to see all the files from the directory)

cd /mnt/c/GAppsWSA/
After you changed the location, install lzip and unzip using the following command:
apt install lzip unzipIf you receive an error, run the following command and then run the previous command again:
sudo apt-get updateRun the following command to install dos2unix:
apt install dos2unixNow run the following 5 commands, one after another:
dos2unix ./apply.sh
dos2unix ./extend_and_mount_images.sh
dos2unix ./extract_gapps_pico.sh
dos2unix ./unmount_images.sh
dos2unix ./VARIABLES.sh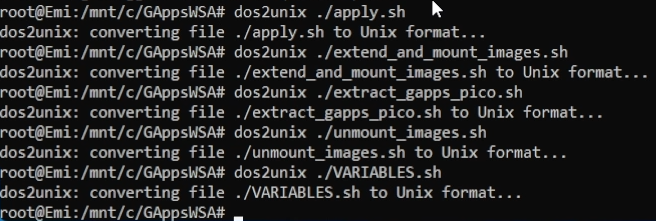
After that, run the following 4 commands:
./extract_gapps_pico.sh
./extend_and_mount_images.sh
./apply.sh
./unmount_images.sh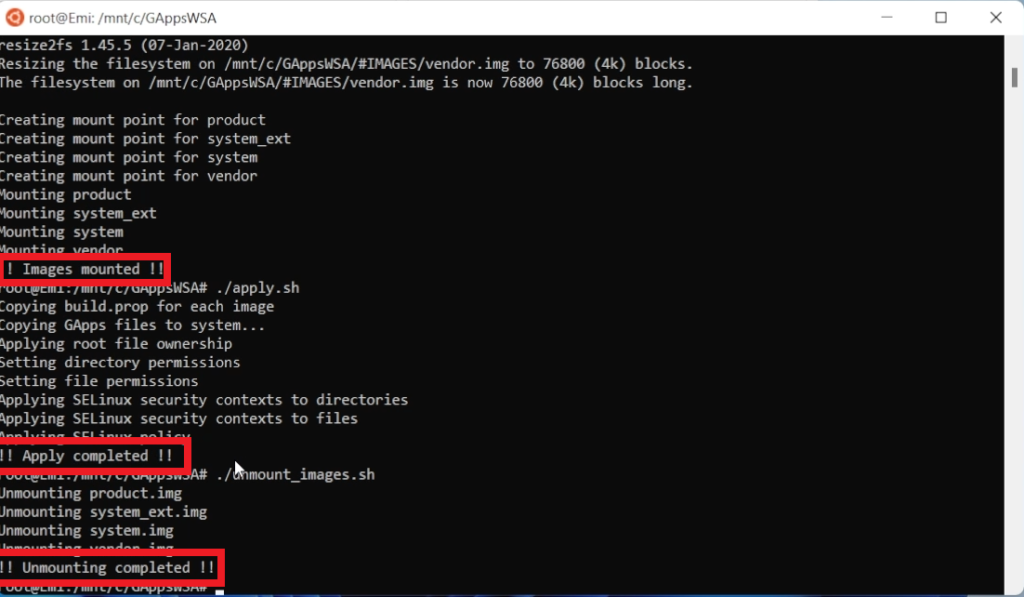
Copy the 4 image disks files from the #IMAGES folder from GAppsWSA and replace them in the WindowsSubsystemAndroid folder.

Replace the Windows Subsystem for Android kernel
Go into the GAppsWSA folder and then misc to copy the kernel file.
In WindowsSubsystemAndroid/Tools rename the existing kernel file to kernel1 and then paste the kernel file.

We are doing this, so that the default kernel file won’t be replaced.
Install Windows Subsystem for Android
Open Windows Powershell as administrator and then run the following command:
Add-AppxPackage -Register "C:\WindowsSubsystemAndroid\AppxManifest.xml"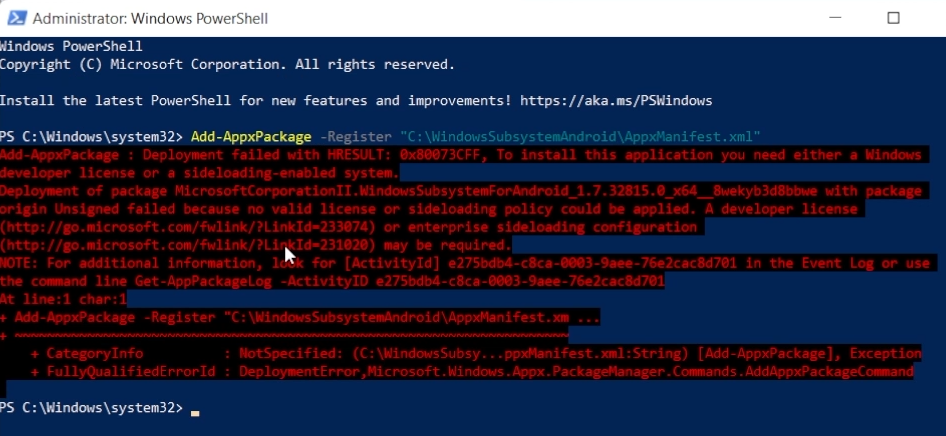
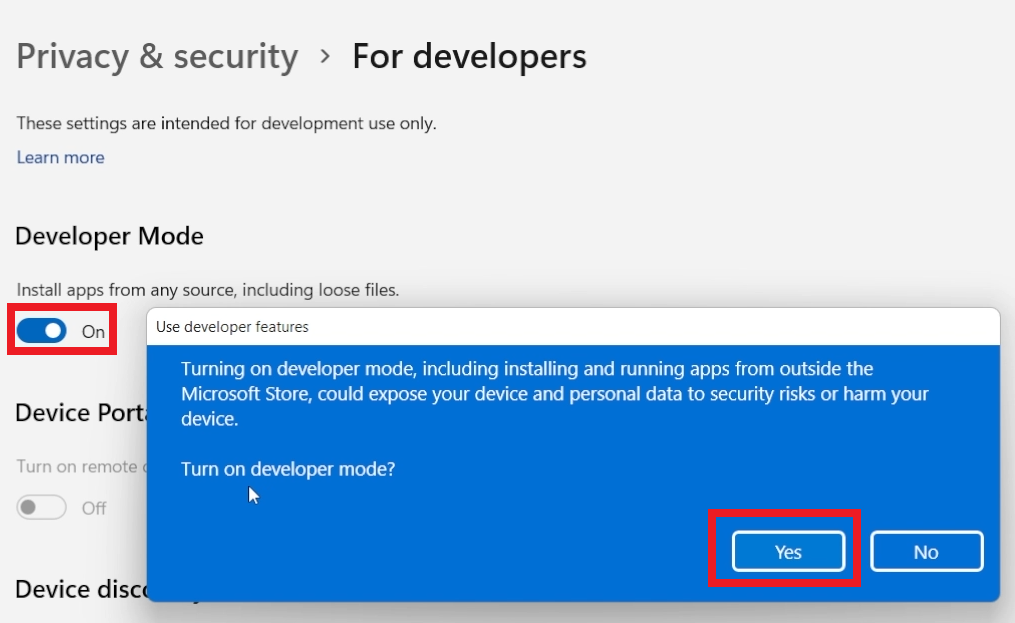
If you receive the following error, you will need to enable Developer Mode in Windows Settings. Open the Settings app, search for developer mode and then enable it, by clicking on the Yes button. After that run the command again and you should be good to go.
Open Windows Subsystem for Android and enable Developer mode and then click on Manage developer settings.
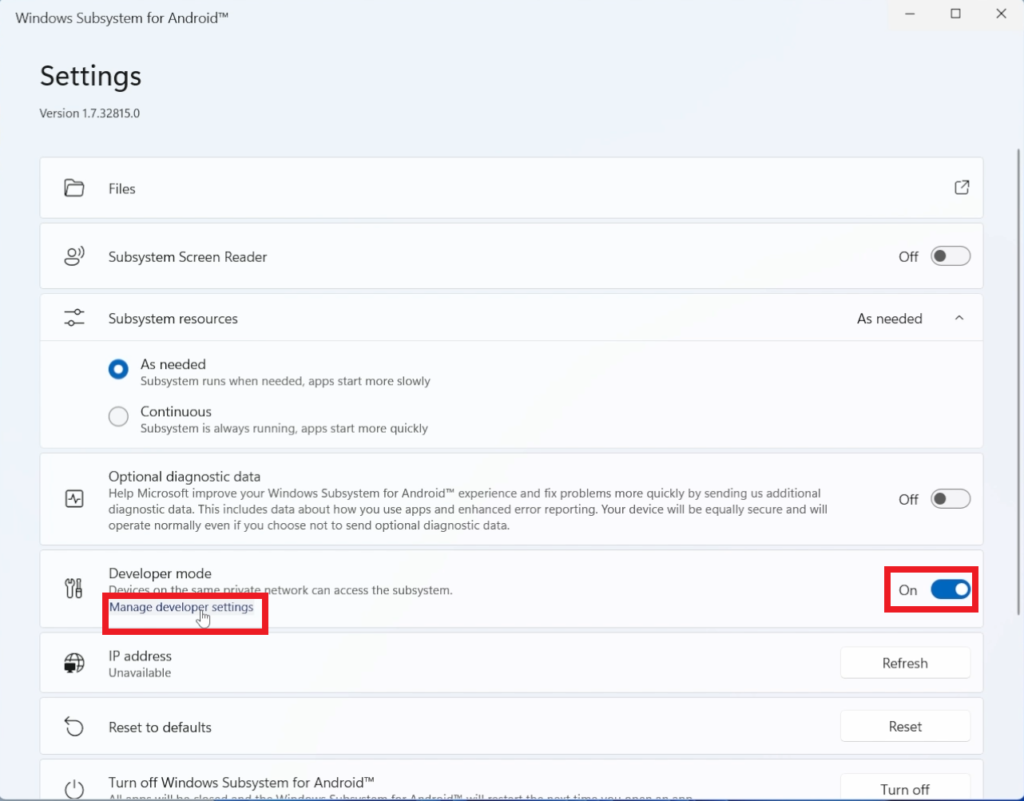
Deselect Share my diagnostic data and then click on Continue. After the app is opened you can close it and open the Google Play Store.

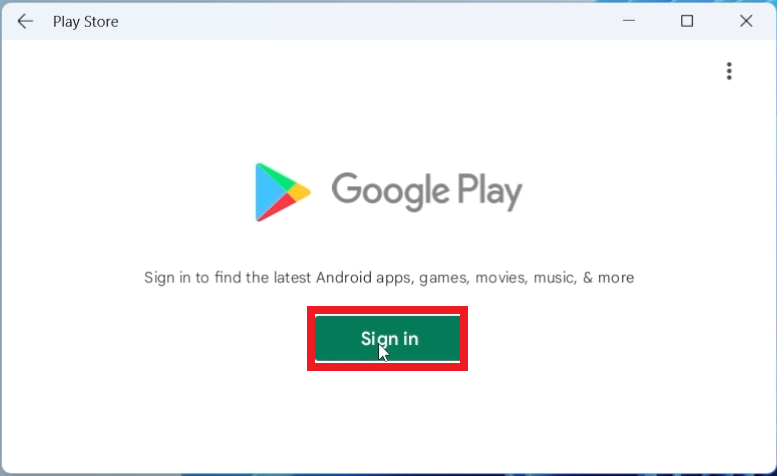
Fix Sign in not working in Google Play Store
If you are trying to Sign in and the button doesn’t work, follow the next steps from the article.
After you downloaded the files, extract them in a new folder named ADBKit in the C partition.
In the folder where you extracted the files, right click and then click on Open in Windows Terminal.
In the Windows Subsystem for Android, next to IP address click on Refresh and then copy the ip address that contains the port also.

In the Windows Powershell type the following command (make sure to change the IP address if it is different for you):
./adb.exe connect 127.0.0.1:58526
Don’t worry if it says failed to authenticate, because this is only a bug, as you are already connected.
Now type the following commands in the Windows Powershell:
./adb.exe shell
su
setenforce 0
You are good to go, but the last step would be to restore the default kernel file from WindowsSubsystemAndroid/Tools.
Rename the kernel file to kernel_v2 for example and kernel1 to kernel.
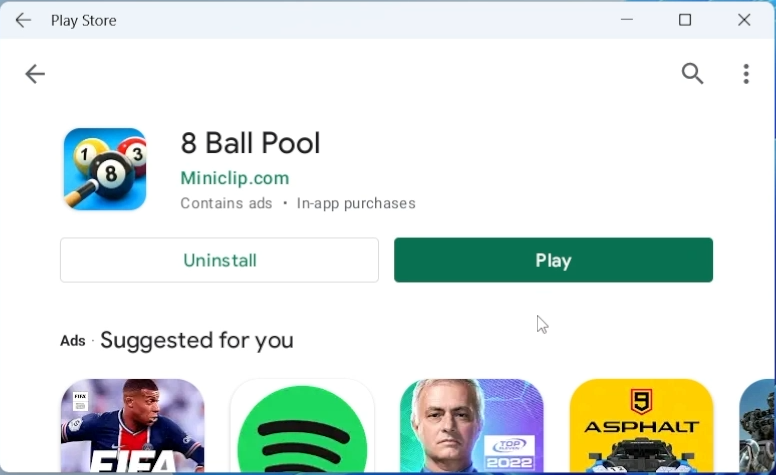
This is how you can install the Google Play Store in Windows 11 through the Windows Subsystem for Android. You can now install any app that you want through the Google Play Store.
For a more in depth explanation, watch the video below from the youtube channel.
i have enabled developer mode in windows, but I am not able to run that command
Use administrator mode in the powershell
Same here. Get through every step with no errors, but install doesn’t run – even with Administrator Power Shell, and Developer Mode enabled.
Add-AppxPackage : Deployment failed with HRESULT: 0x80073CF9, Install failed. Please contact your software vendor.
(Exception from HRESULT: 0x80073CF9)
Rejecting a request to register from AppxBundleManifest.xml because the manifest is not in the package root.
I have the same Problem. Not possible. maybe fixed by Microsoft?
I solve it doing the following:
1.- Moving the folder WindowsSubsystemAndroid from C to C:/Users/{my-username}/
2.- Uninstalling Android Subsystem Android, which in my case was already installed
3.- Rerunning the command with the new path of the folder relocated
check if you have already installed windows subsystemforandroid, uninstall it and try the command again it will work
adb.exe: more than one device/emulator how to fix this ?
Hello, I have a problem to edit the images. what to do please?
Creating mount point for product
Creating mount point for system_ext
Creating mount point for system
Creating mount point for vendor
Mounting product
mount: /mnt/product: mount failed: Operation not permitted.
Mounting system_ext
mount: /mnt/system_ext: mount failed: Operation not permitted.
Mounting system
mount: /mnt/system: mount failed: Operation not permitted.
Mounting vendor
mount: /mnt/vendor: mount failed: Operation not permitted.
!! Images mounted !!
Microsoft has changed content of android bundle
No It does not, sorry
I got this error while running the command “Add-AppxPackage -Register .\AppxManifest.xml”.
error:-
Add-AppxPackage : Deployment failed with HRESULT: 0x80073CF3, Package failed updates, dependency or conflict
validation.
Windows cannot install package MicrosoftCorporationII.WindowsSubsystemForAndroid_1.7.32815.0_x64__8wekyb3d8bbwe
because this package depends on a framework that could not be found. Provide the framework “Microsoft.UI.Xaml.2.6”
published by “CN=Microsoft Corporation, O=Microsoft Corporation, L=Redmond, S=Washington, C=US”, with neutral or x64
processor architecture and minimum version 2.62108.18004.0, along with this package to install. The frameworks with
name “Microsoft.UI.Xaml.2.6” currently installed are
Windows cannot install package MicrosoftCorporationII.WindowsSubsystemForAndroid_1.7.32815.0_x64__8wekyb3d8bbwe
because this package depends on a framework that could not be found. Provide the framework “Microsoft.UI.Xaml.2.6”
published by “CN=Microsoft Corporation, O=Microsoft Corporation, L=Redmond, S=Washington, C=US”, with neutral or x64
processor architecture and minimum version 2.62108.18004.0, along with this package to install. The frameworks with
name “Microsoft.UI.Xaml.2.6” currently installed are: {}
NOTE: For additional information, look for [ActivityId] a096a650-cbe4-0002-3e01-9ba0e4cbd701 in the Event Log or use
the command line Get-AppPackageLog -ActivityID a096a650-cbe4-0002-3e01-9ba0e4cbd701
At line:1 char:1
Can We Delete WSL After Installing all the Things….?
Bro my windows subsystem for linus and ubuntu is not working…..how can I fix it????
I have installed theplay store but when I installed an app it doesn’t run it opens the window for the app but it just closes immediately
but Microsoft says, “Android Subsystem is not safe to download” according to the Youtube Video.
I went through all the steps but now I receive “This device isn’t certified”. Help me please!