In this article, I will show you How to Remove the Recommended Section of the Start Menu in Windows 11 only in the Dev Channel.
Since the beginning of Windows 11 a lot of users wanted a way in which they could remove the recommended section from the Windows 11 Start Menu, but so far Microsoft hasn’t provided us with an official method of doing that.
In this article, I will show you a method created by a Reddit user, called That Windows Guy. He coded a batch script in Windows, that will help us remove the recommended section from the Windows 11 Start Menu.
Reddit post link by That Windows Guy
Disclaimer: Note that this is not an official method, and depending on your system you could encounter bugs and other stuff. Try this at your own risk.
How to Remove the Recommended Section from the Start Menu
1. Begin by downloading Debugging Tools for Windows component. Click on the Download the Installer button. The script is based on this component, so for everything to work you need to install this.

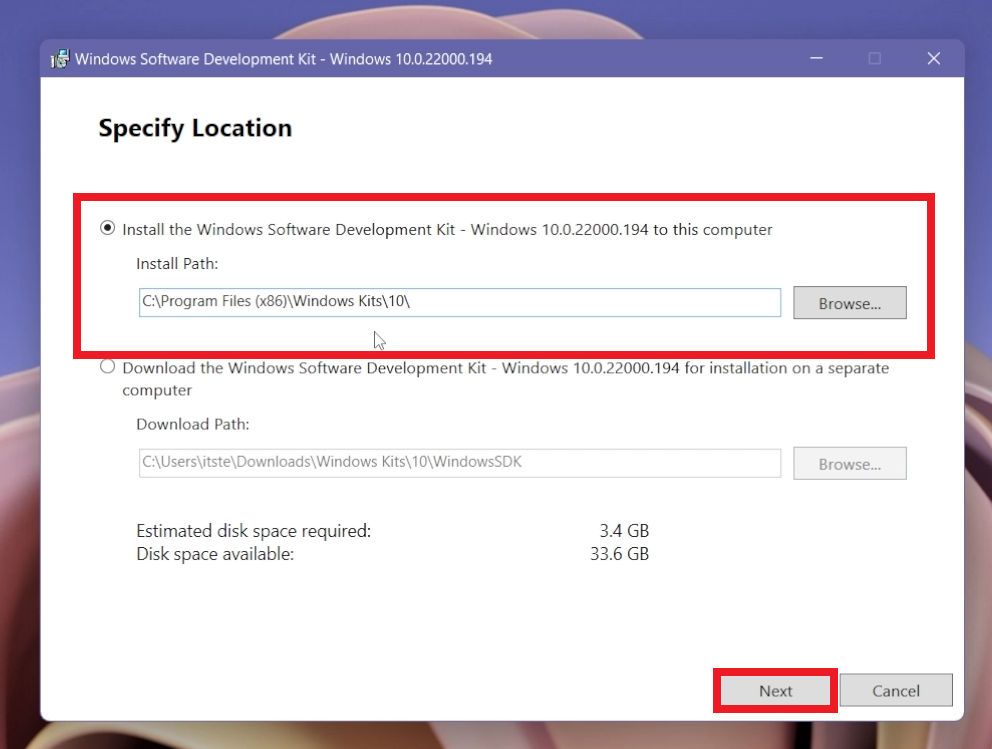
2. Once you run the installer, you need to Specify the Location and then click on Next.
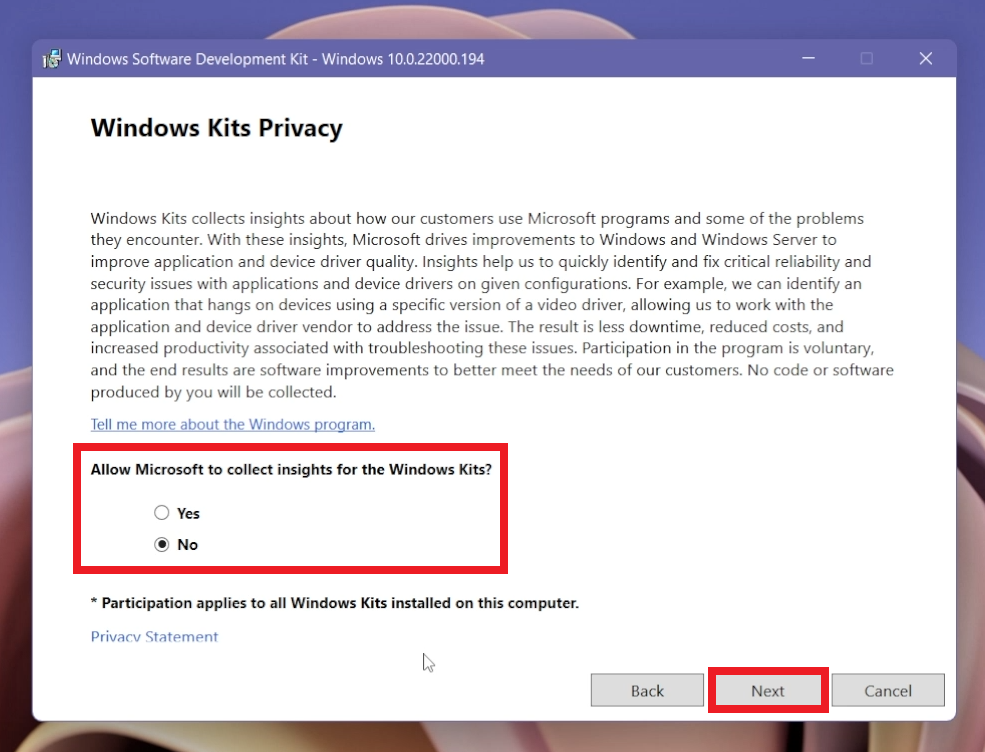
3. Now you will be asked if you Allow Microsoft to collect insights for the Windows Kits. You can select No and then click on Next.
4. Now you will need to only select the Debugging Tools for Windows from the right side, and then click on Install.
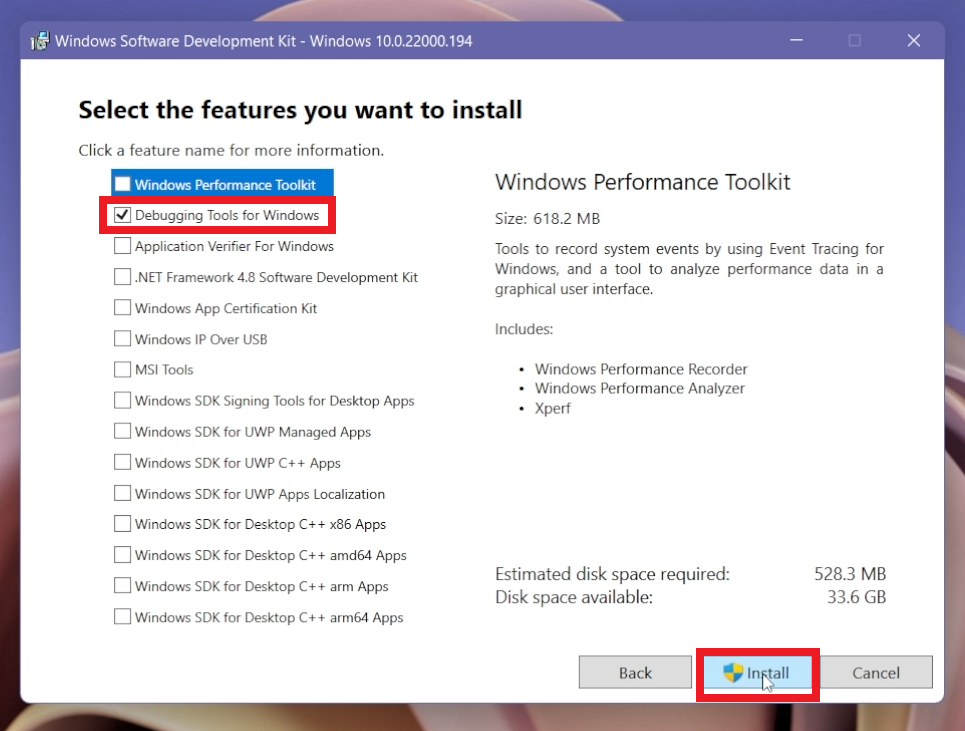
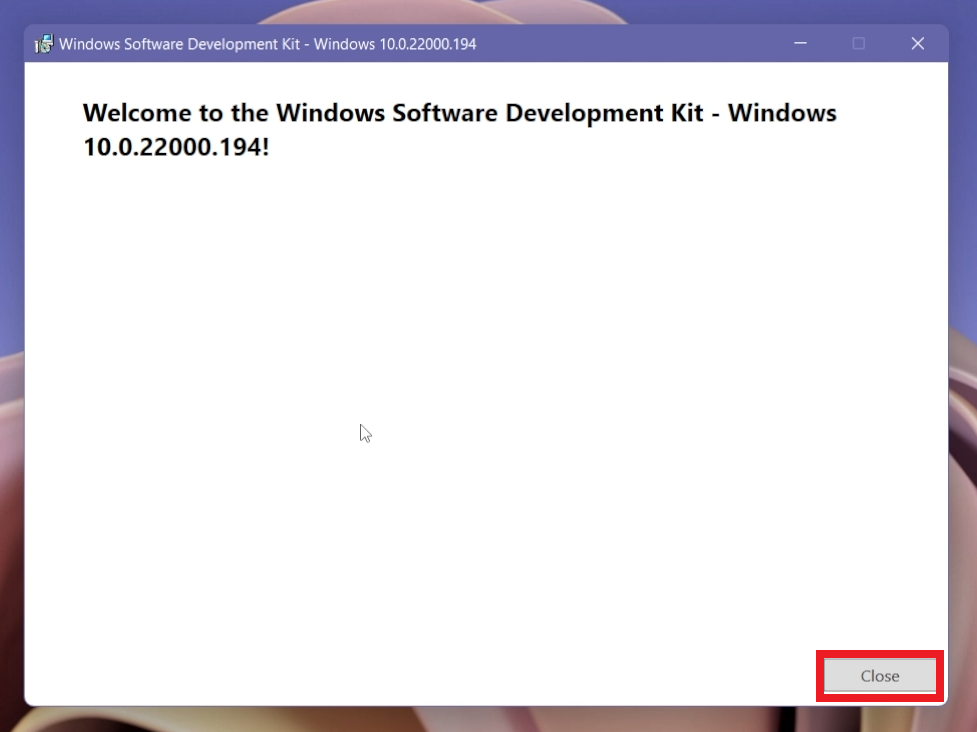
5. After the installation process is finished, you can click on Close.
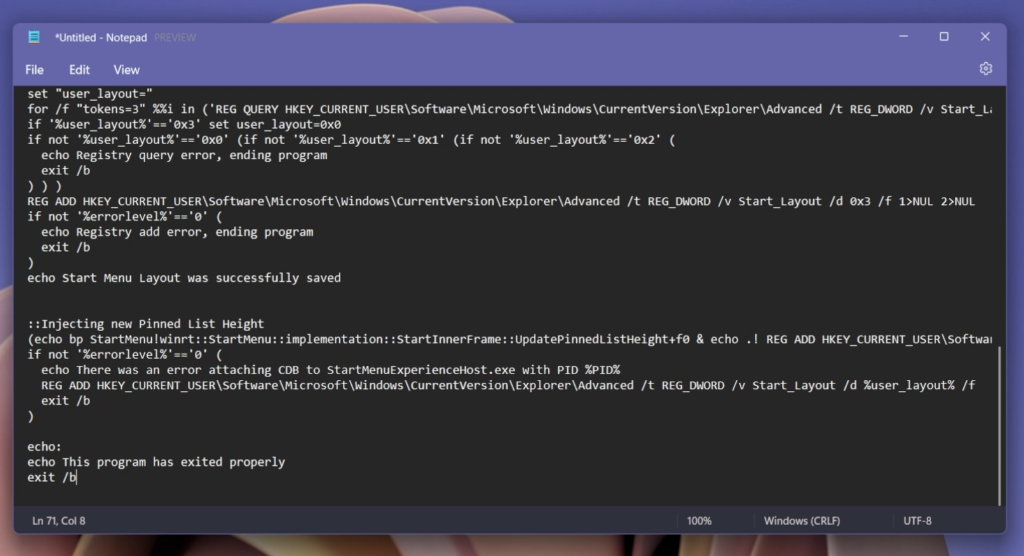
6. Now you will need to copy the code from this Reddit post. Paste it in a new Notepad file.
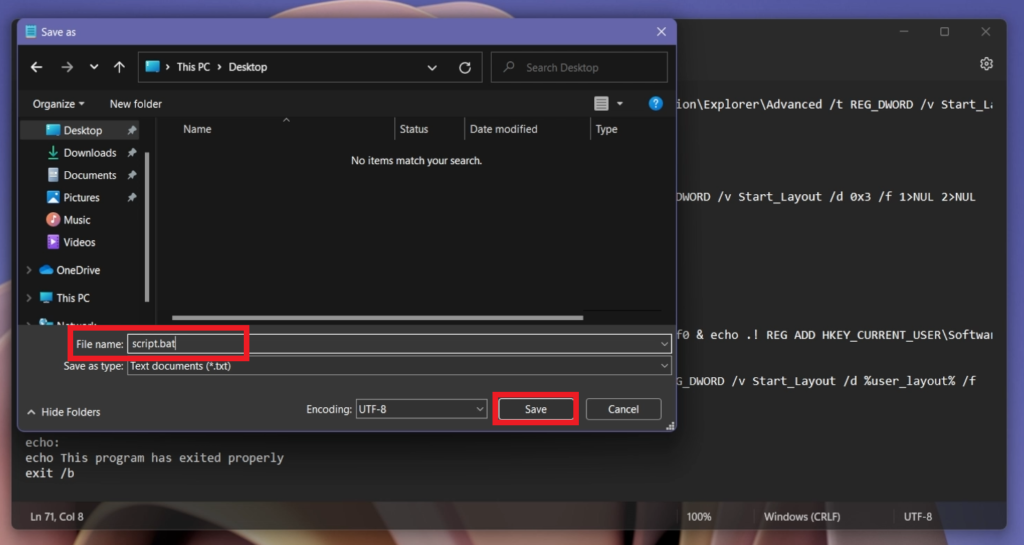
7. Click on File and then on Save As. Make sure to name the file and use the extension .bat for the script to work properly.
8. Double click on the script to run it. A new CMD window will appear and in a few seconds, the script will finish its process.
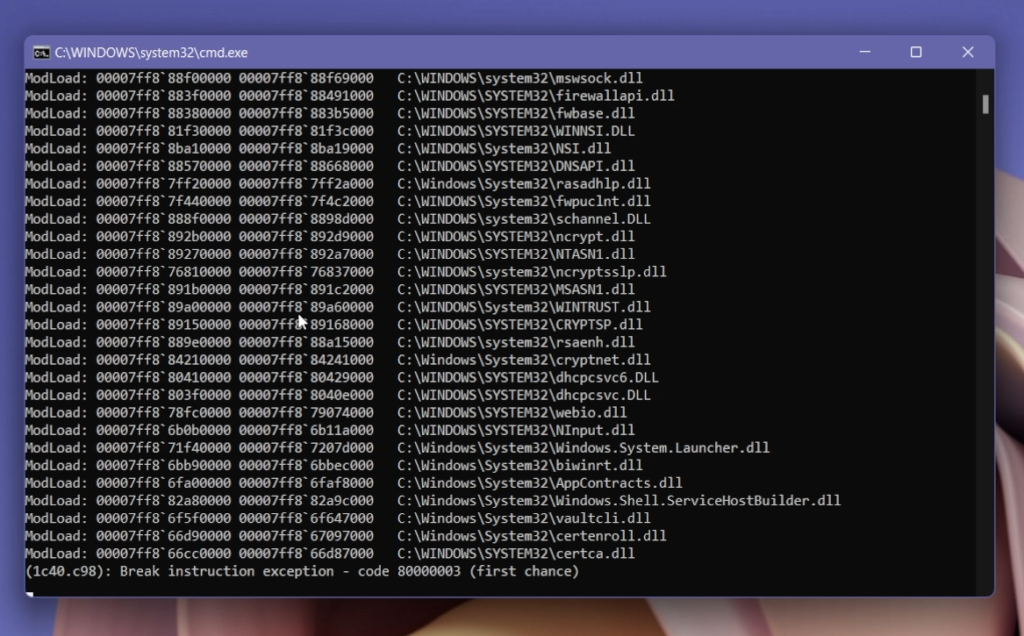
9. And that’s it, you successfully removed the Recommended section from the Windows 11 Start Menu.

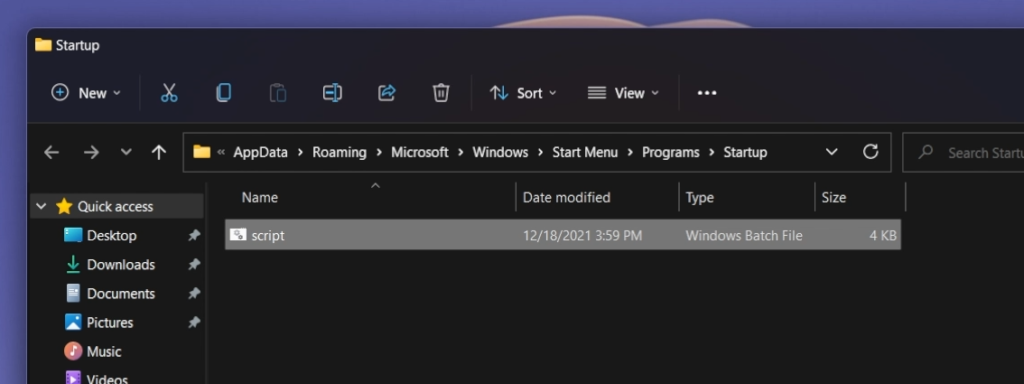
An important thing to note is that the script will lose its effect once you restart the computer. To prevent that, you will need to run the script at Startup.
1. Press the Windows + R keys at the same time on your keyboard and in the Run box, type shell:startup, and then press Enter.

2. Move the script to the folder that has just opened and you are good to go. Now every time you open your computer, the script will automatically run.
It is very likely that in the following Windows 11 Dev Channel builds, Microsoft will patch this, but until then, we can use this workaround.
If you ever want to undo this, simply delete the script from the Startup folder and then restart your computer.
For a more in-depth explanation, you can watch the video below from the youtube channel.


