
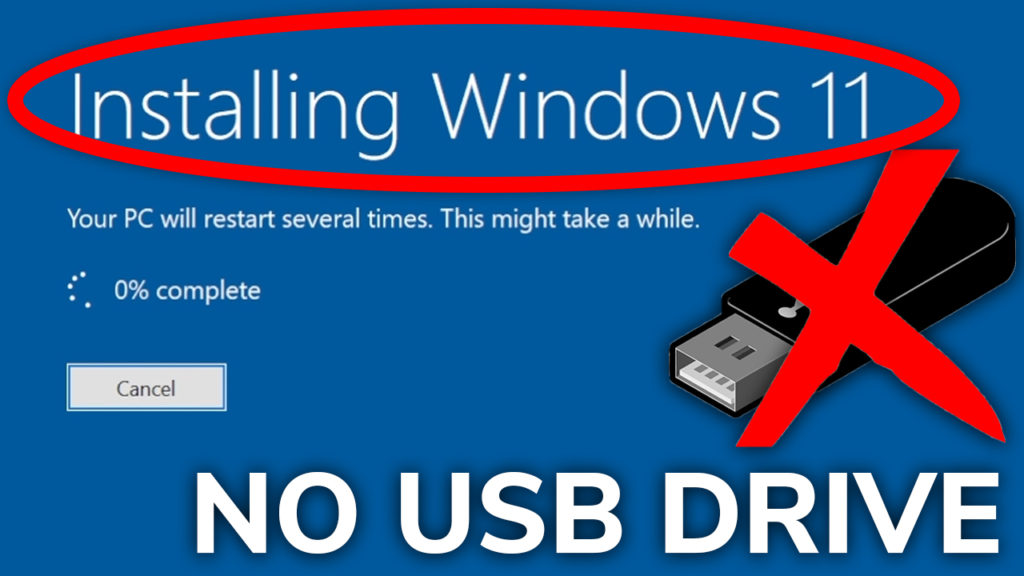
In this article I will show you how to Clean Install Windows 11 without using a bootable USB Drive or anything else. We are going to use a Windows 11 ISO and create a boot entry with that ISO in order to clean install Windows 11.
Download the Windows 11 ISO
First of all we are going to Download the Windows 11 ISO using the Media Creation Tool from the official Windows 11 Download Page that you can access from HERE.
Go into the Create Windows 11 Installation Media section and then click on Download Now to download the Media Creation Tool.
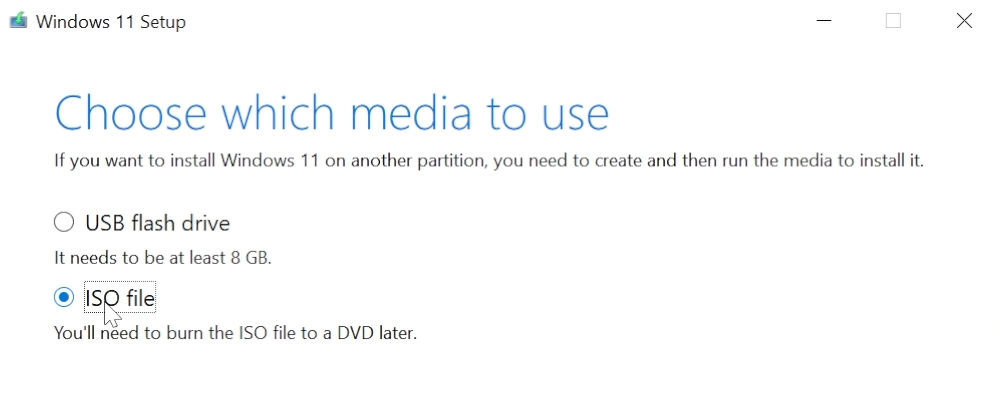
In the Media Creation Tool after you accept the terms and use the recommended options for this PC, you will have to select the ISO file option in order to download the Windows 11 ISO in a certain location. Select the location where you want the Windows 11 ISO to be downloaded to.
Create a new partition
After you Download the Windows 11 ISO, you will need to create a new partition in your operating system with a size of around 10GB, so that we will be able to extract the contents of the Windows 11 ISO into that partition.
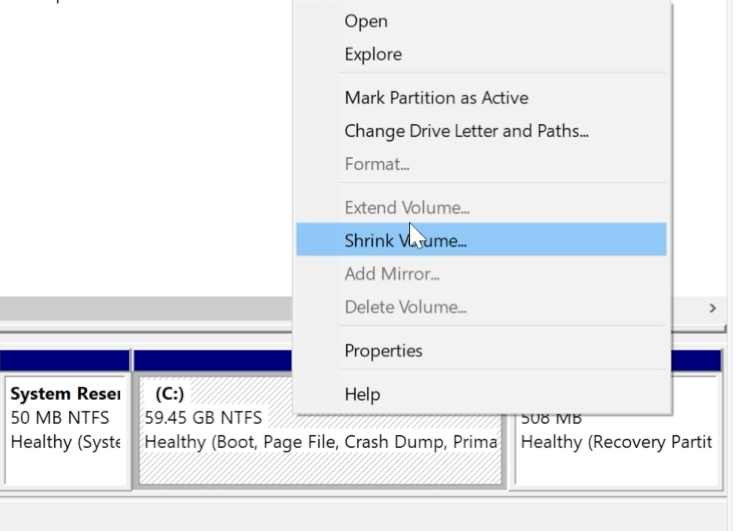
To do this, right click on This PC and then click on Manage. In the window that appears click on Disk Management.
Here we are going to shrink some space from another partition by right clicking on it and then Shrink Volume.
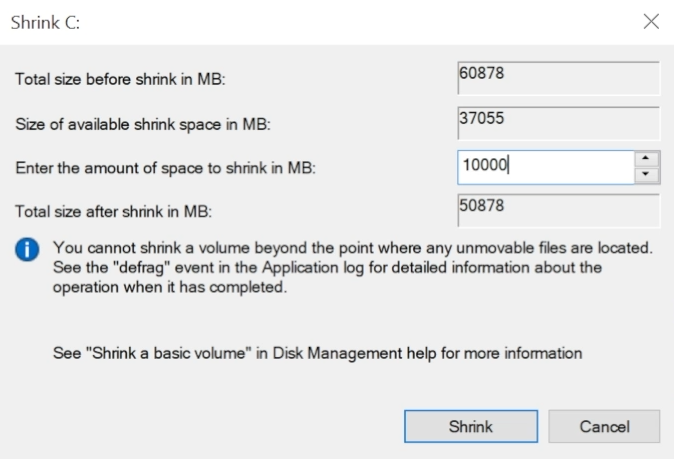
Enter the amount in MB. 10000MB = 10GB and then click on Shrink.
Right click on the Unallocated space and then click on New Simple Volume in order to create a new partition. Click on next, add a Volume label and finish.
Now we have our new 10GB partition created.
Extract the Windows 11 ISO into that partition
For this process you will need to have Winrar or 7zip installed on your system. You can download Winrar from HERE and 7zip from HERE.
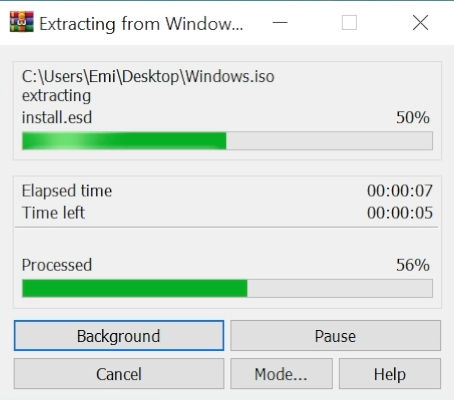
Right click on the Windows 11 ISO and then click on Extract files… Select the location to that new partition and then click on OK.
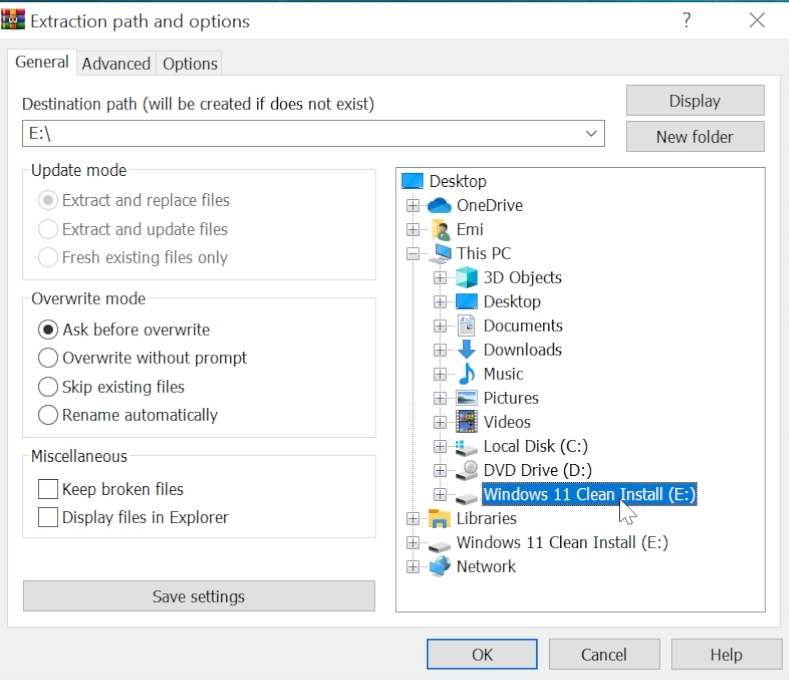
The Windows 11 ISO will be extracted within a few minutes.
Create a new boot entry with EasyBCD
For the next steps we will need to install the software EasyBCD, that can be downloaded from HERE.
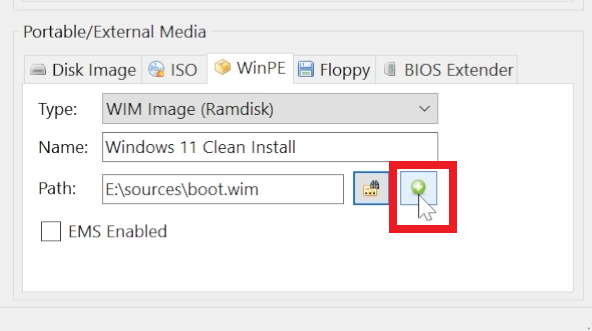
In EasyBCD click on Add New Entry and then from down below click on WinPE. Leave all the options as they are and change only the name that will appear in the Boot Menu.
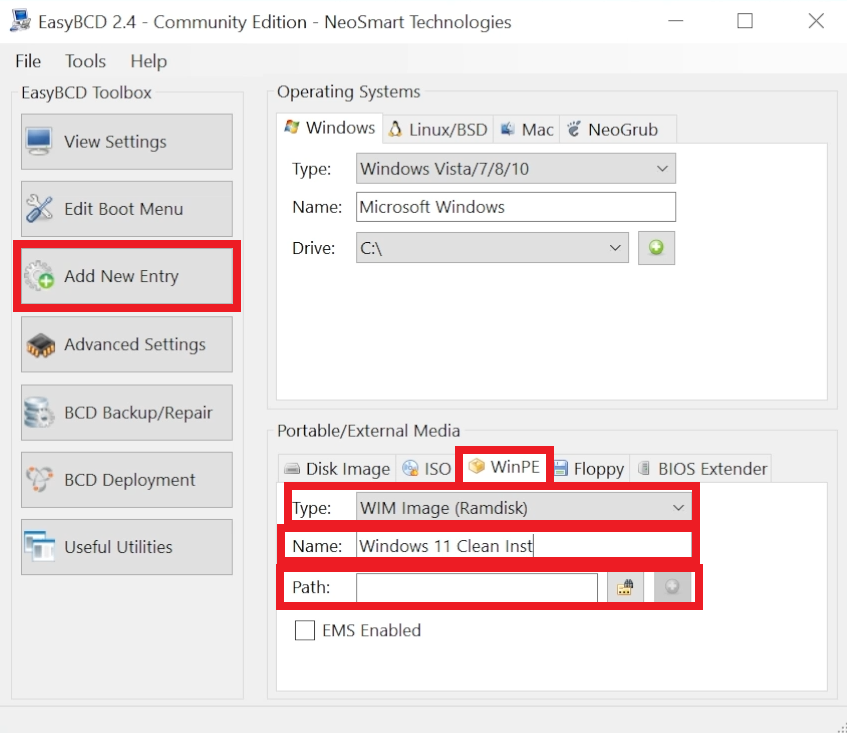
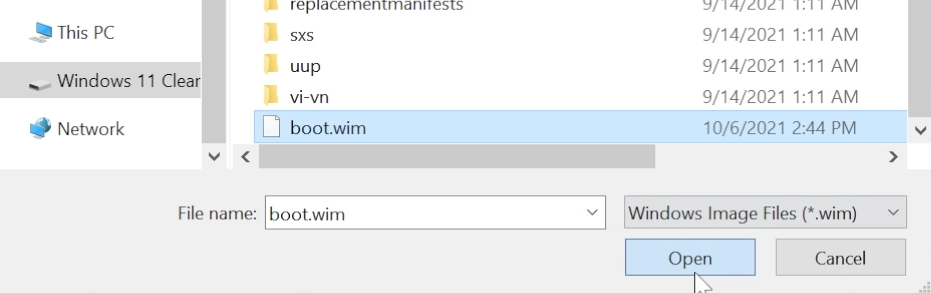
Click on the button next to Path and then go into the partition where you extracted the Windows 11 ISO. Go into sources and then select boot.wim.
Next up click on the button next to change location in order to add that new entry into the boot menu.
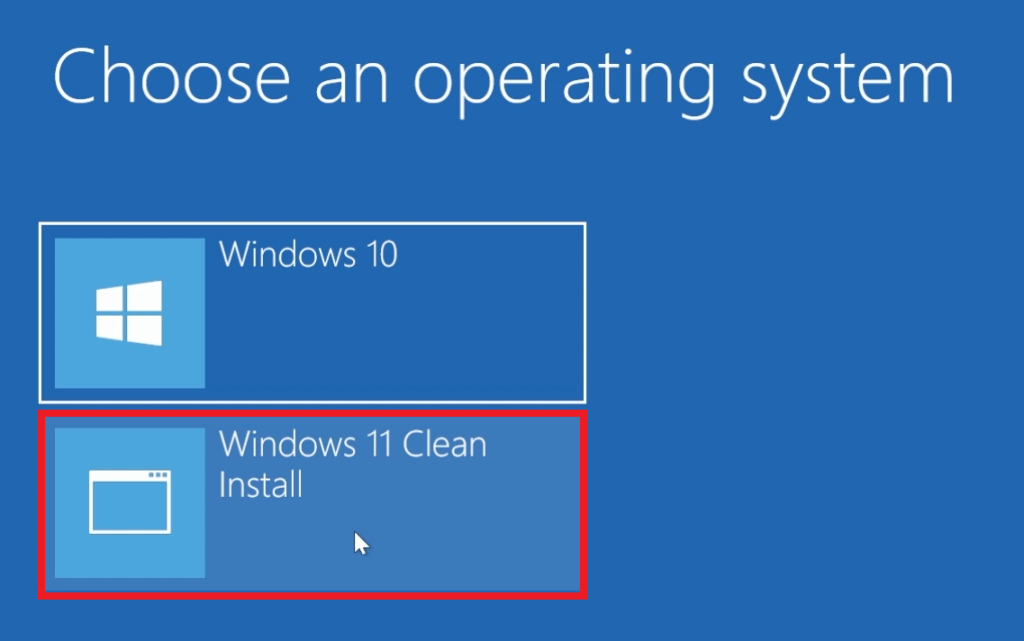
Now we’ve successfully added that new entry into our boot menu and all we have to do now is to restart the system.
After the restart you will have 2 options in the Boot Menu, the primary OS and then the entry that we created. To clean install Windows 11 click on the entry that we’ve added.
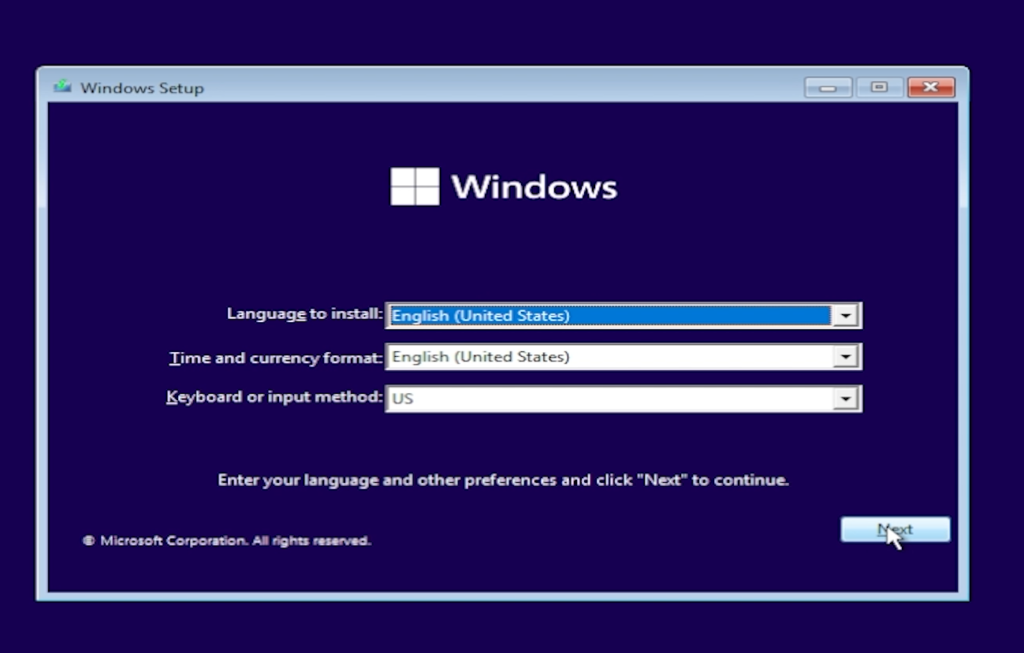
After this, the computer will restart again and the Windows 11 installation process will begin.
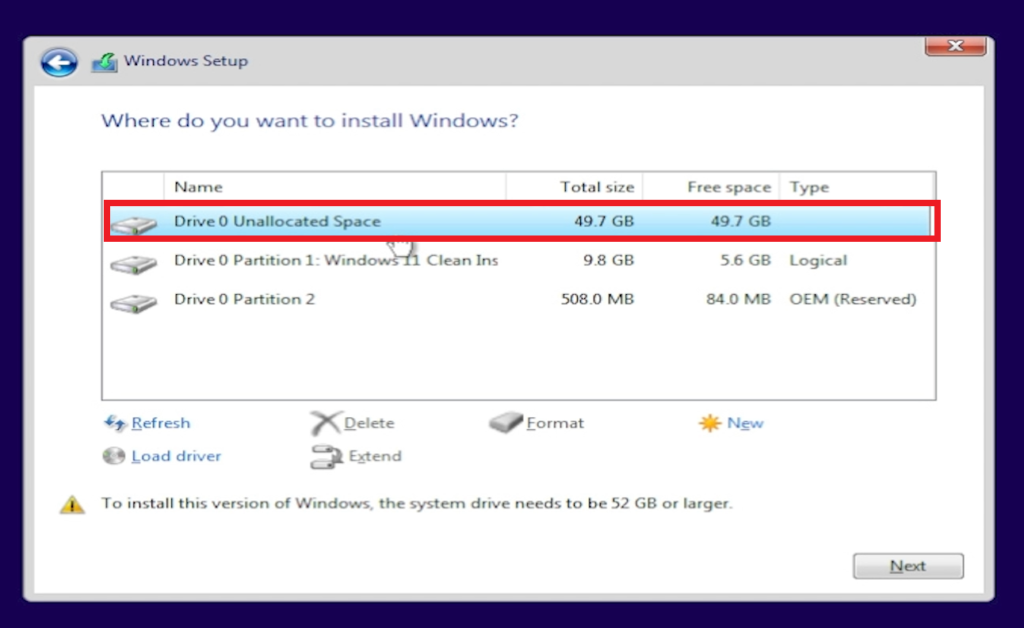
In the section where you need to select which partition windows will be installed on, make sure to select the bigger partition and not the partition where you extract the contents of the Windows 11 ISO.
And that’s all there is to it, you can now go on and install Windows 11. The process will be the same.
Delete the partition created after the Windows 11 installation
Once you successfully installed Windows 11, you can now go on and delete that created partition and assign the space back to the original partition.
To do that all you need to do is to right click on This PC, click on Manage and then on Disk Management.
Right click on the created partition and then click on Delete Volume. After that right click on the Free Space and click on Delete Partition.
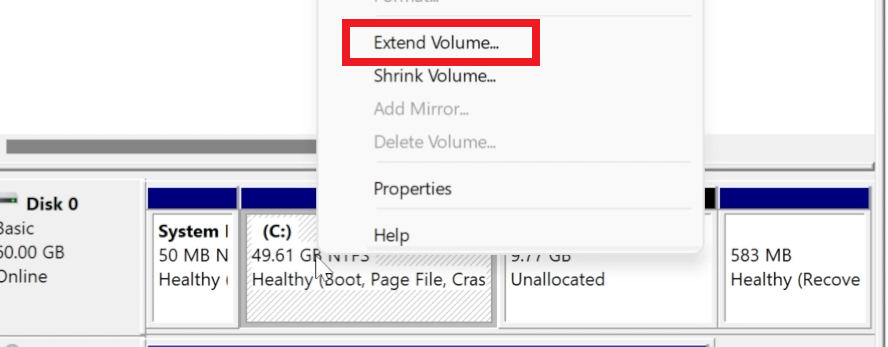
Right click on the main partition and then click on Extend Volume. Click on next and finish.
This is how you can clean install Windows 11 without a USB Drive or anything else.
For a more in depth explanation you can watch the video below from the youtube channel.
Thank you for solution !
It tells me I am missing some drivers. What can I do to resolve this?