In this article, I will show you how to Enable the Transparent Effect or the Acrylic Effect on any Context Menu in Windows 11.
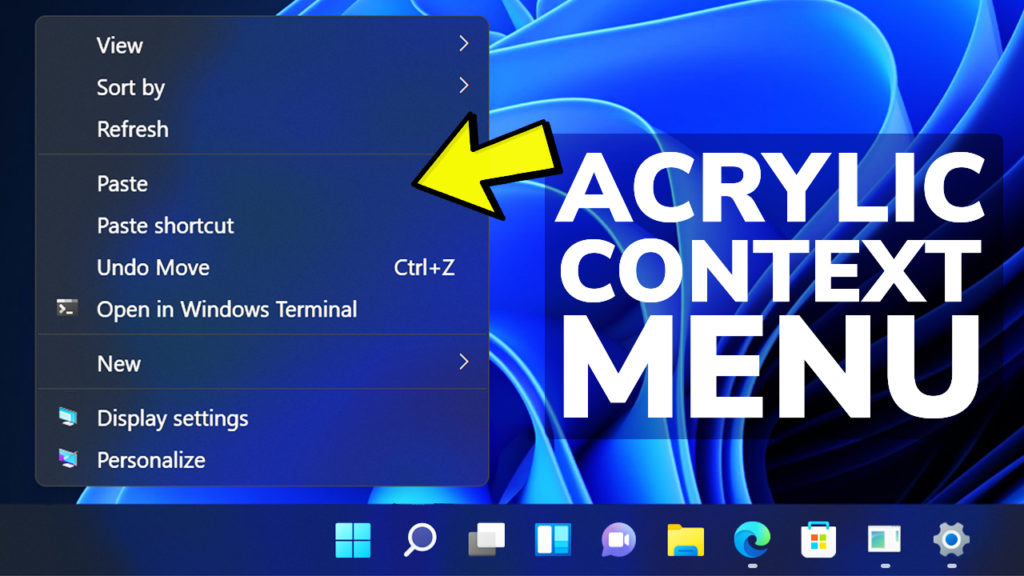
For those of you who don’t know, starting with Windows 11 we have a really nice acrylic effect that is applied only to the new context menu from Windows 11. If we were to use the classic one, we will see that it only has a solid color as its background and it’s not that good looking.
In this article, I will show you a tool created by a Github Developer, and you can find the official Github page of the tool, by clicking this link.
Disclaimer: When using apps that modify system files, there is always a risk involved, so use this tool at your own risk, after you created a System Restore Point or on a Virtual Machine.
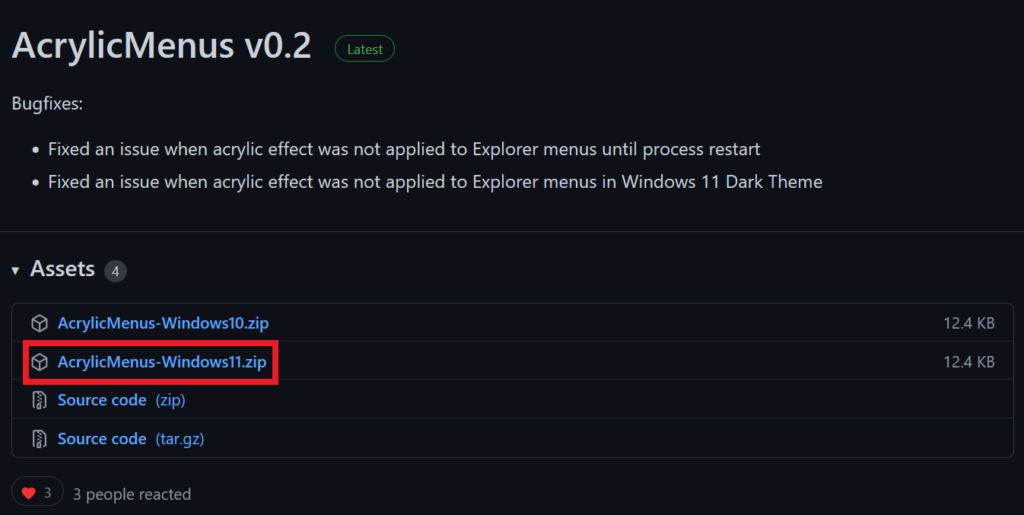
Download AcrylicMenus from Github
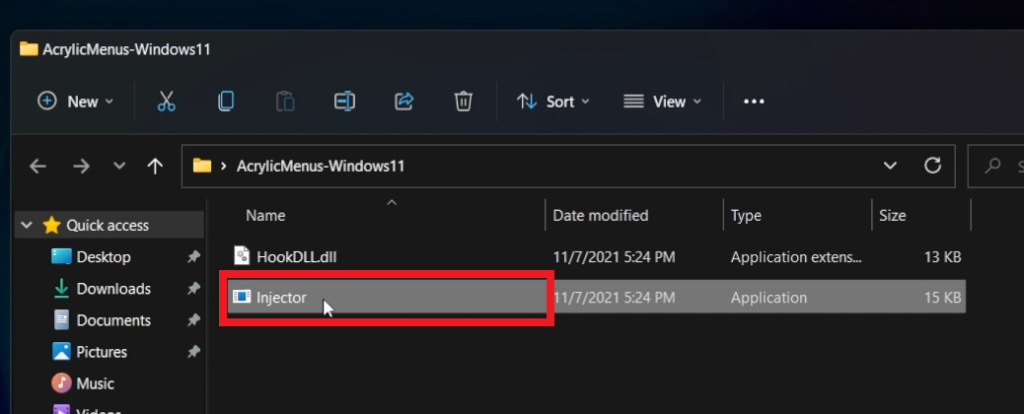
Click on the AcrylicMenus-Windows11.zip file and extract the archive. Note that you can also use this tool on Windows 10.
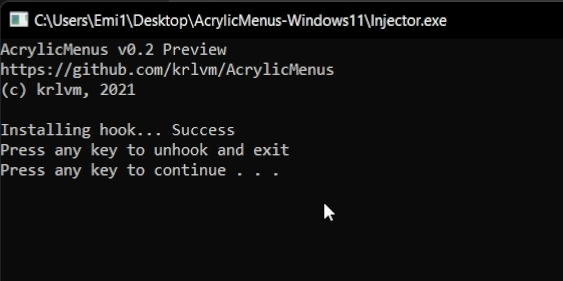
Make sure to double-click on the Injector file and the acrylic effect will also be applied to the classic context menu in Windows 11.
If you ever want to disable the effect, on the opened program press any key and then exit.
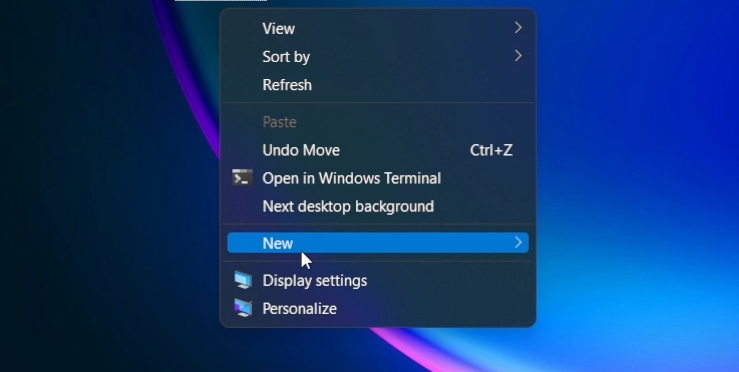
This is the final result.
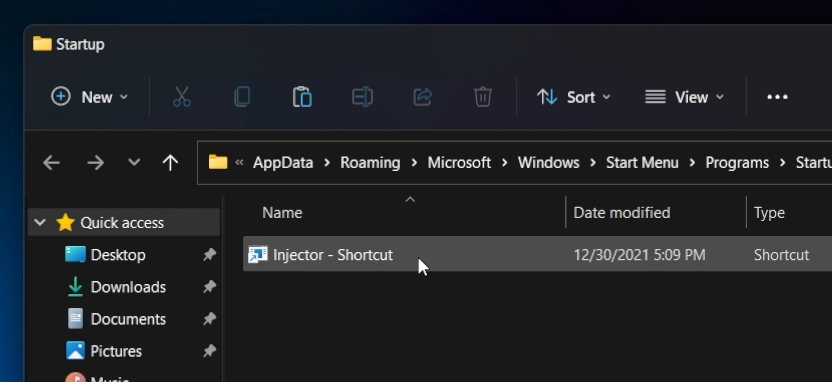
If you want the tool to run at startup, you need to create a shortcut to the Injector file.
Right-click on it, send to, and then click on Desktop (Create Shortcut).
Press Windows + R on your keyboard and type in there shell:startup.
Copy and paste the shortcut into that location.
For a more in-depth tutorial, make sure to watch the video below from the youtube channel.