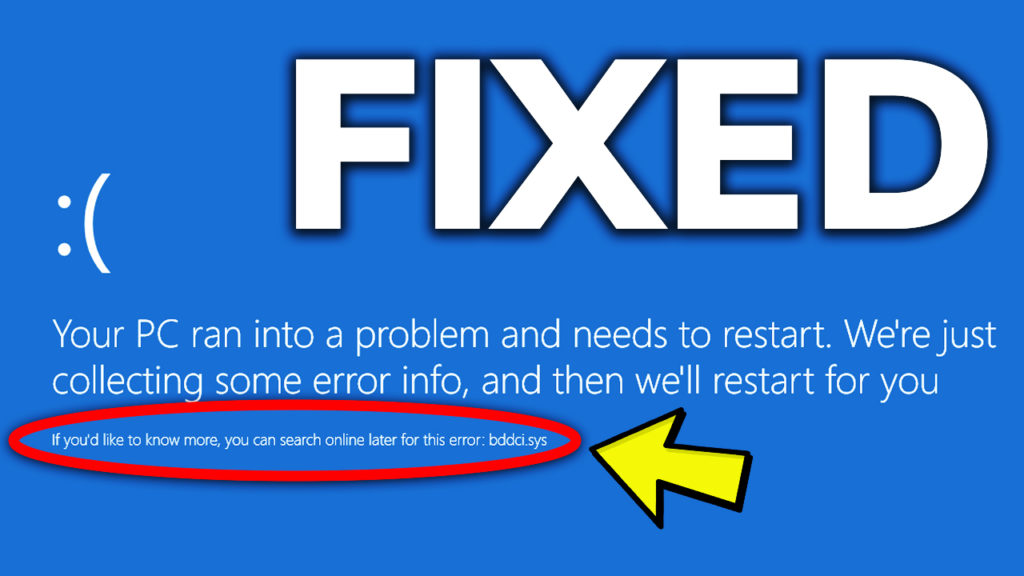
In this article, I will provide you with a solution for the bddci.sys BSOD Error in Windows 10 or Windows 11. This is a BSOD Error reported by a few users in these weeks, so by following this article, you will be able to solve this problem.
This article provides a solution for the following issues:
- bddci.sys BSOD Error in Windows 10
- bddci.sys BSOD Error in Windows 11
First of all, you will need to enter the Recovery Environment of Windows 10 or Windows 11. For that, right-click on the Start Button, go to Shut down or sign out, and then while holding Shift on your keyboard, click on Restart.
In the Recovery Environment click on Troubleshoot, then on Advanced options, and then on Command Prompt.
Make sure to run this command, to find out what is your Windows partition, if you don’t know that:
bcdedit /enum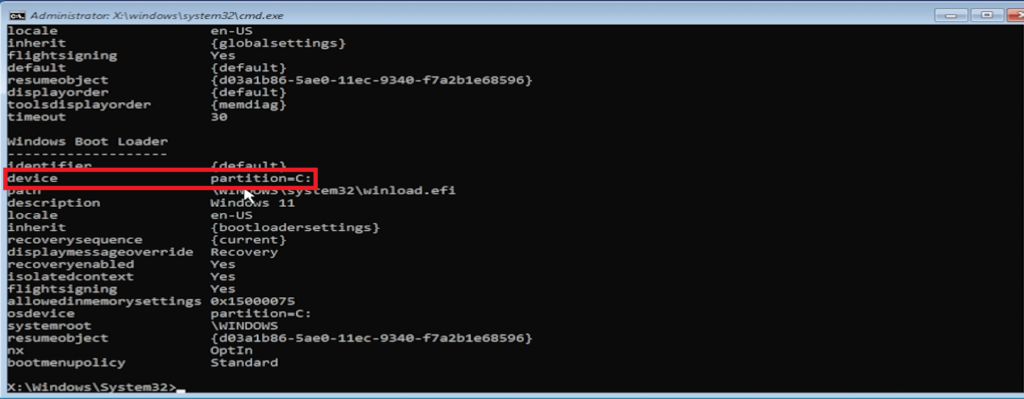
Then, run the following command to access the System32 drivers location:
cd C:\Windows\System32\driversRun this command next, to delete the bddci.sys file that was causing the BSOD error:
del bddci.sysCheck if the file is successfully deleted, by running the following command:
dir bd*.*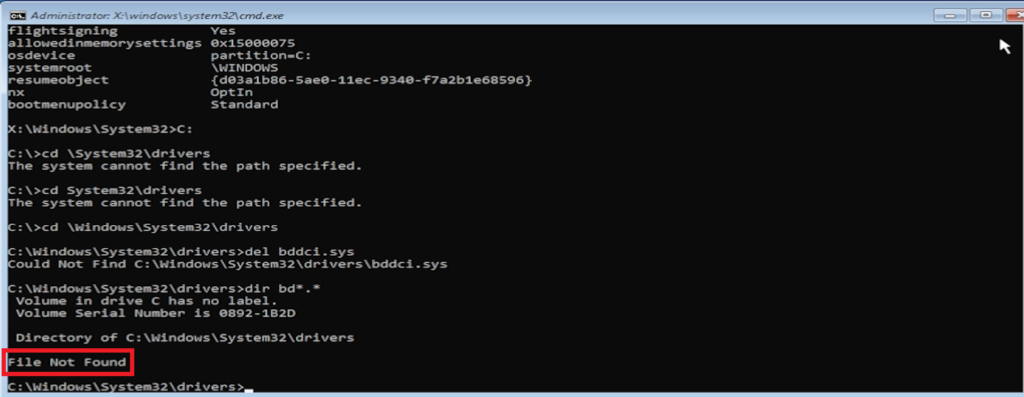
You can now exit out of the Windows Recovery Environment and click on Continue and Exit to Windows 10/11.
This is how you fix the bddci.sys BSOD Error in Windows 10/11.
For a more in-depth explanation, you can watch the video below from the youtube channel.