In this article we are going through the steps of removing Password and PIN Login in Windows 11. If you are logged in Windows 11 with a Local Account the process is very simple, but for a Microsoft Account you will need to follow some extra steps.
When installing Windows 11, Microsoft tries to make you setup a Password or PIN multiple times during the installation. If you’ve done that, but now you want it removed, just follow the steps provided in this article.
- If you are logged in with a Local Account
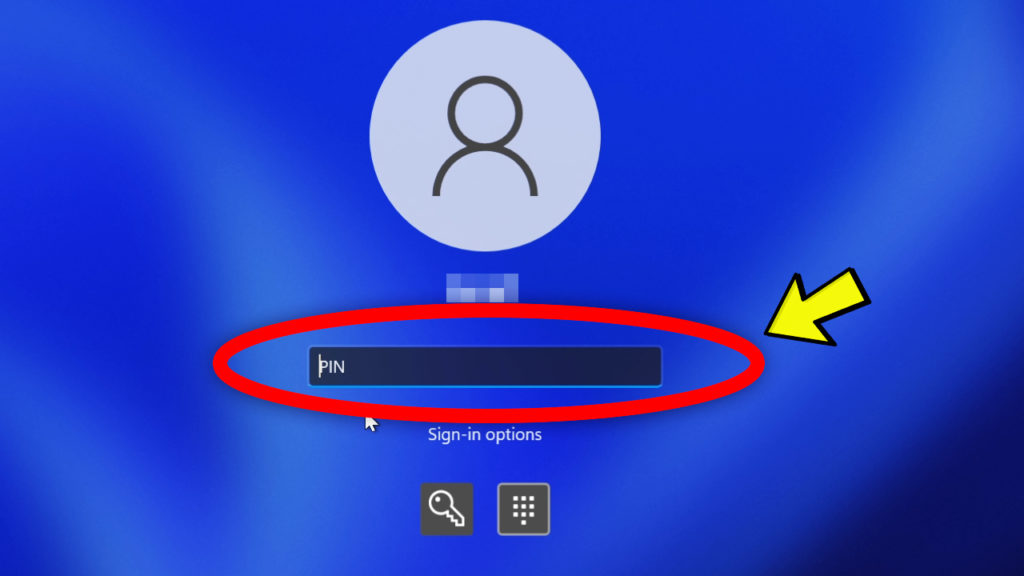
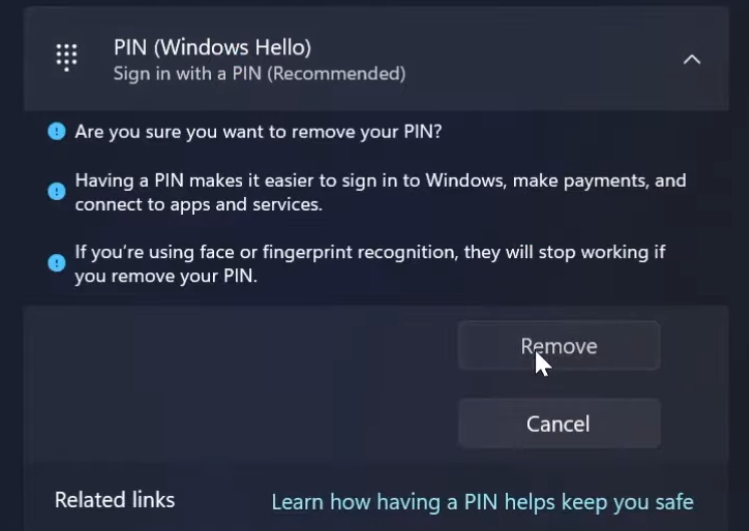
Click on the Search Box and there type Settings. Open the Settings app and then go to Accounts and Sing-in Options. To remove the PIN Sign-in just click below the PIN section on Remove and after you enter the computer password, it will be instantly removed.
For the Password Sign-in just scroll down a bit and next to Password click on Change. To remove it simply leave all the fields blank. And that’s it, you successfully removed PIN and Password Sign-in in Windows 11.

- If you are logged in with a Microsoft Account
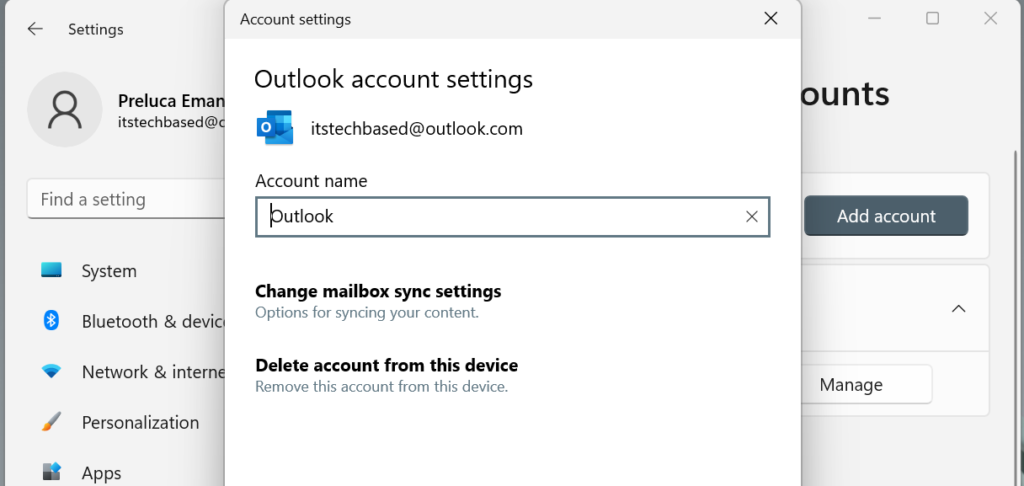
In this case you will need to switch to a Local Account instead, because the PIN Sign-in is related to the Microsoft Account. In Settings you can go to Accounts, then Email & accounts. Next to your account click on Manage and then Delete account from this device. Once this process is finished you will be able to follow steps above to remove the Sign-in Options.
If you are logged in with that account on Windows Insider you will need to setup Windows Insider again, but this time the email will only be used for the Windows Insider Program.
If you want a more in depth explanation to this process, you can watch the video below from the Youtube Channel.